Wanted to try something out. This is 5 gallons of water on a propane burner, I wasn’t recirculating.
Wanted to try something out. This is 5 gallons of water on a propane burner, I wasn’t recirculating.
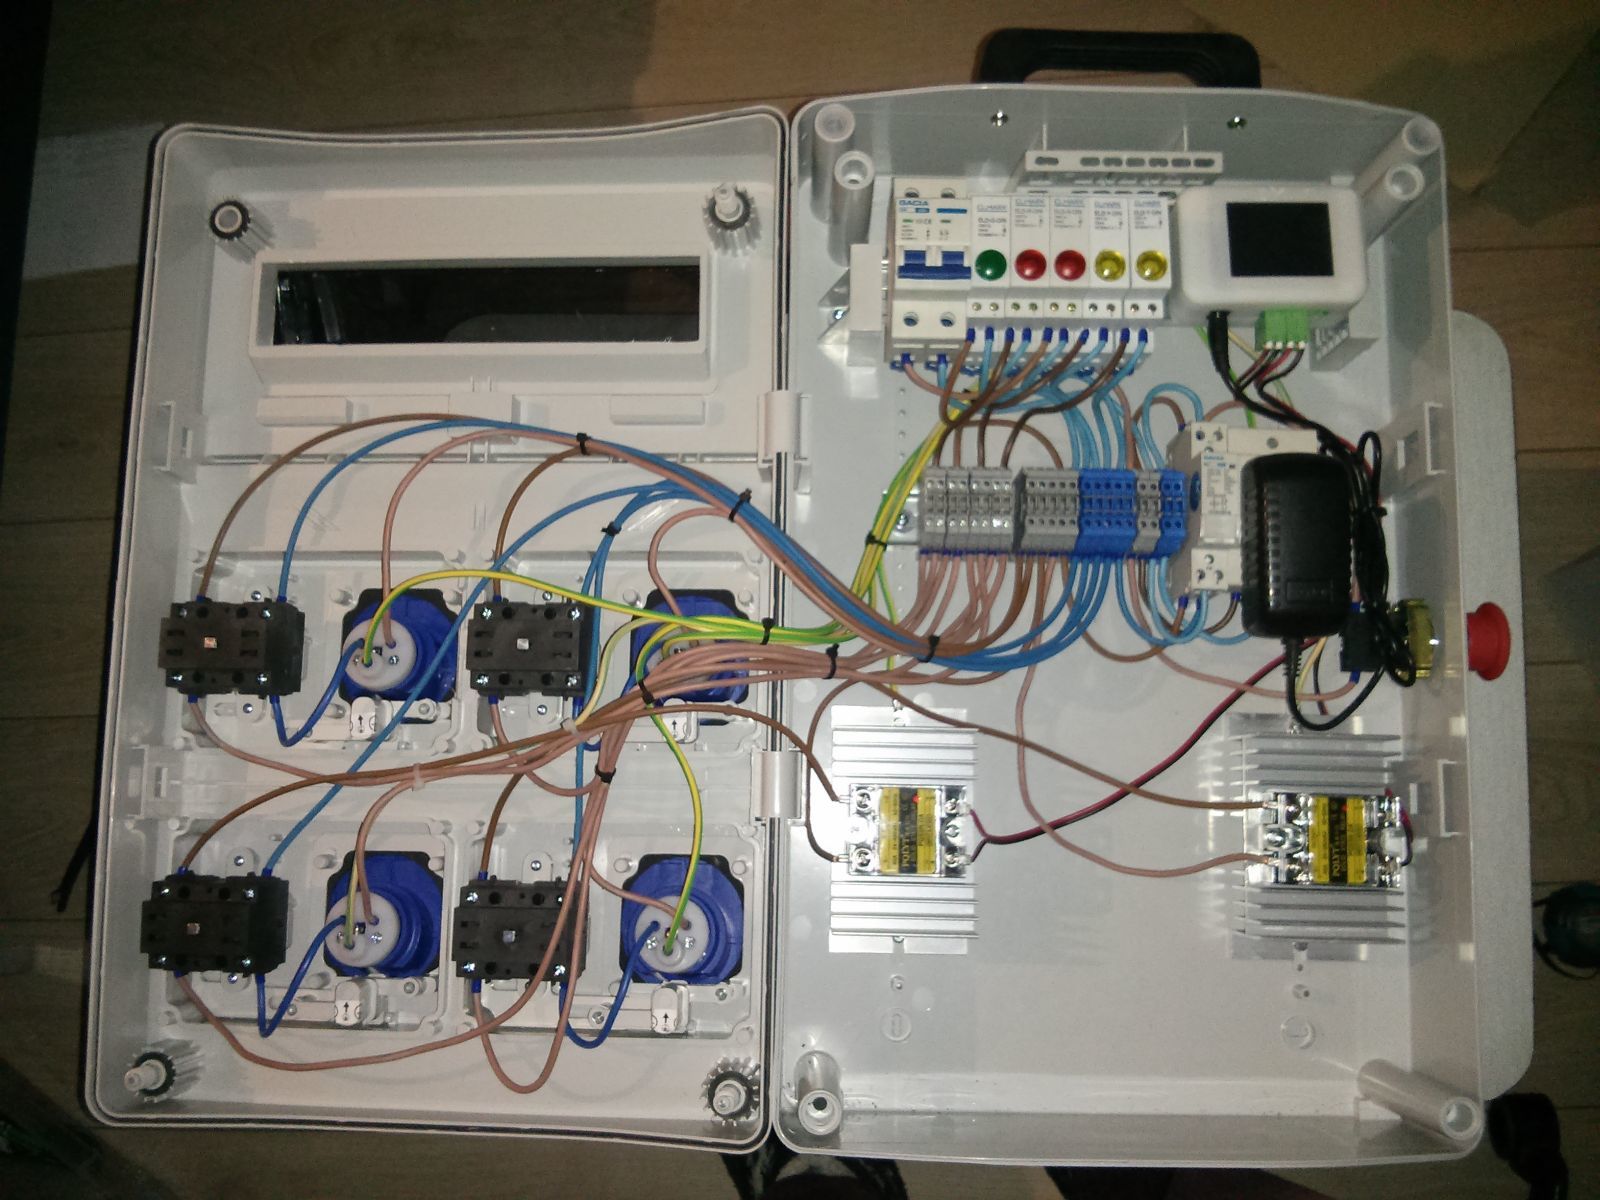
See uploaded above a dodgy pic of my control panel build. I have done some neatening up since then. I am waiting on the covers for my cable ducting to arrive. You cannot see the cable panel at the bottom, but I am also waiting on cable glands to install here. I’ve used some adhesive magnetic tape to secure my Bpi and Rpi. This has worked nicely for purposes of easy removal. @Elco I reckon you might need to start thinking about case modifications that will allow easy panel mounting with some bolts?
I’m testing the wiring this weekend, then hopefully setting up software to begin attempting to heat some water with my 2500W element. I’m waiting for Brewpi software to work better before cutting a hole in my 114L Blichman for my 5500W element to go in. I’ll have to keep using gas until the software is better.
Once the software is ready, I have two valves and a controller board to add into the mix to control the flow of water through my heat exchanger. I have a weird setup; multiple BIAB pots with different sized elements, and utilise a CCFC as a heat exchanger to constantly recirculate and heat or cool wort appropriately.
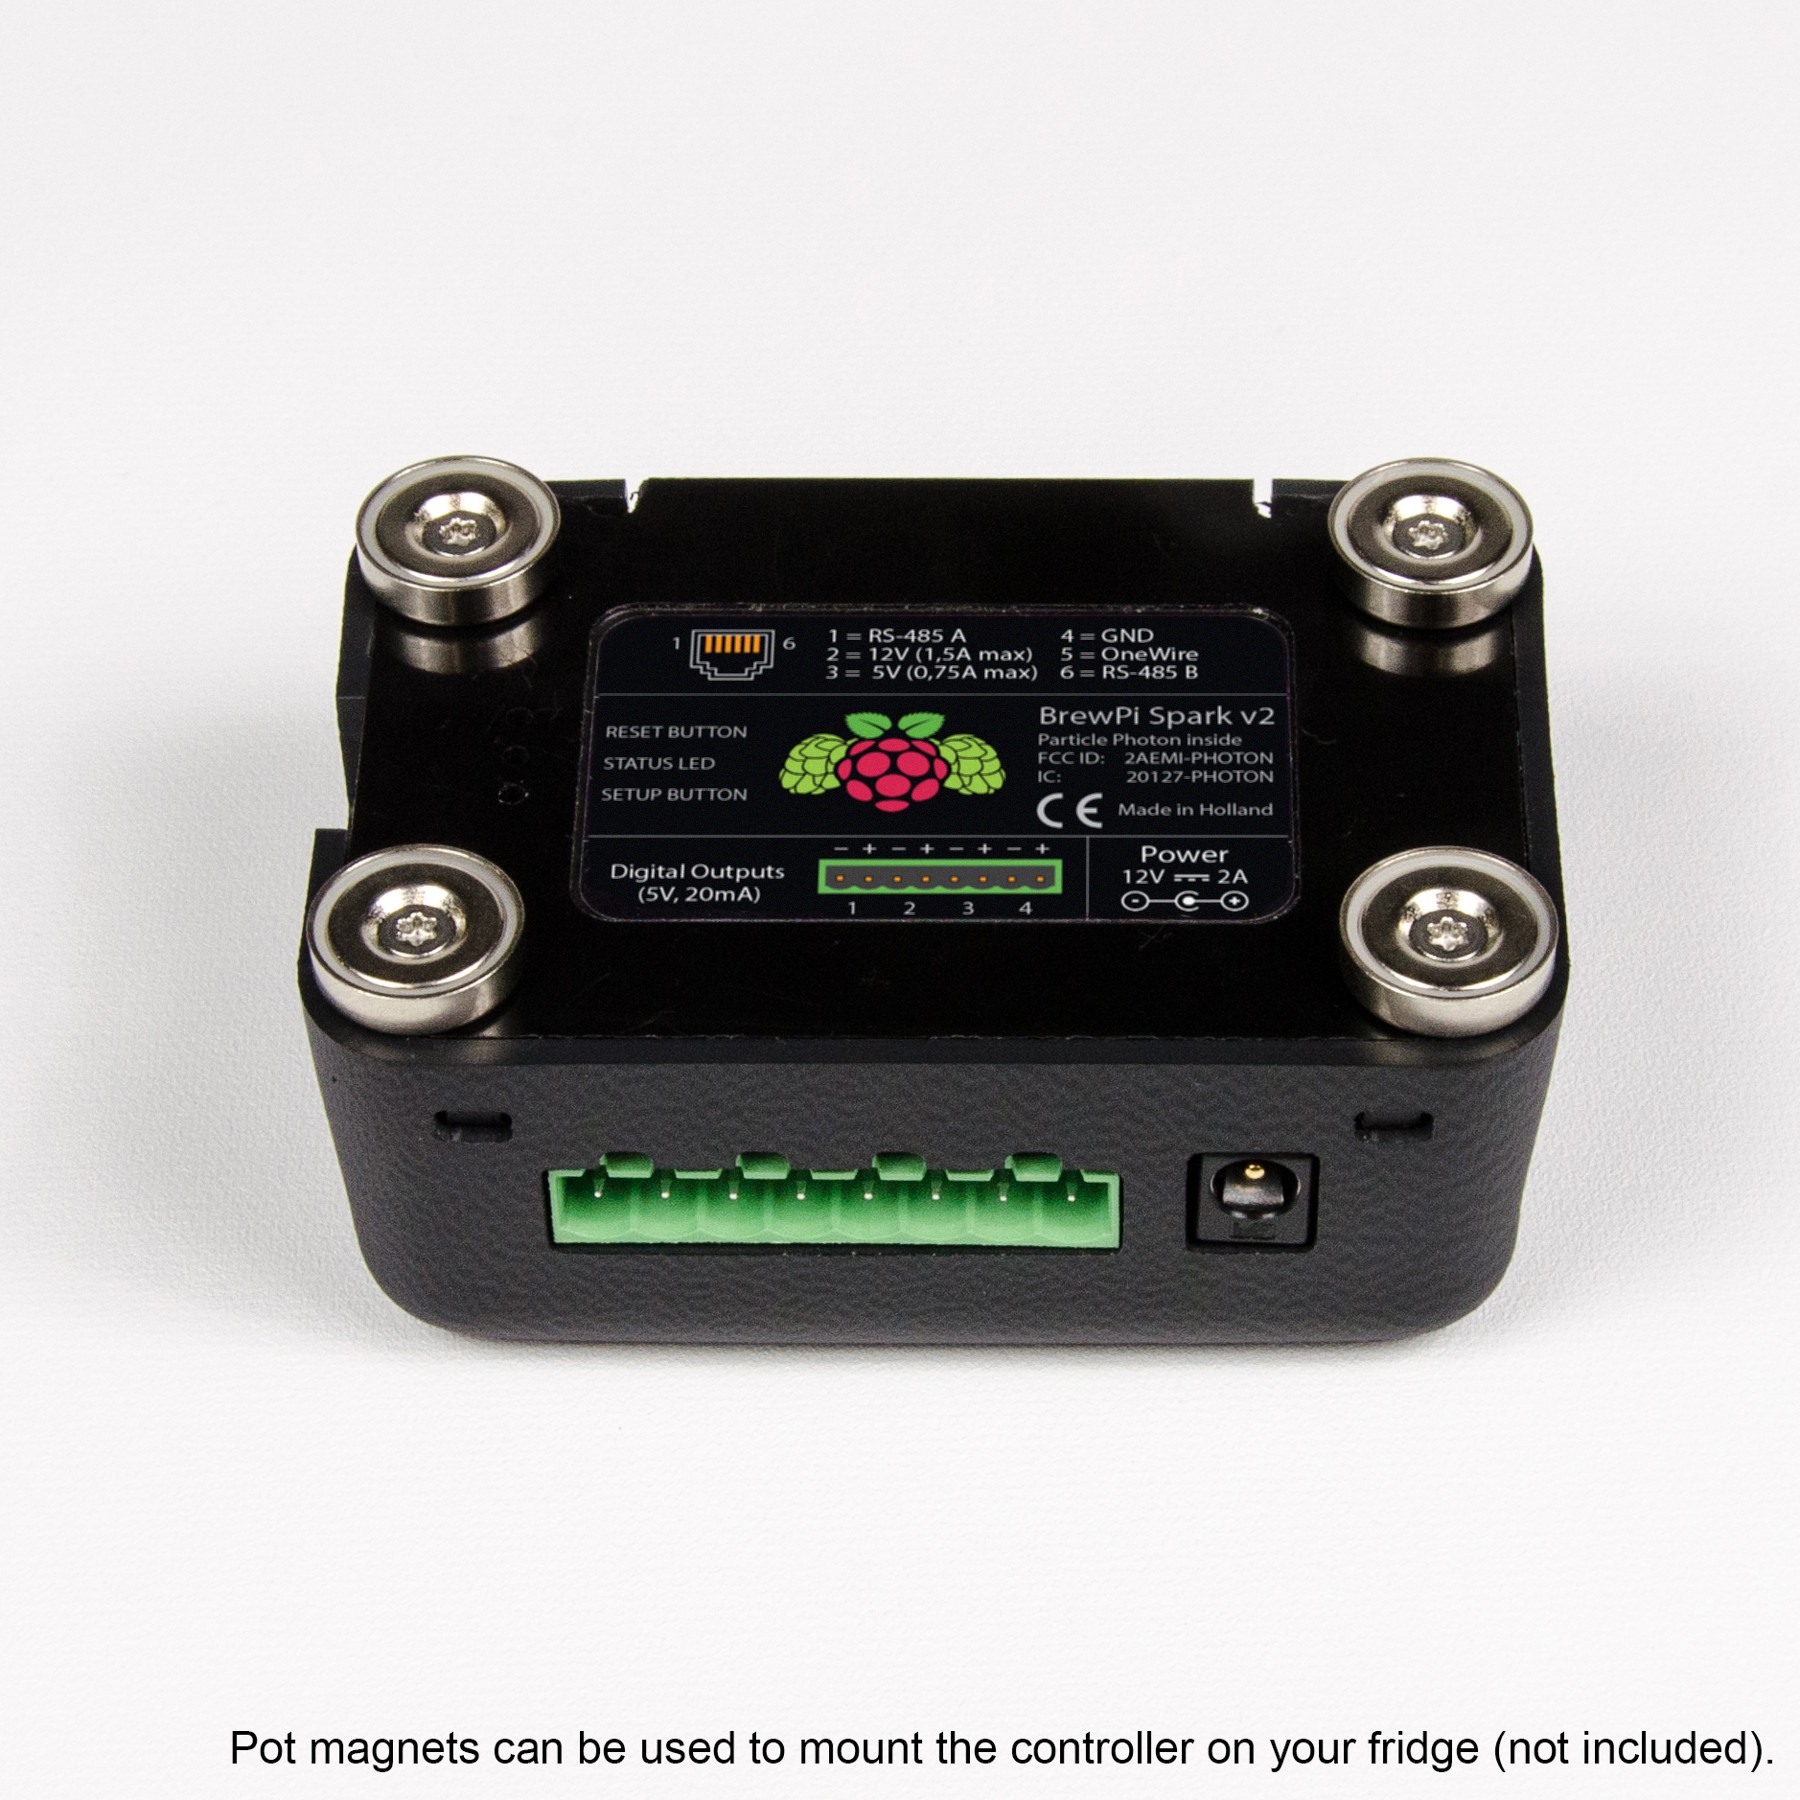
Latest version already is easier to mount, like with pot magnets in this photo:
Magnets aren’t really going to cut it forever though @Elco surely a din rail adaptor kit is a good idea business wise as well as providing control panel builders a neat option.
It’s not like it’s hard to use the existing bolts to mount it using a din rail mounting kit though. Just mount the kit to a plate and then mount the brewpi to the plate. Done… $5
There is a wall mount available for 3D printing: http://www.thingiverse.com/thing:893928
And of corse the one @Elco designed: Wall bracket for mounting the BrewPi Spark
All good ideas, but we’re still talking about doing lots of exploring for the appropriate parts to mount to a Din kit, some anxiety about purchasing the appropriate one online if you can’t get to an electrical wholesaler conveniently, or talking about sourcing 3D printing services… blah blah blah…
The Bpi is a product destined to be mounted. The manufacturer should design a way to do it, and sell it to us as an add-on.
Looks very nice. I’m preparing to build my control box now and try to get a part list together.
What are the dimensions of your control box? I’m totally unsure how big it should be. Yours looks like a good size. Not cramped but not too big.
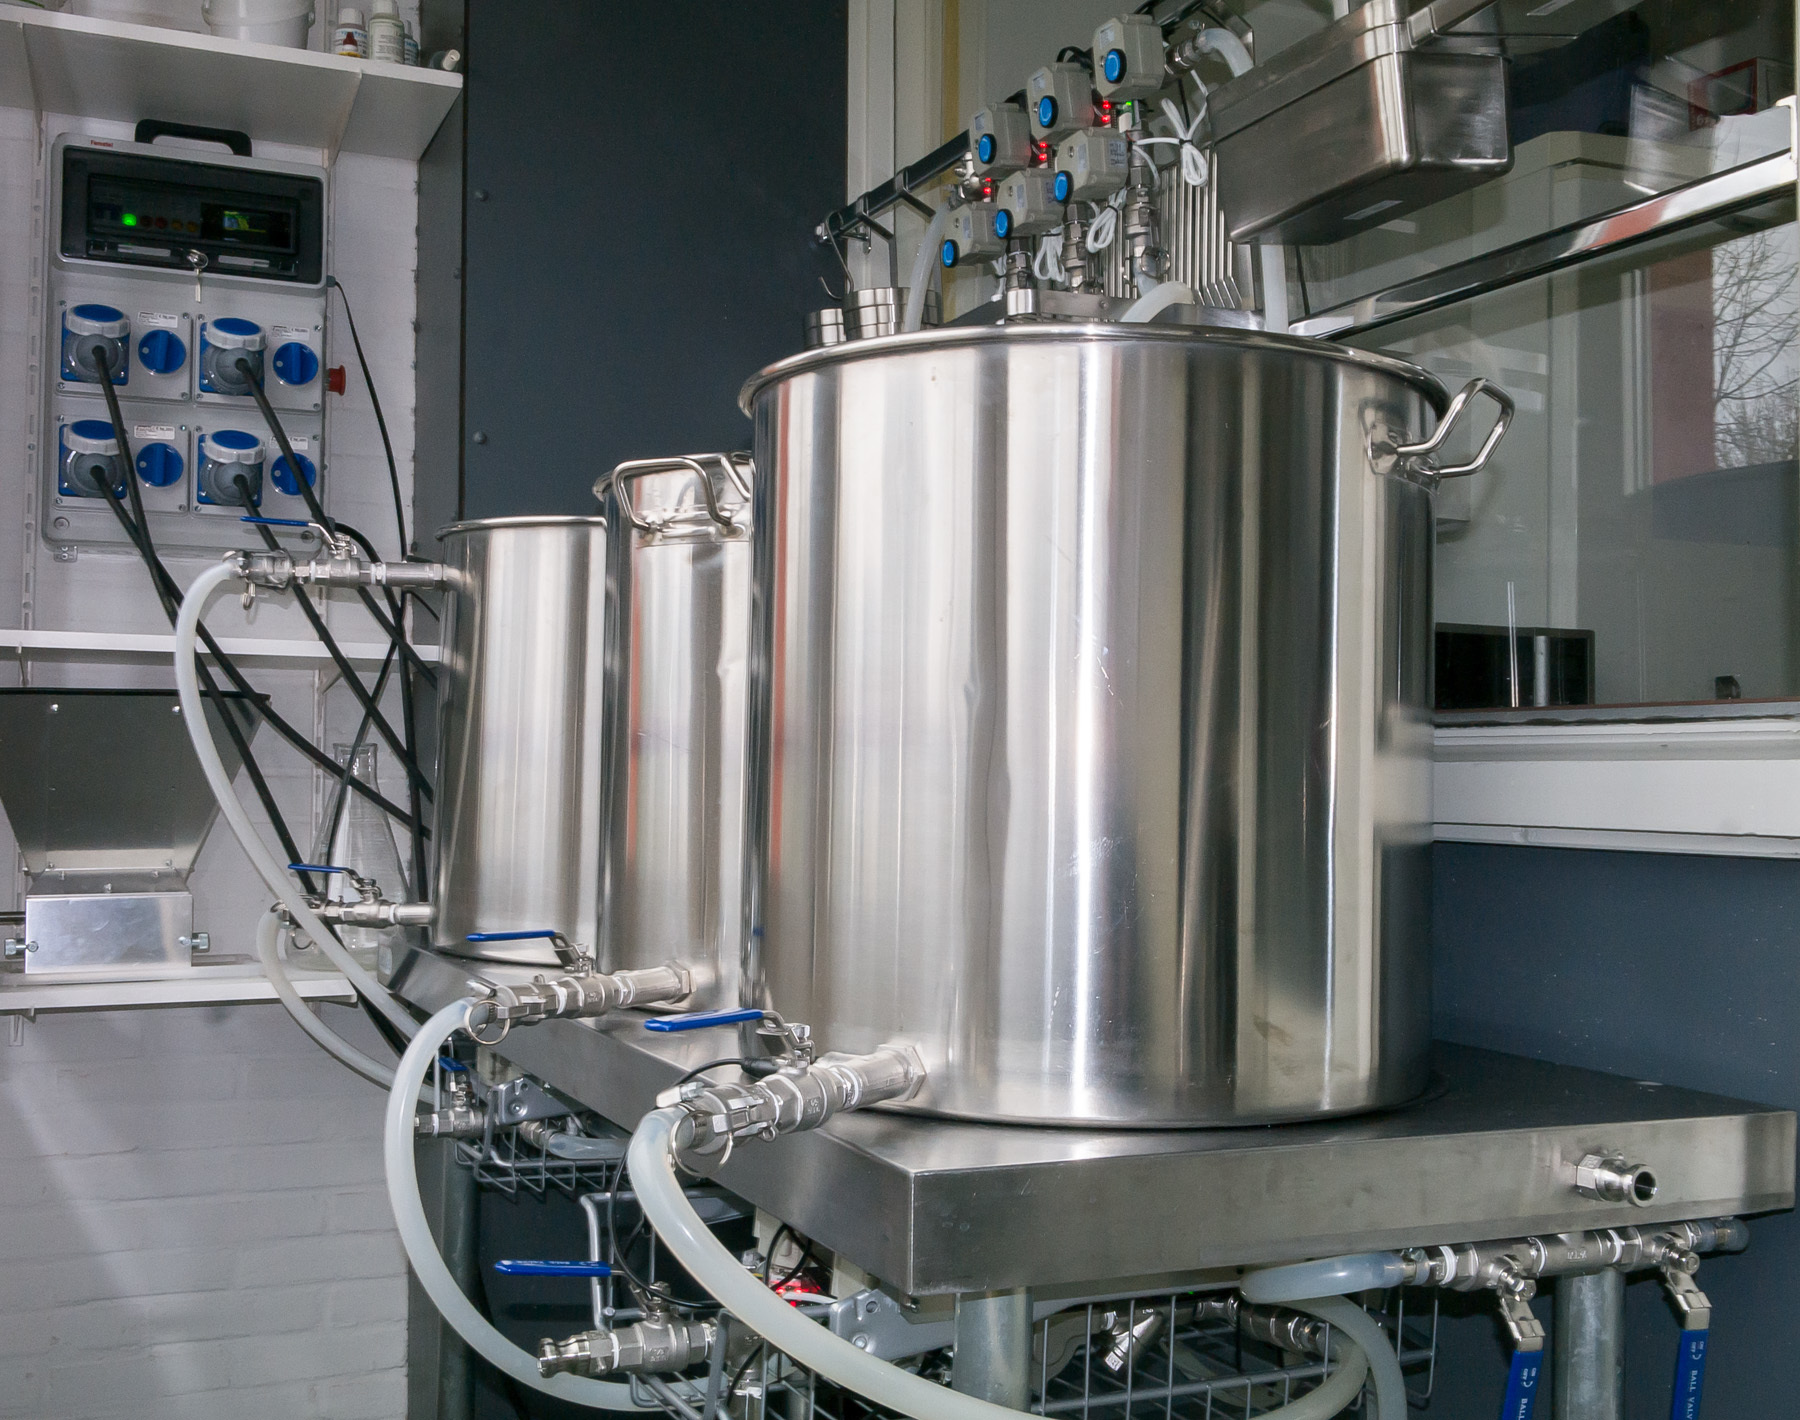
Here is mine:
I have 16A CEE sockets for the elements and pumps, all with manual switches too. Only the elements are controlled with an SSR for PWM. The pumps are speed controlled near the pump.
The control panel has:
I am looking into being able to supply control panels like these ready built, or as a DIY parts kit.
Hi;
I’d be interested in buying one… even happy to beta test one…
suggestions i would have;
go with the Neutrik connector and integrate the pump speed control. I’d rather have some extra lines running to the control panel so as to get a central point of control.
integrate the RS485 connector on the side so you can plug it in
I think it would be good to have a bigger panel so as the house the adapters, the photon and the raspberry PI all in one. it would also allow the fridge\fermenter control to be originating frmo the single control panel with 2 electric outlets.
@Elco I like that your enclosure has the clear plastic window so you can see the BrewPi screen. Mine stays locked up in metal. Where did you find your enclosure?
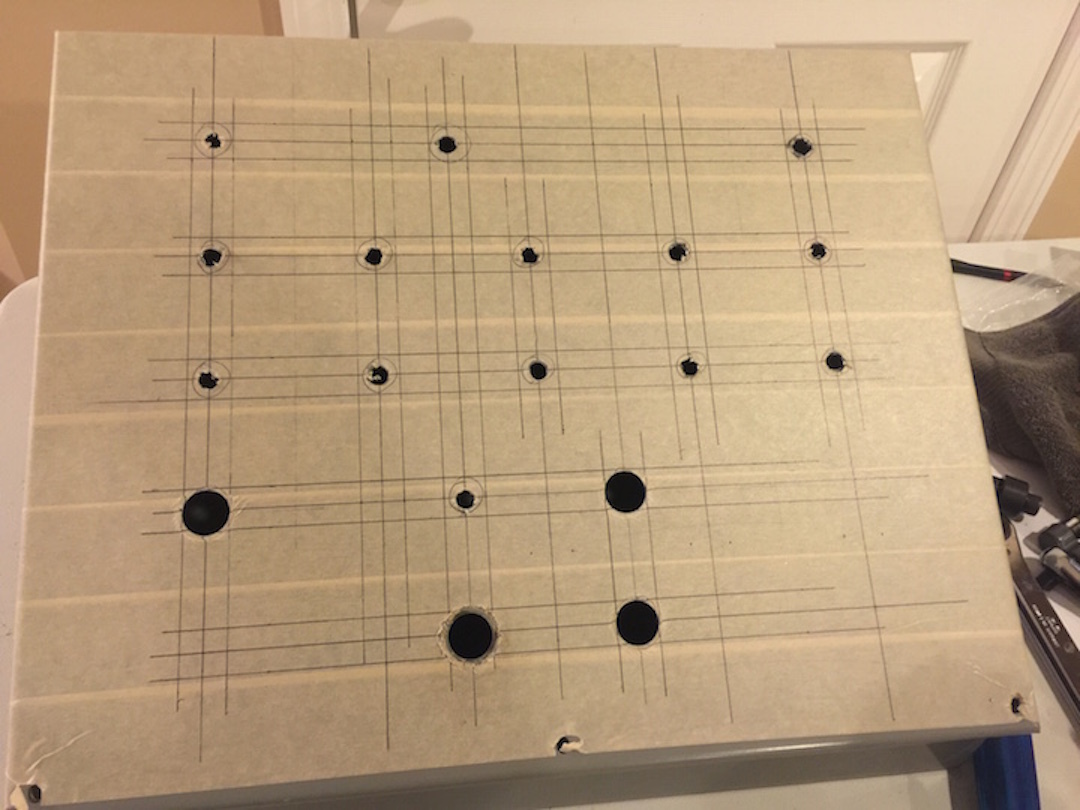
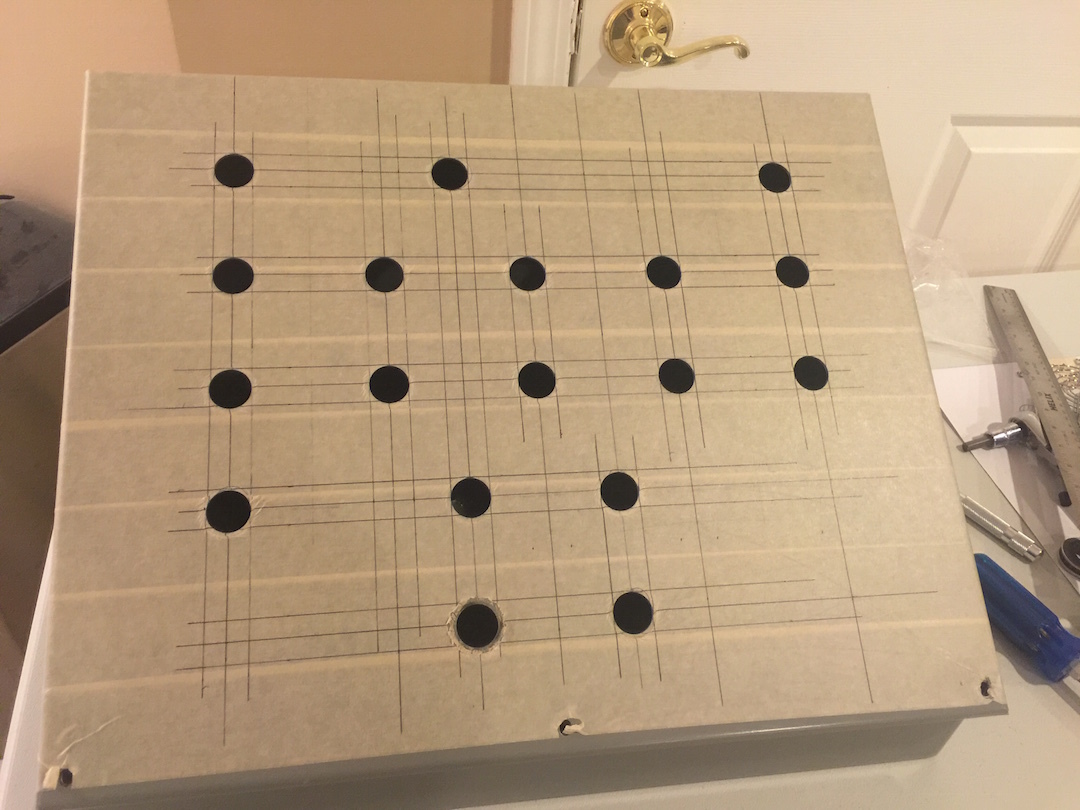
Ok I just got started on my control panel tonight, so I thought that I would share the first picture of the upcomming system. tomorrow ill start with the wireing,and hopefully be done over the weekend.
Does anyone have experience with the Photon inside of a metal enclosure and the signal strength of the wifi module?
My enclosure will be delivered in some days and in worst case I need find a solution by using an external antenna outside of the enclosure. Plastic enclosures are probably better but I have not found a good one that I like.
I’ve never tested the Core or the Photon far away from the Access Point, means different room. I assume that having the BrewPi inside of the metal enclosure plus a different room has an impact on the network stability.
Hey there @ThomasT74, I’ll tell you what I know and then let others chime in as well. First off, if you are referring to the Photon on the BrewPi Spark, it does not connect via wifi to anything at this time. You connect it physically with a USB cord attached to your RPi. Your RPi on the other hand will need network via wifi dongle or network cable. I used a plastic enclosure but it was located in the garage and a long distance from my router through several walls and doors and I would loose connectivity every now and then. I placed a wifi extender in my garage. I went into its setting and just made it a “pass-through”, for lack of a better term, to where it doesn’t mess with assigned IPs. Now everything is very reliable and I always have good signal strength. I don’t have direct experience with wifi through metal, but I assume it would act pretty similar.
My signal has been great through my thick stainless enclosure seen in my earlier post in this thread.
That is raspi signal of course!
Thank for the information.
I understand that at the moment the Raspberry Pi has the WiFi and not the BrewPi. This will change in the future and the Raspberry Pi will move outside the panel.
I use my own software build at the moment, until i think the original software is ready. Certainly not as sophisticated but works for fermentation and brewing. I do not use the Raspberry Pi because it is very slow when you have a temperature reading every 15 seconds and you want to look at a graph with data over several days in Grafana. I installedy my API stack on an older thin client with a bit more power.
I must have missed somthing here, doesn’t the brewpi have wifi? I read on the website before I bought it that it had wifi. Damn this kinda ruin the control panel layout I made. I sure do hope that it its only a matter of flashing the brewpi to enable it in next build. Can anyone confirm that its only software issue?
Best regards Kenneth
The Core or the Photon, which is the heart of the BrewPi, has Wifi built in but is currently not utilised from the software that @Elco is building at the moment. The data transfer is done via USB serial link.
When @Elco is finishing the re-factoring soon and one of the next steps will be a Wifi option that will replace the USB serial link. This would allow you have a BrewPi connected to your Fridge(s) and also in your control panel for Mashing and both reporting back to a Raspberry Pi as the central data host and controller for all BrewPi’s.