Here is my BrewPi build
This is the fridge
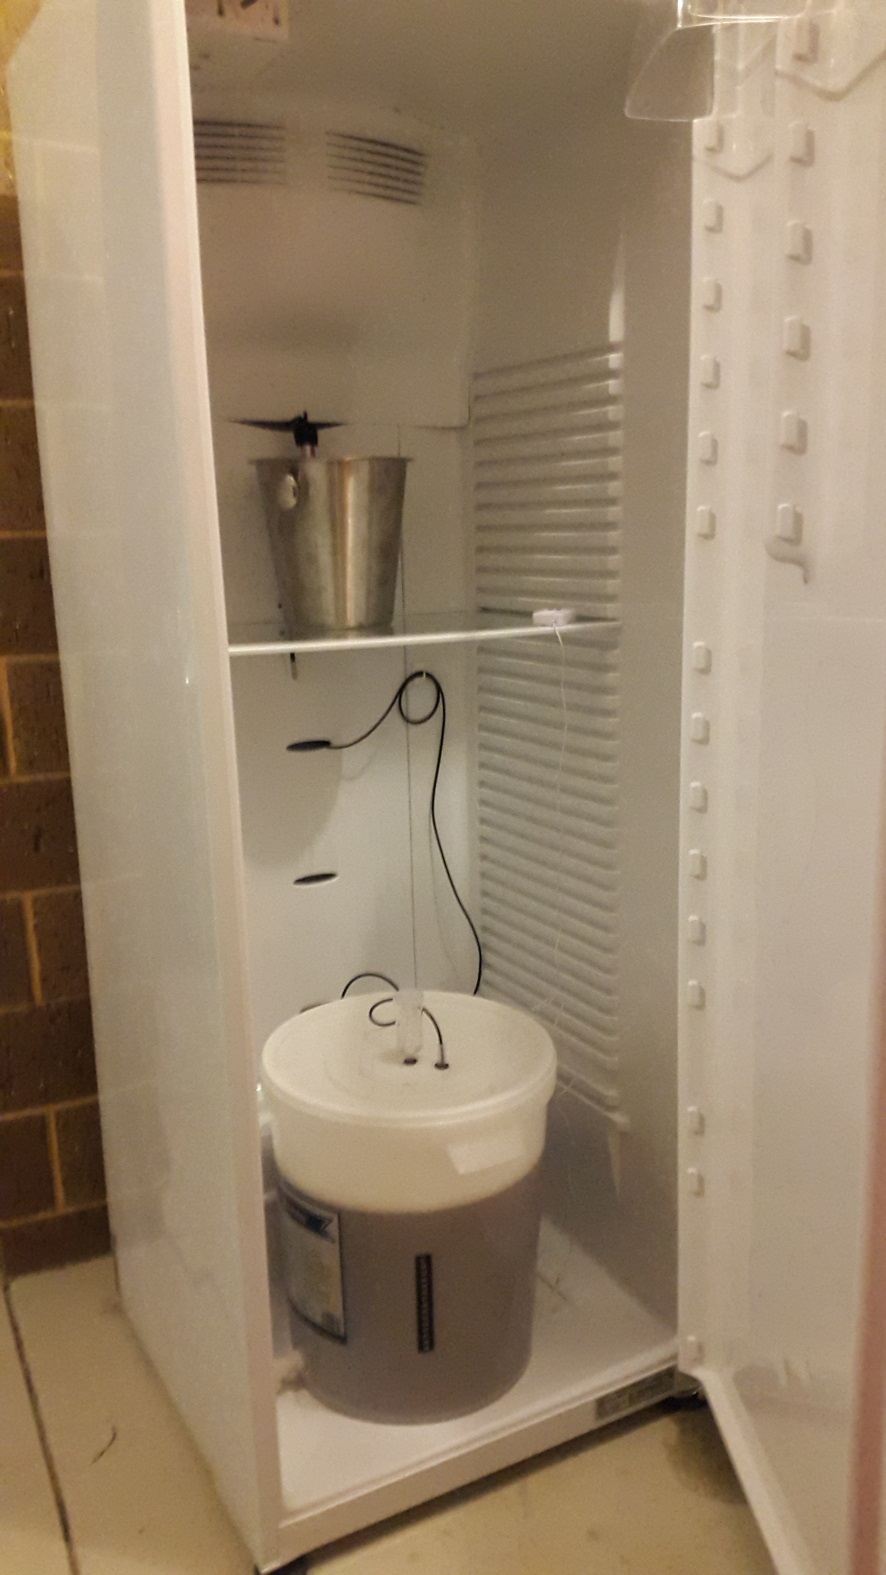
Hack fridge
My approach to this was to simply disconnect the thermostat cable (yellow) plug from the control box at the bottom rear of the fridge. This was the only change I made to the fridge. I would only need to plug this back in to use the fridge again.
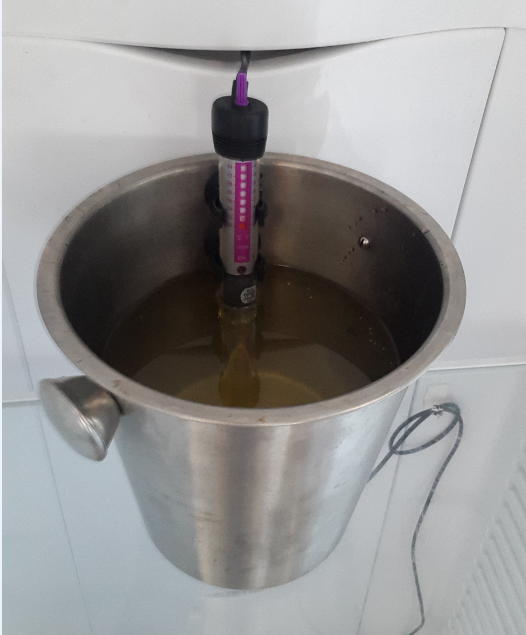
This is the heater
I chose an aquarium heater. I was unable to source a greenhouse “tube” heater. I mounted the 100watt heater in a steel bucket filled with water/vegetable oil. This is to distribute the heat away from the element, the element on the lowest setting is around 43 degrees (not submerged). In 1l of water/vegetable oil it is approx 20 degrees Celcius.
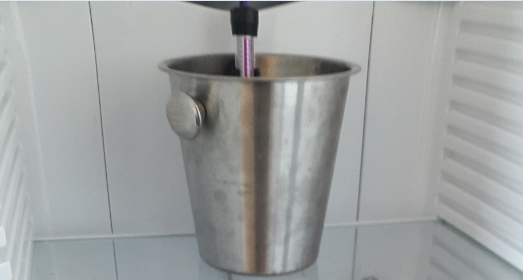
This is a heater in a bucket full of water & vegetable oil
This is the enclosure
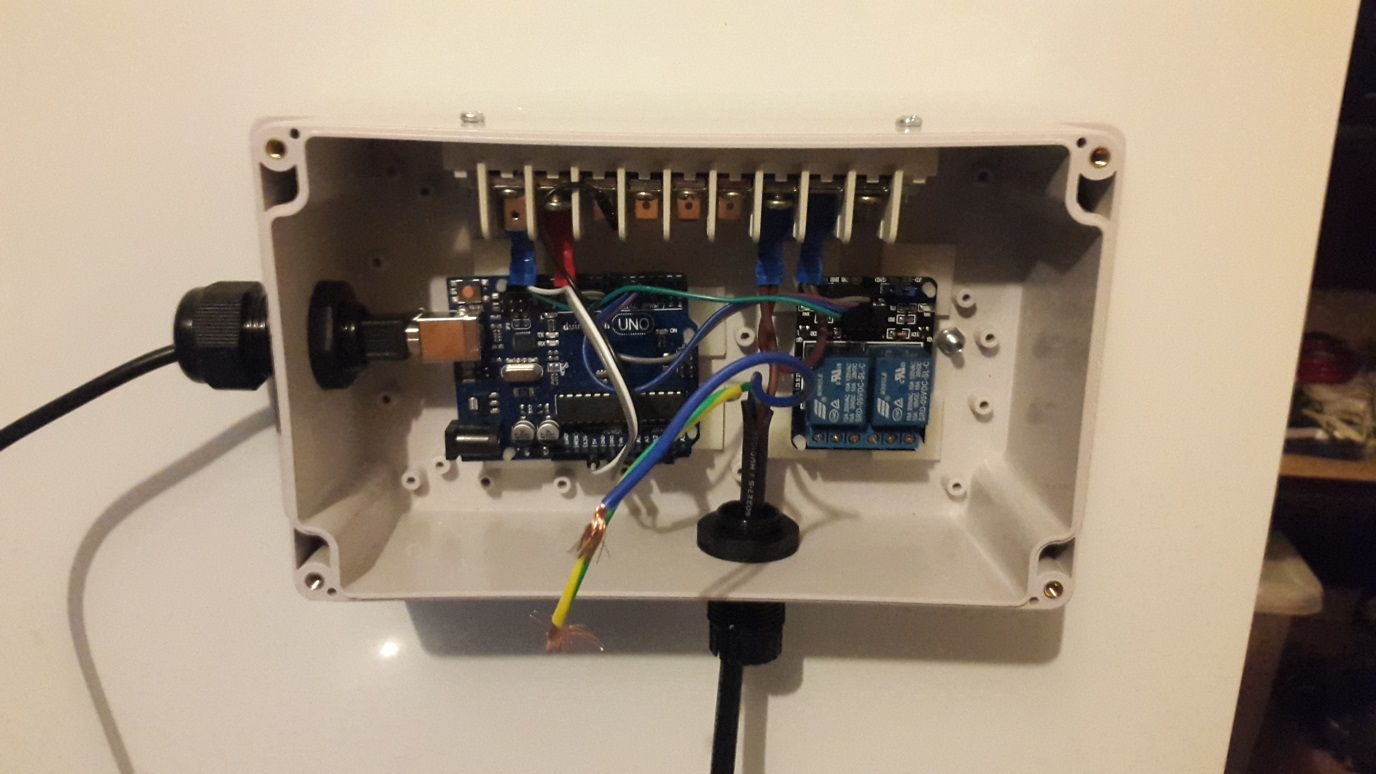
Cable glands
2x20mm glands
Pi powers Arduino
Switched power cable through the other
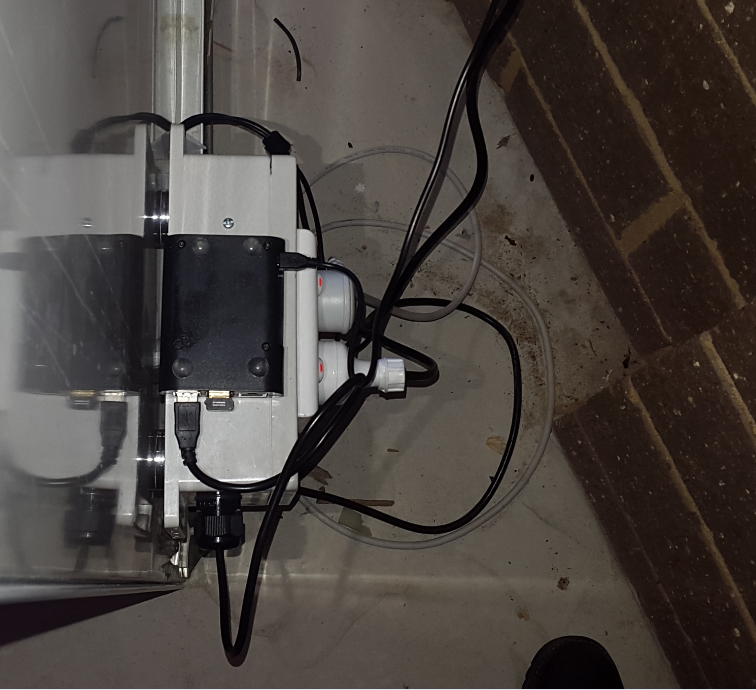
I have opted to use magnets to mount the enclosure on the rear of the fridge, I have observed that two magnets may not be sufficient as pressure or movement could cause the box to fall. 3-4 magnets will need to be tested.
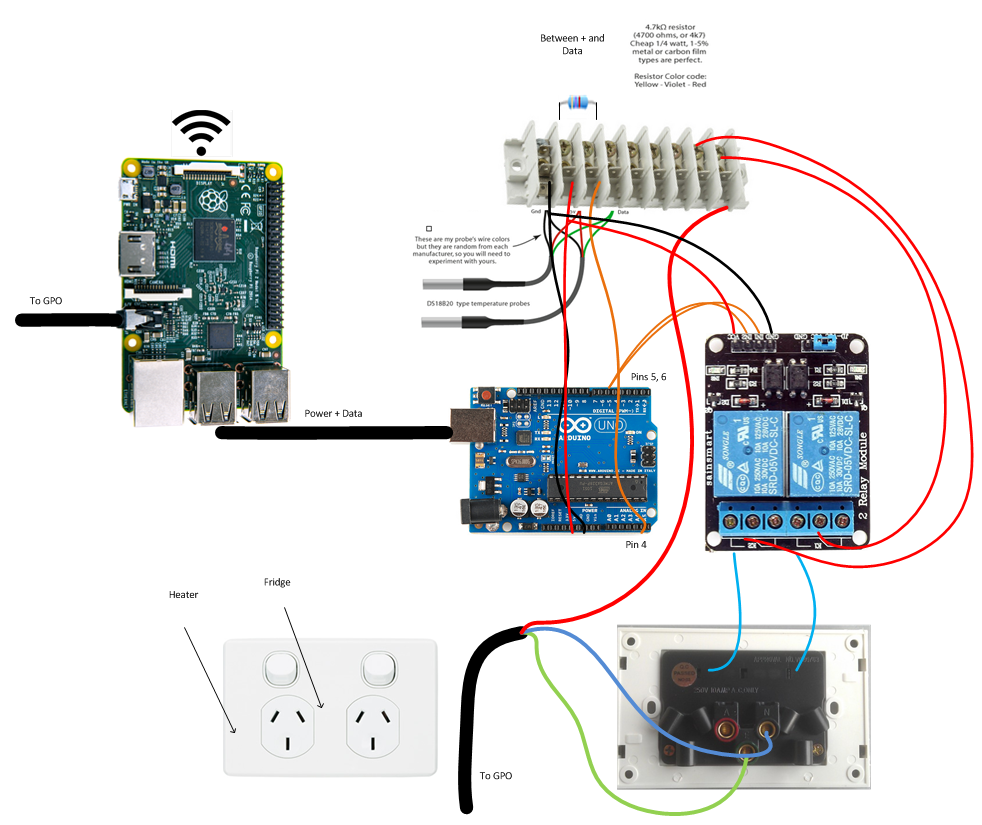
This is a diagram
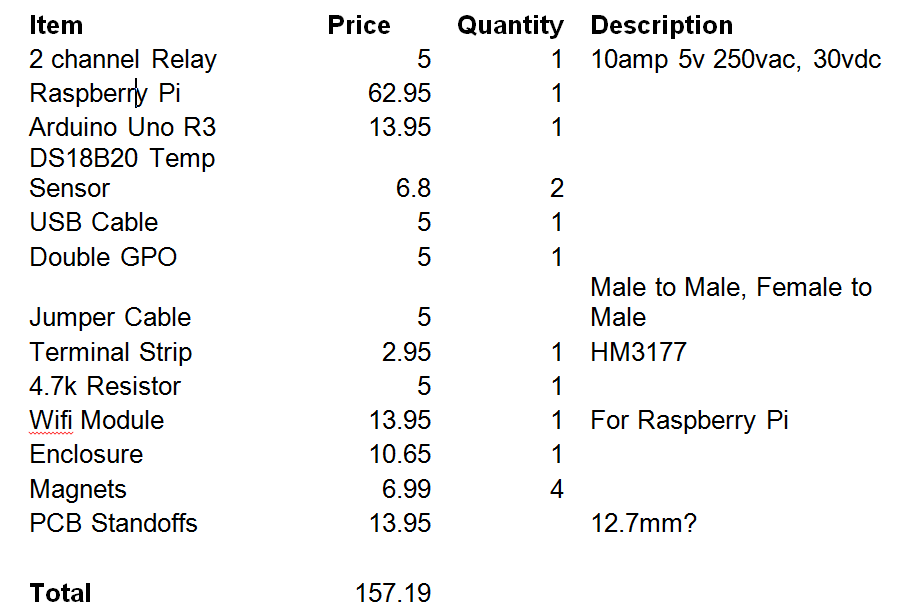
Parts used
This is the first Brew
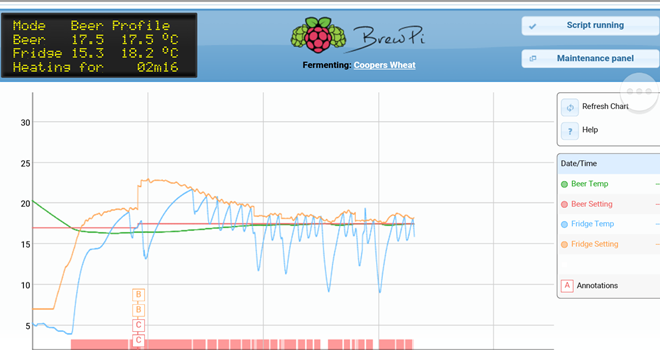
Awesome software and seems to be working well into the second week of the temperature profile. There are some things I would do differently when I build a “spare” but overall a very enjoyable project. Thank you to those responsible for creating this software, very cool.
Cheers,
Dave