INTRODUCTION
I stopped brewing several years ago because I was frustrated that I was unable to control fermentation temps and wasn’t getting the final results I wanted. We didn’t have the space, time or money for a dedicated fermentation chamber. Now, I have more time and money so I returned to the hobby. I do small batches using the PicoBrew Zymatic. A full all-grain system would be great but I’m still space constrained and Domestic Harmony requires sacrifices.
The household budget director gave me the go ahead on buying a scratch & dent wine fridge with the stipulation that I couldn’t alter it such that it couldn’t be used as originally intended. She thought I might give up brewing again and having more wine space wouldn’t be a bad deal.
Brewing a couple of batches last fall learning how the system work proved I was on the right path. I needed to make my setup more permanent and wife friendly so during the holiday (aka: no-brew) season I decided to build a control box to house the components. The box had to be electrically safe and easy for my wife to monitor/restart while I was traveling for work.
After a lot of searching I settled on a DIN mounting system and bought the components (Mouser and DigiKey are great). Switchcraft had almost all the data interfaces and Neutrik had the power connectors I needed. I had a mounting plate designed to accommodate all the interface modules and allow for some growth. Being able to quicklty disconnect the box from the sensors has made troubleshooting much easier.
FRIDGE
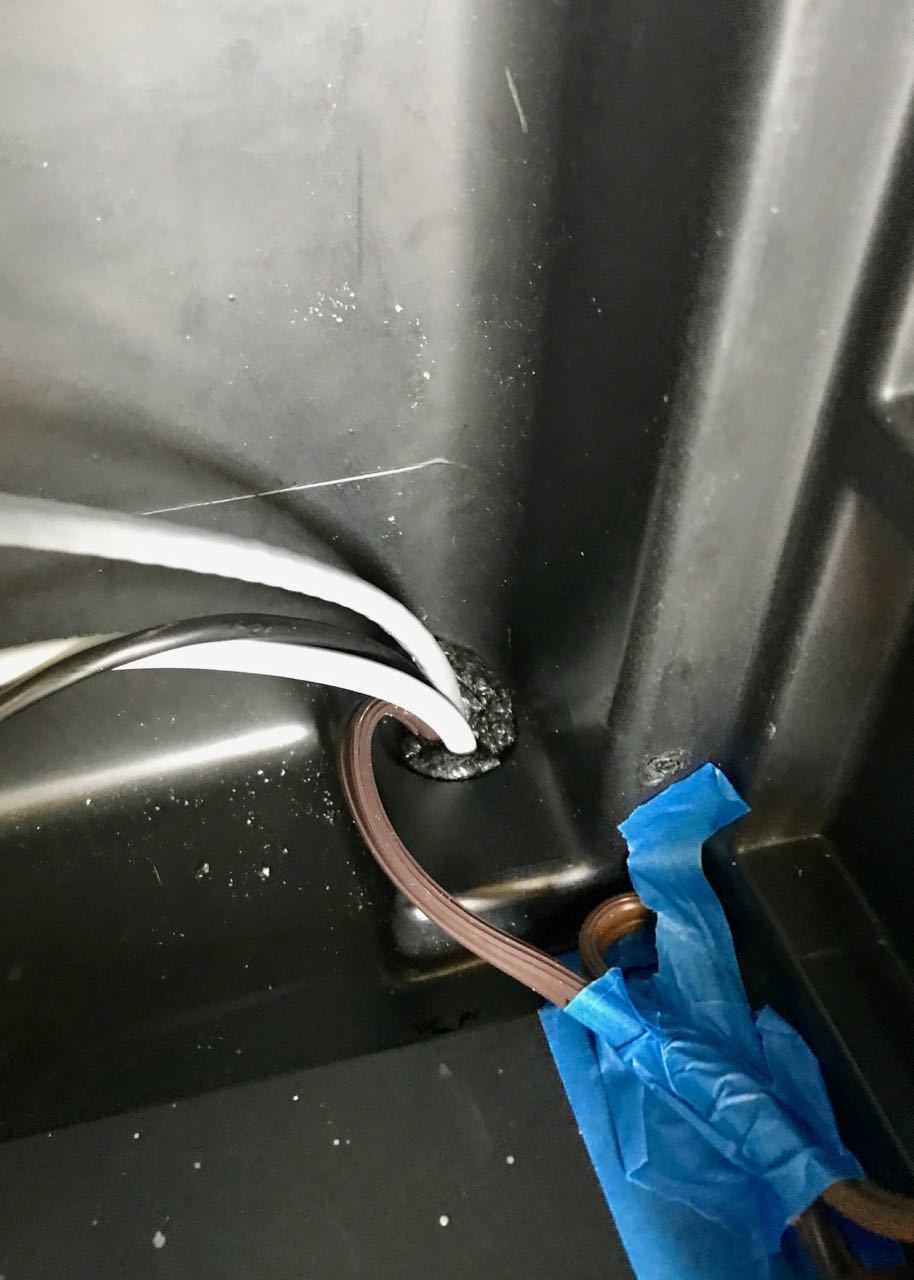
This is the only hole I’ve made in the fridge. I was able to leave the drain system intact and correctly guessed from the layout that the only thing I’d be drilling was insulation.
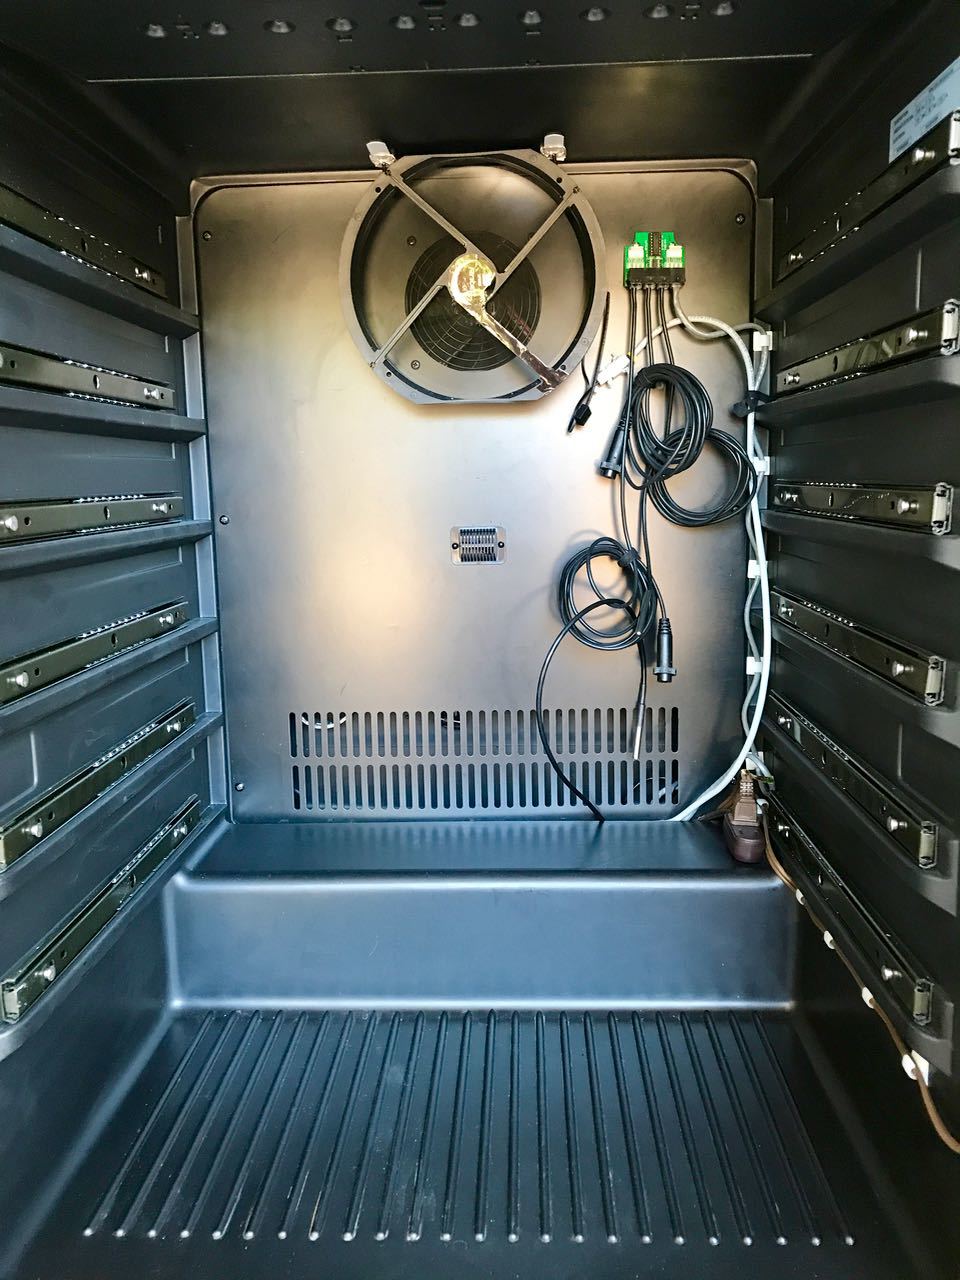
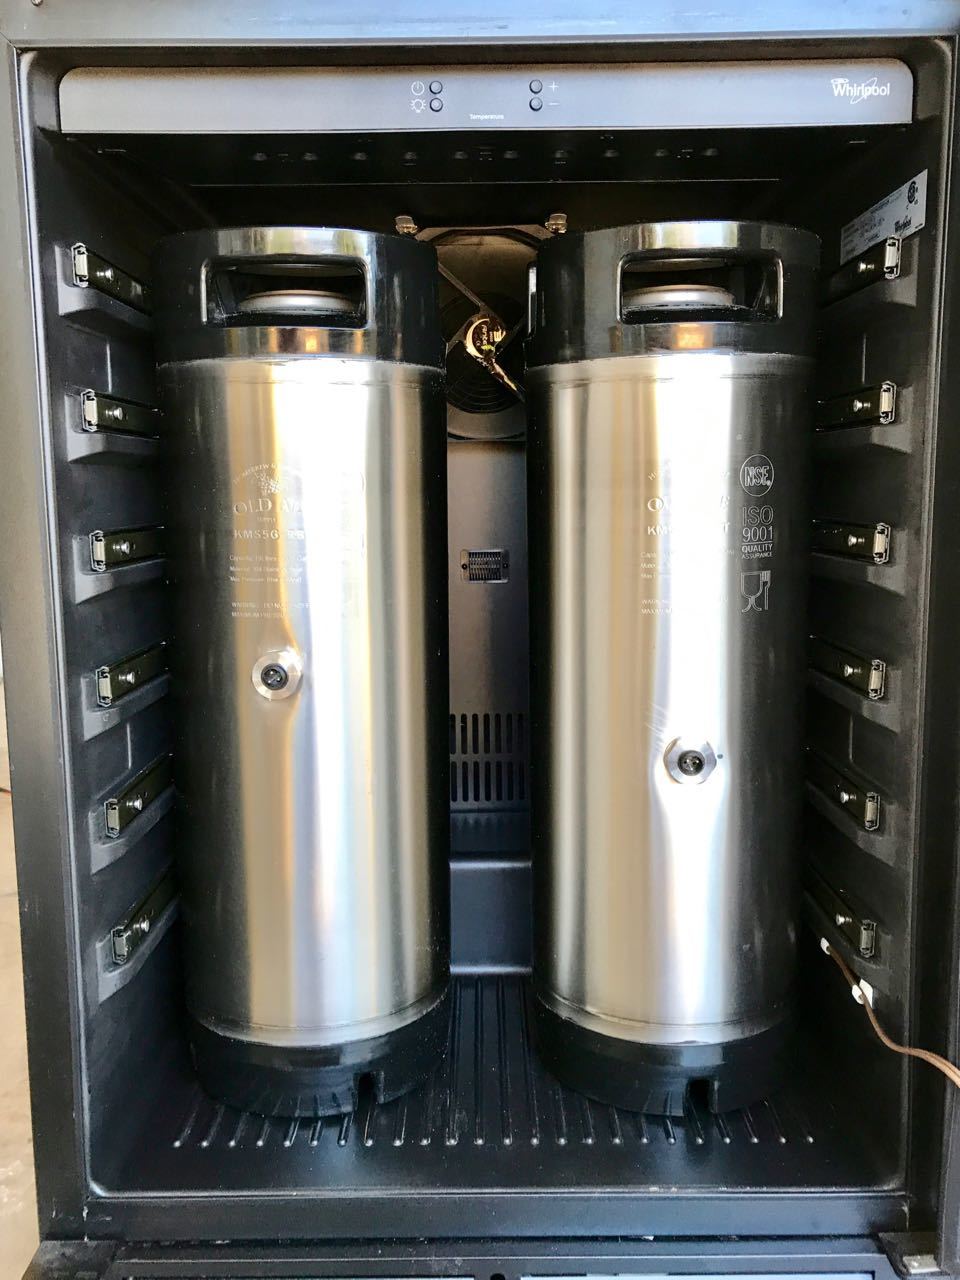
This is the completed fridge interior with OneWire sensors and 8” fan in front of the small original fan.
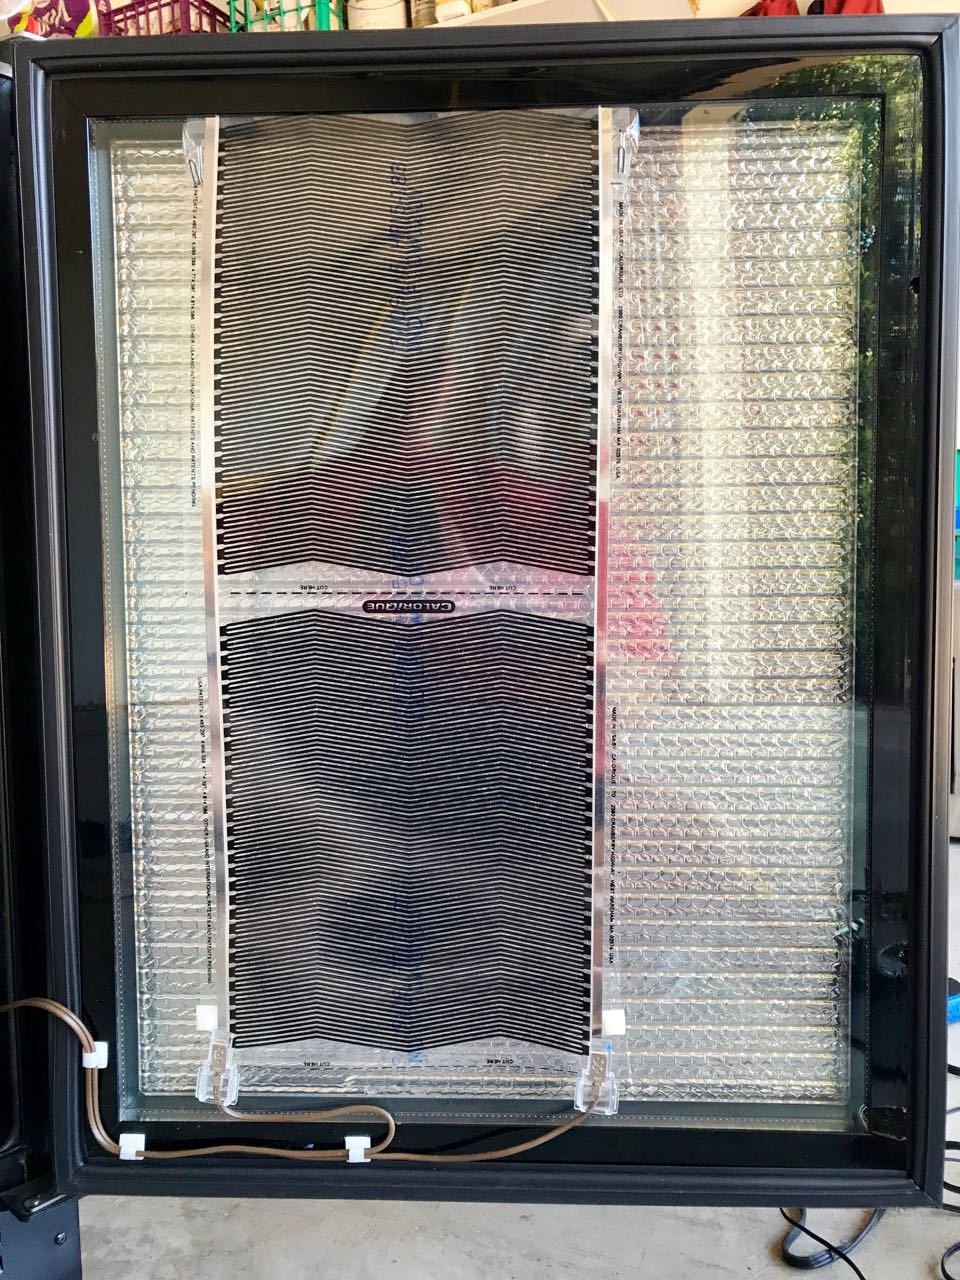
I use a Fermwrap mounted on the door for heat. Since the fridge is in the garage I used external bubble insulation to increase the door’s R-value.
After modifying the opening for the cords, the back of the fridge is tidy and the unit is easy to move.

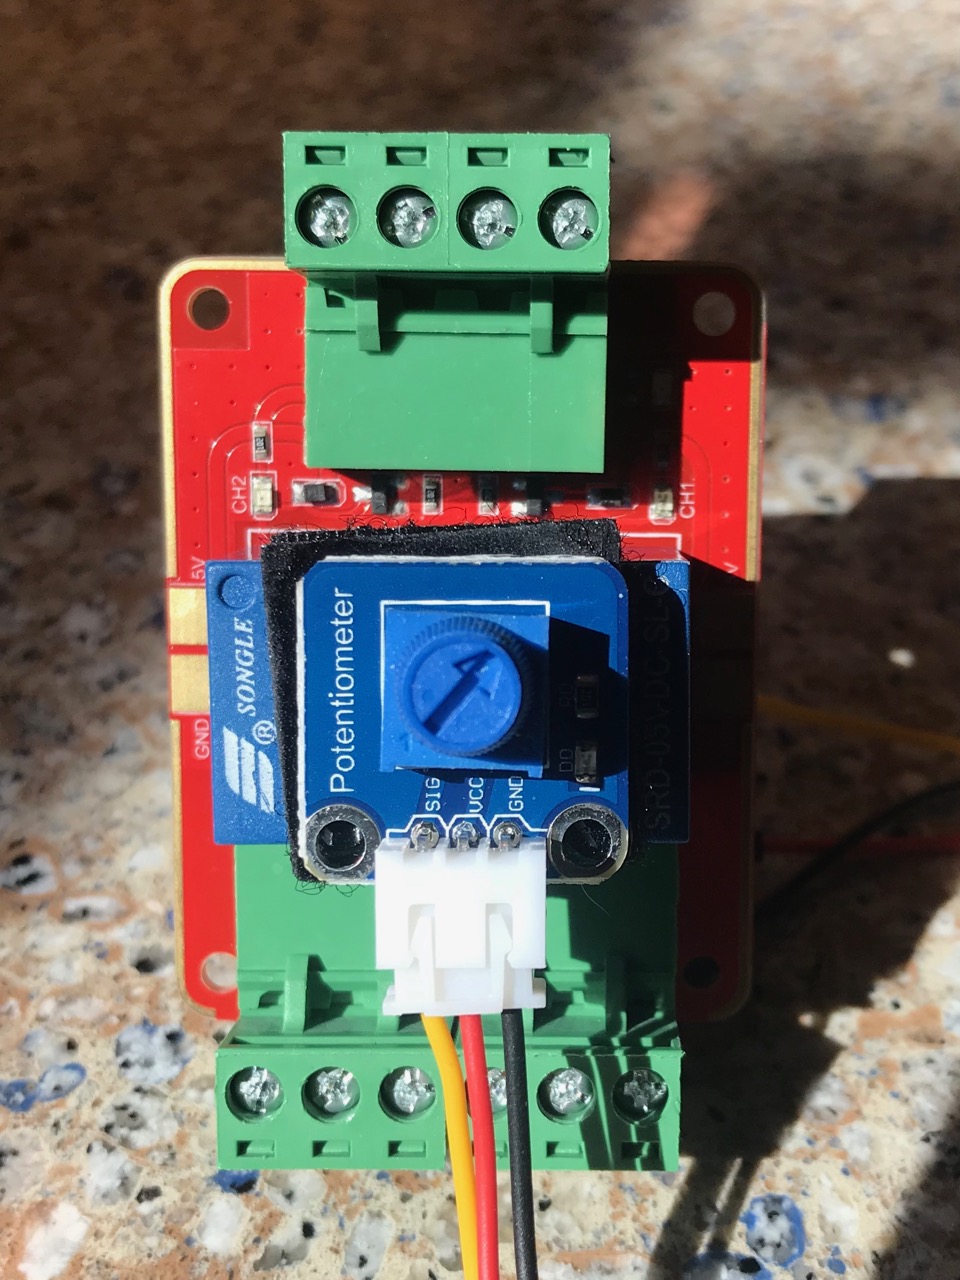
The Zymatic uses kegs for fermentation so I punched holes in them and mounted temperature probes from BrewPi. There hasn’t been any issue with leaks and they hold up to normal fermentation pressure.
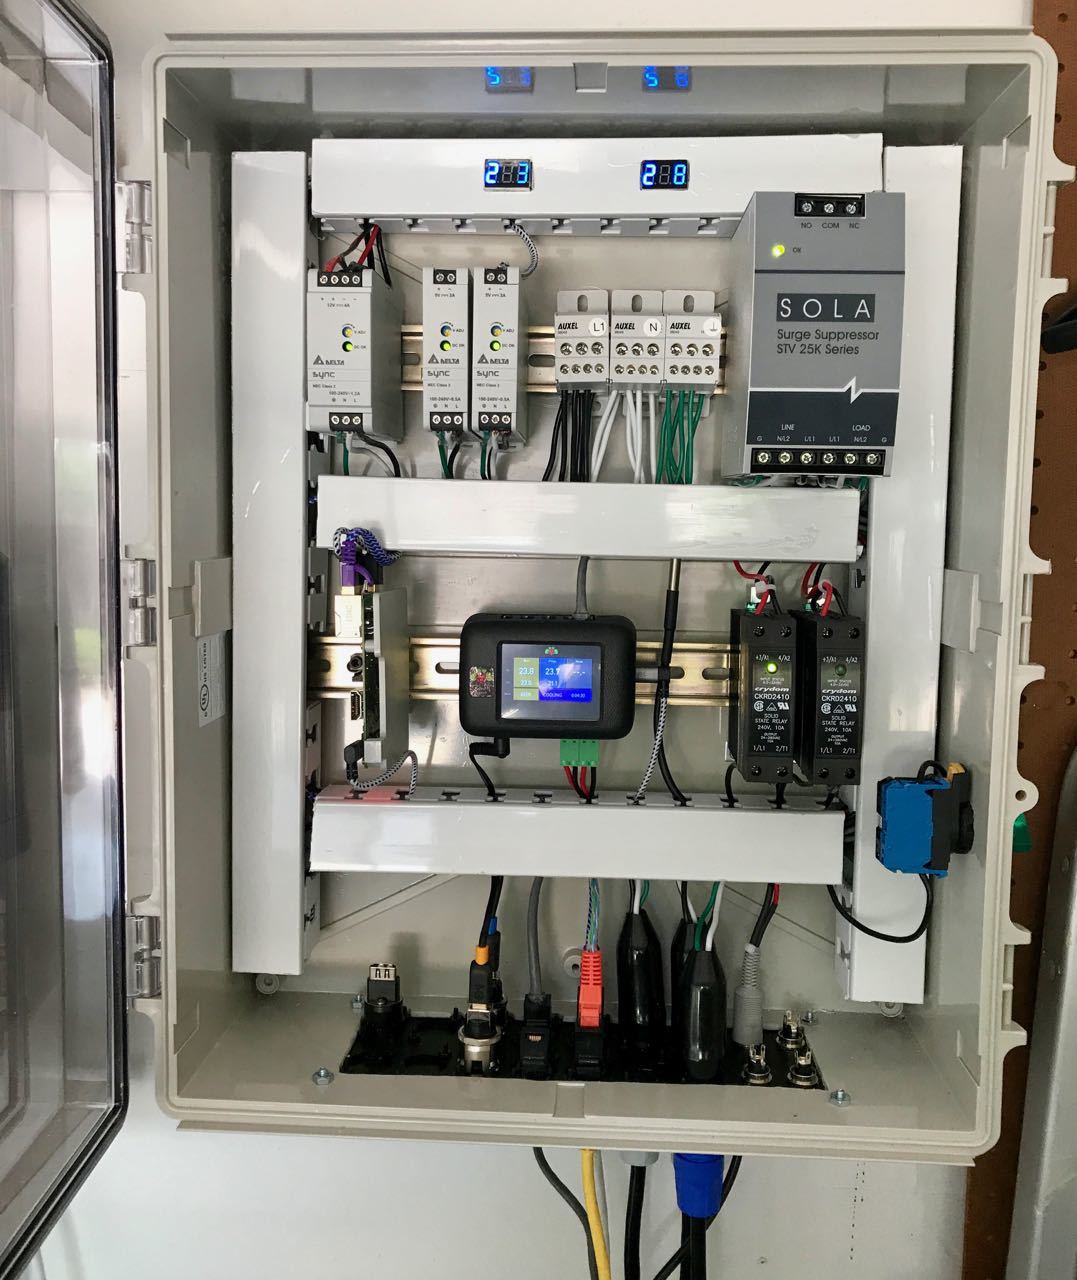
CONTROL BOX
I thought the control box enclosure was going to be too big but it turned out to be exactly correct.
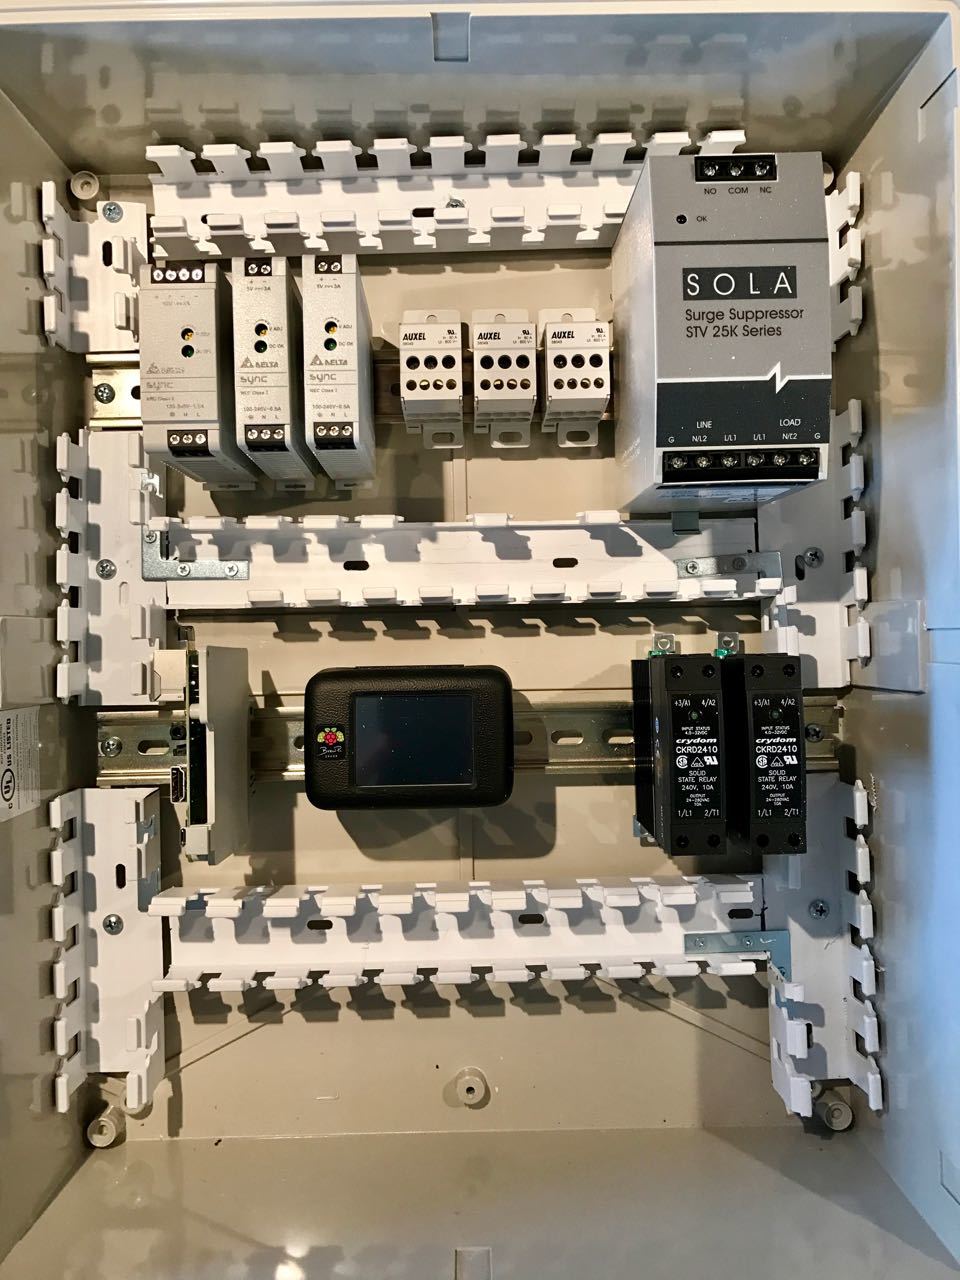
Starting left to right:
row 1: 12V and 5V DC power supplies, wire distribution nodes, surge protector
row 2: Raspberry Pi, Brew Pi, AC SSRs for heat and cold
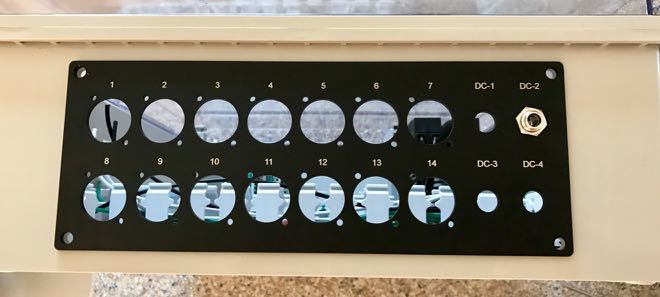
The blank interface plate
Fully populated with HDMI, USB, RJ12, RJ45, AC power, DC power for the larger fan.

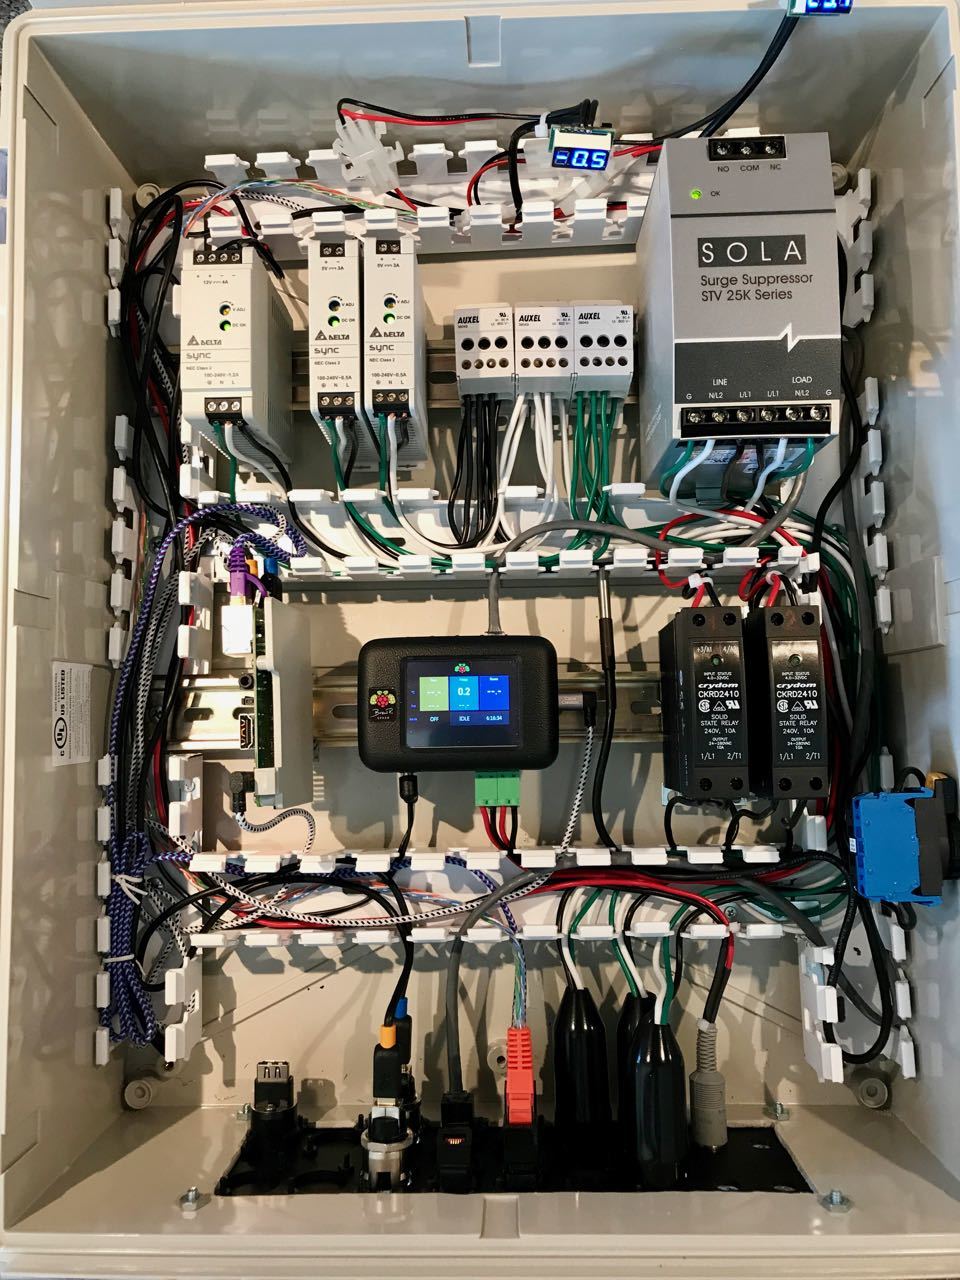
Fully wired. The ON/FF switch is mounted on the lower right,
The small LEDs are the standalone sensors displaying the current fridge temp and control box temp.
Mounted on the garage wall up and running.
ISSUES
-
We’re actually having Spring in north Texas so I’ve needed heating for my Belgian Wit. I’ve felt the Fermwrap during a heating cycle and can’t detect any warmth. I don’t know if I need to tweak a default setting on the Proton or if this heater is unusable in this type of installation.
-
The fridge is digitally controlled so I can’t just bypass the thermistor like is done with the thermostat in analog units. This means I have to set the fridge to it’s lowest value, 41F, and cycle the power on and off. This type of equipment isn’t designed for so many power cycles and I’m afraid of eventually damaging the internal control board. I’ve been told the circuit required to mimic the thermistor isn’t difficult so I’ll be starting another thread looking for anyone with circuit design know how that can help dream up a work around.
CONCLUSION:
Overall I’m happy with the result, and my wife has said she likes being able to see what’s going on.
Thanks to Elco for the BrewPi and equipment. You’ve helped me get back to a hobby I enjoy.
It’s been a great help seeing what others are doing with their systems, thanks to all the contributors for sharing.