Alright here it is. Thank you so much to Elco and others for holding my hand through this whole thing. I truly had no idea what I was doing when I started and it wouldn’t have amounted to much without his and their help. I had been planning this fermentation chamber for a long time and slowly chipping away at it, but now it seems I am in the home stretch.
A bit of background:
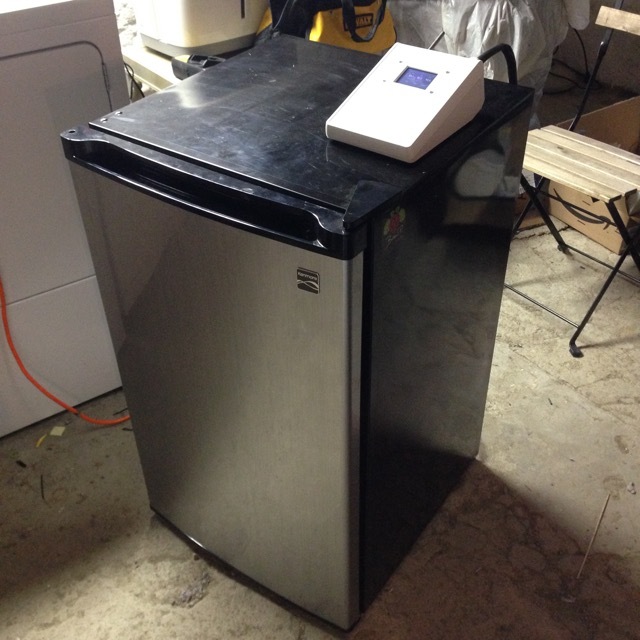
From the outset I knew I wanted a control panel that was entirely self contained (housing the Brewpi, Raspberry pi, power converter and all wires in and out) with a single power cable for everything (fridge, heater, Raspberry, Brewpi and fan). With that in mind I went with Option 3 in the fridge hacking guide of removing the internal thermometer and inserting my SSRs in line. I also knew I wanted to use a tube heater I had seen in a few builds, since they looked quite elegant and appeared pretty easy to make water resistant. I was very pleased to find a 110v 60W 1ft long version made by Thermo Products. Unfortunately, the shipping from the UK cost about as much as the heater itself. Though after installing it I am quite happy with it.
In all it took the acquisition of a few new skills (like soldering and some basic comprehension of both AC and DC circuits) as well as quite a lot of time, wrapping my head around how the whole thing would work.
I just fired it up for the first time a few days ago and ran a few basic test in fridge constant mode. Both Heater and Fridge appear to be functioning as they should. Meanwhile, I have been finishing a few last things here and there (like sealing the hole I drilled to run the wiring for the fan and heater with expanding foam insulation and installing an aluminum elbow bar to help support the weight of a full fermentor).
I am now about ready to run a water test. Stay tuned. But first the build pics:
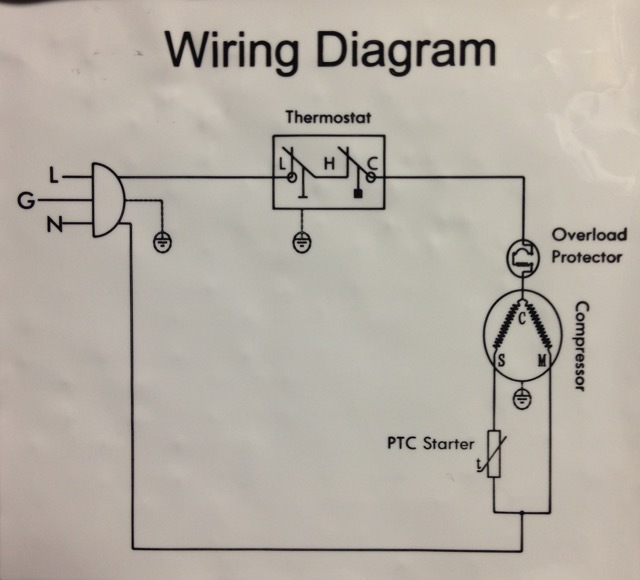
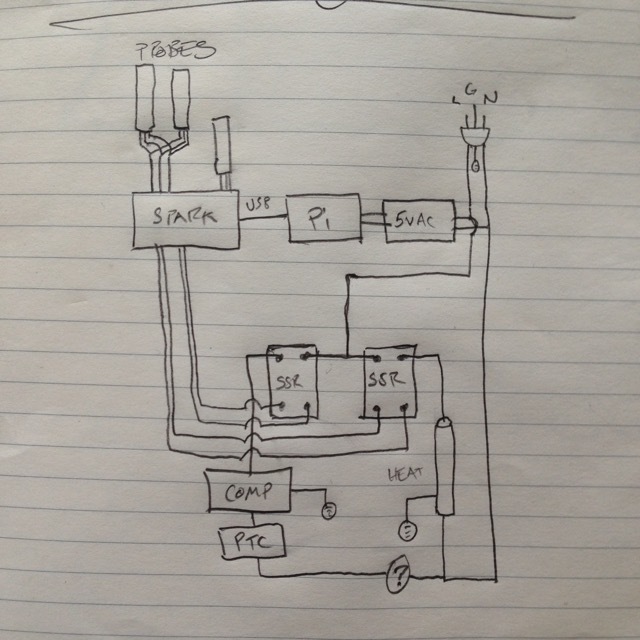
Here is the wiring diagram of the fridge I hacked. A Kenmore Energy Star Certified 4.4 cu ft model. Not very complicated:
My schematic. The only change I would make to this would be the addition of a 12v fan so a separate 12v DC/AC adapter was added to power that, independent of the 5v brewpi circuit and the AC fridge/heater circuit. In case you are wondering the “?” was my placeholder for what turned out to be nothing but a wire run.
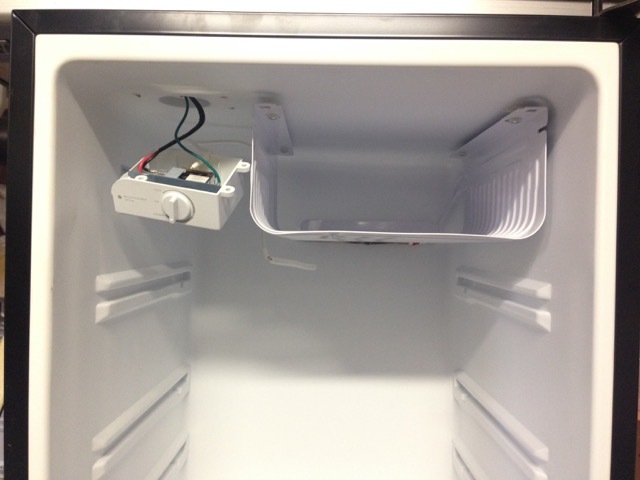
Here is the interior of the fridge and the thermostat. I opted to use the existing thermostat wiring and housing for my temp probes since they already were run to the exterior of the fridge:
This particular fridge had a door with a whole bunch of interior garbage, like shelving and what not that needed to go, so I cut it all off:
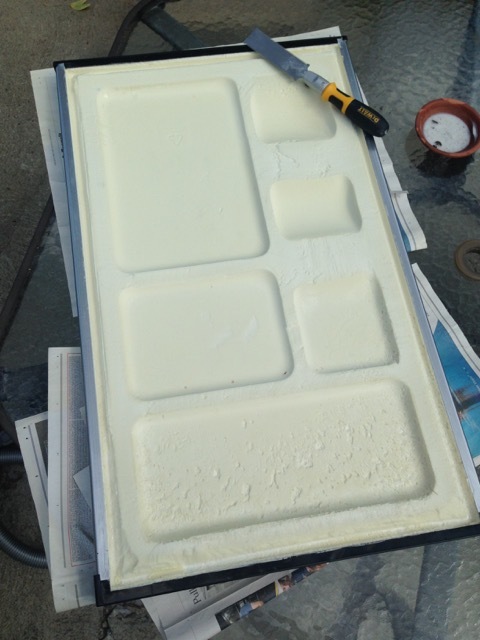
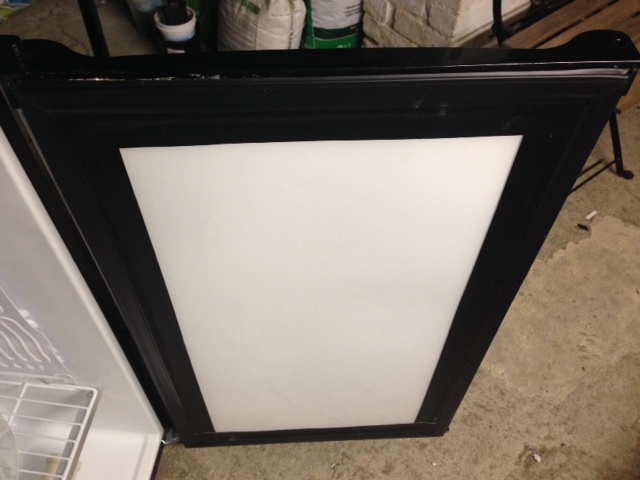
And then sealed it with a layer of white plexi and expanding insulation foam before replacing the door seal gasket:
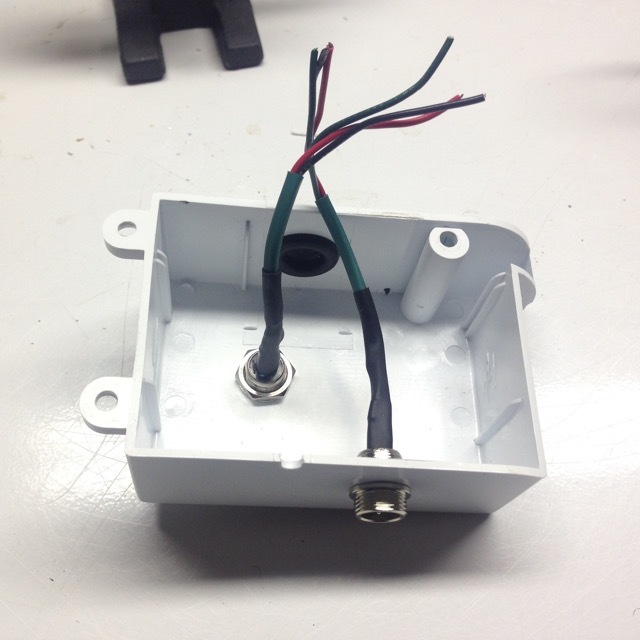
The Thermometer housing with two M12 panel mount connectors as seen in the fridge hacking guide:

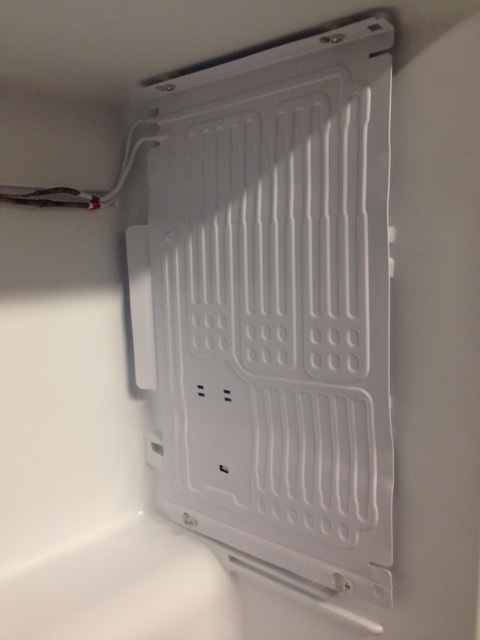
I bent the cooling coils to mount them against the side of the chamber so I can accomodate a 6gal plastic fermentor and possibly even a SS brew bucket:
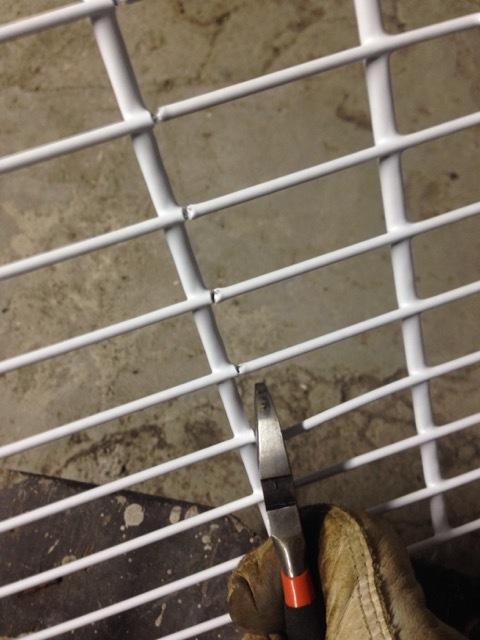
Cutting an internal rack from the fridge to use as a fermentor shelf:
My two internal temp probes all wired up and ready to go:

The Temp Probe housing all soldered together:
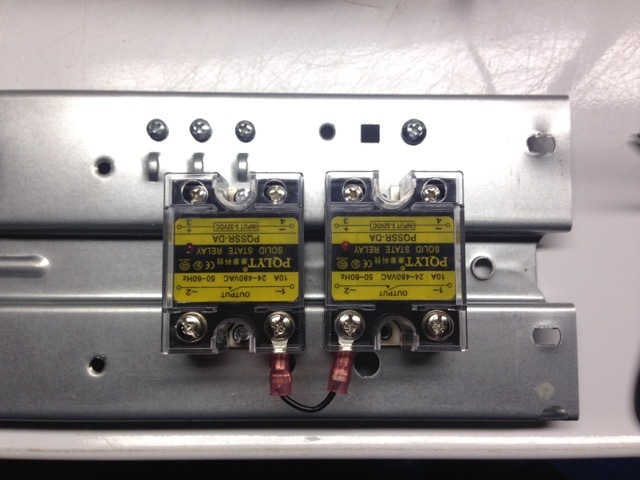
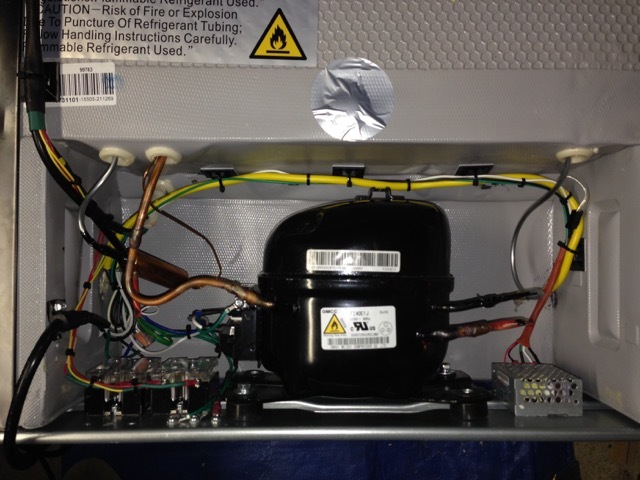
Mounting the two SSRs to the metal Compressor frame:
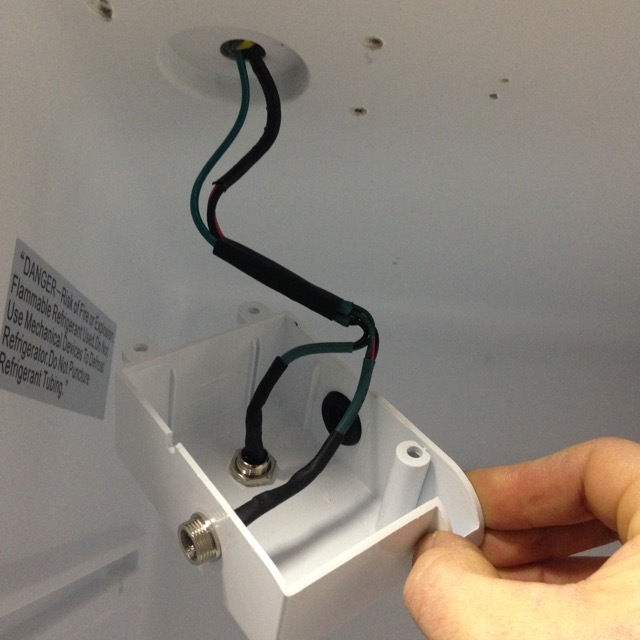
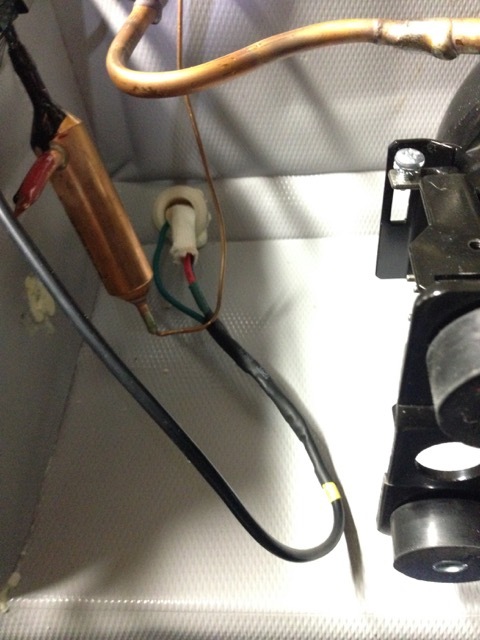
This is where the thermometer and now where my temp probe wires enter the fridge:
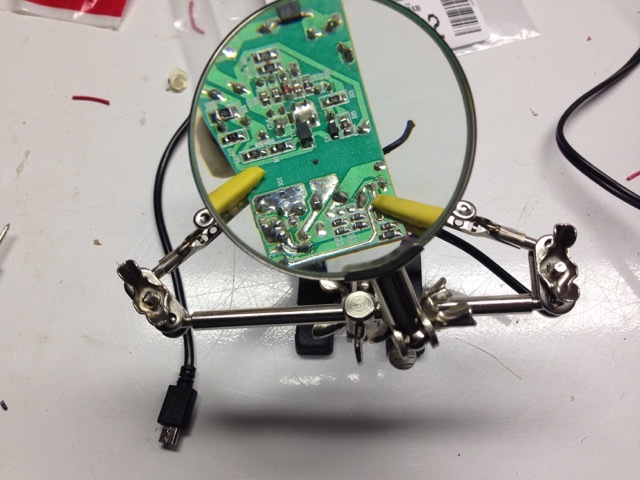
About to solder up the 5v DC power supply:
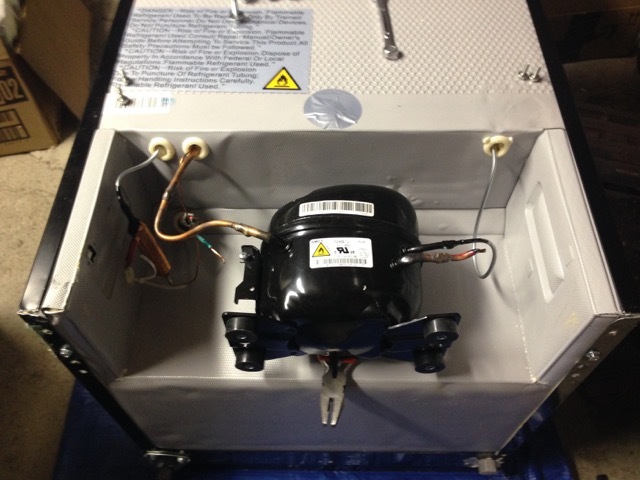
The Compressor frame removed for SSR mounting, 12vDC mounting and wiring:
Wiring done (except for a little plastic fabric that will wrap around the wire junctions on the left and get zip tied in place). I also mounted my 12v DC power supply for the fan on the right side of the metal compressor frame, since this is where my wiring for the heater and the fan would enter the fridge:
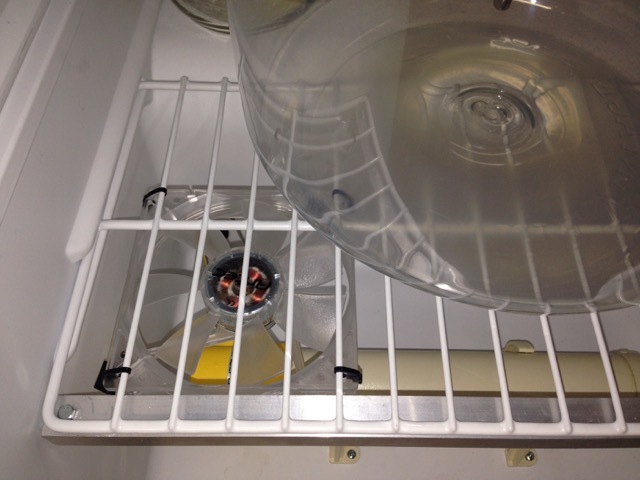
Fan and support bracket mounted. Right now the fan is pointed to blow down, but it would be a pretty quick fix to snap the zip ties and re-mount it, if having it blow up is advantageous.
The heater/fan and support bracket:
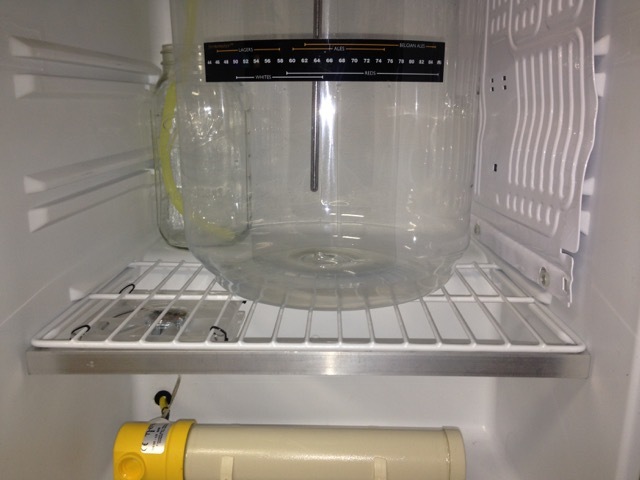
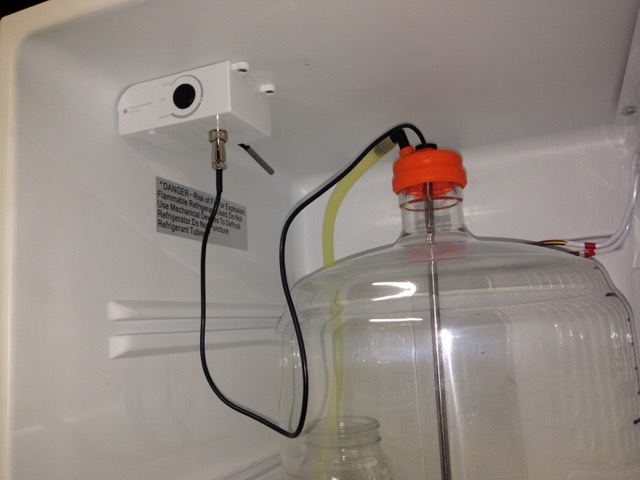
The Finished interior:
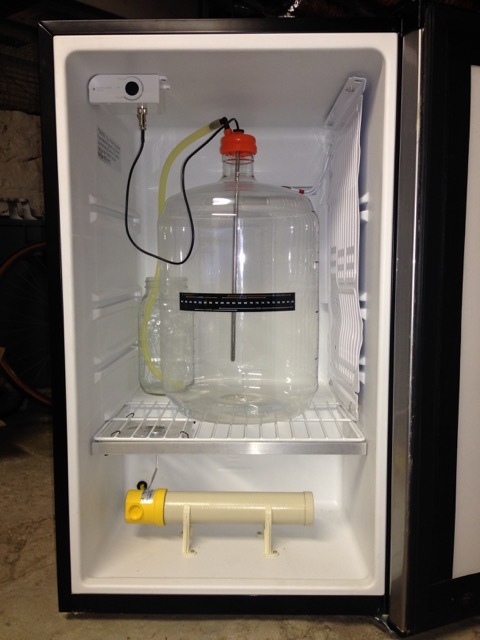
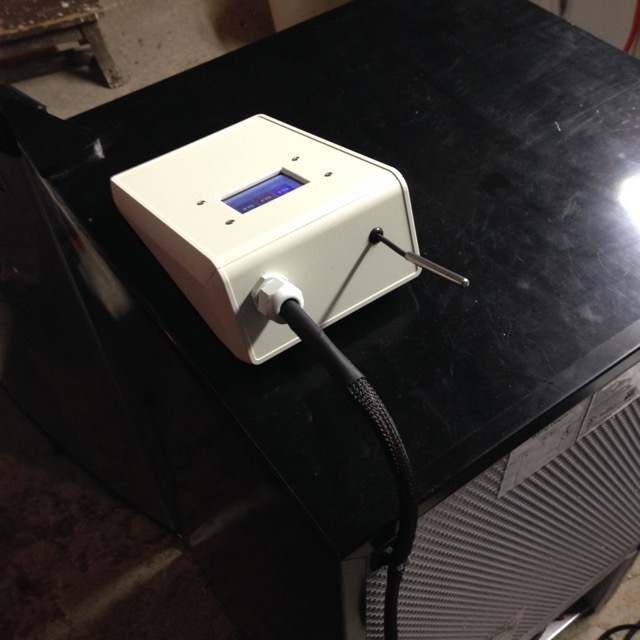
Finished temp probe housing with fermentor:
CONTROL PANEL BUILD:
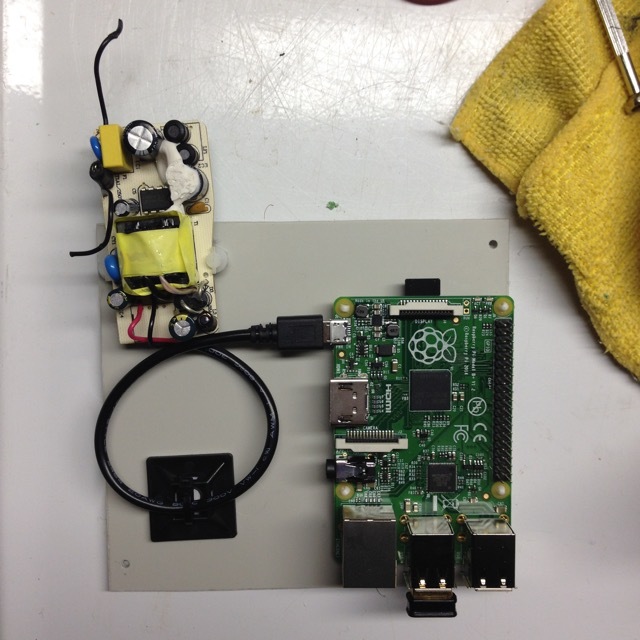
My Control Panel internal mounting board with Raspberry pi and power supply mounted:
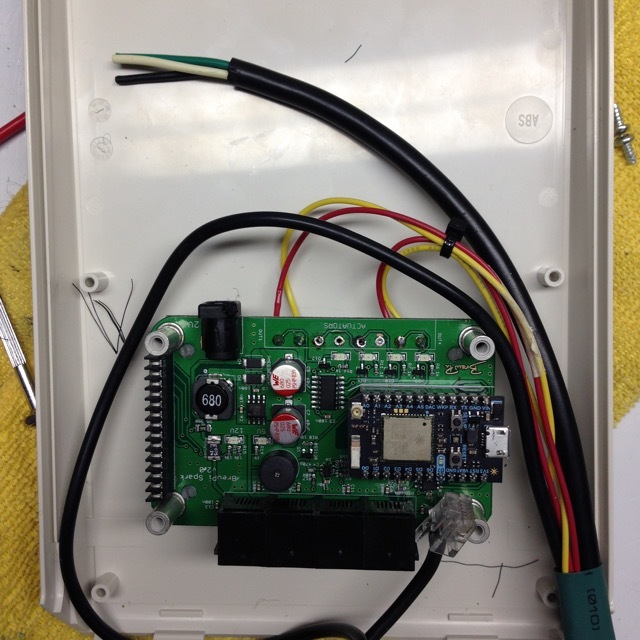
Wiring up the Brewpi:
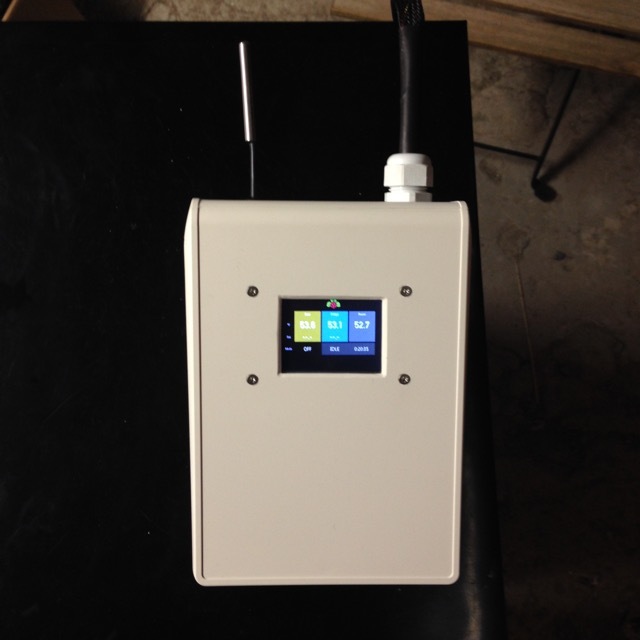
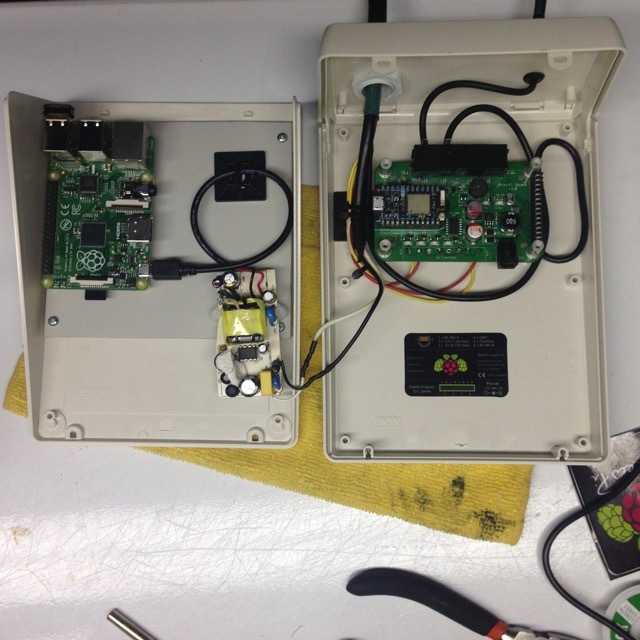
The control panel all assembled except for the USB connection between the Raspberry and Brewpi:
I used cable glands and some braided sleeving to run all the wires. The end result is a single power cable for the entire fermentation chamber and control panel: