I am a recent purchaser of a Spark 3 so coming up to speed with Brewblox.
This guide was super helpful to get things started.
Is there an in depth of the use cases for the various available blocks?
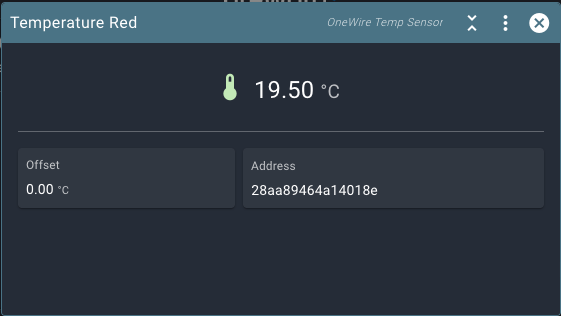
Some are self explanatory, others are not. For example, I have a pretty much constant 0.6c difference between two temperature probes, one is super close to correct calibration so I was looking to see if it was possible to offset the other.
The only reference to offset, and a setting for offset is in the setpoint driver, but I have no idea what it is offsetting.
There is a documentation page for Blocks in depth but it doesn’t outline anything really in depth about what each does and why I should use them.
So I guess my questions are:
- Is there a plan for documenting the use cases/roles for each block
- Is there a way to offset a temperature probe so I can make my two probes that I will be using for a fermentation fridge aligned together.