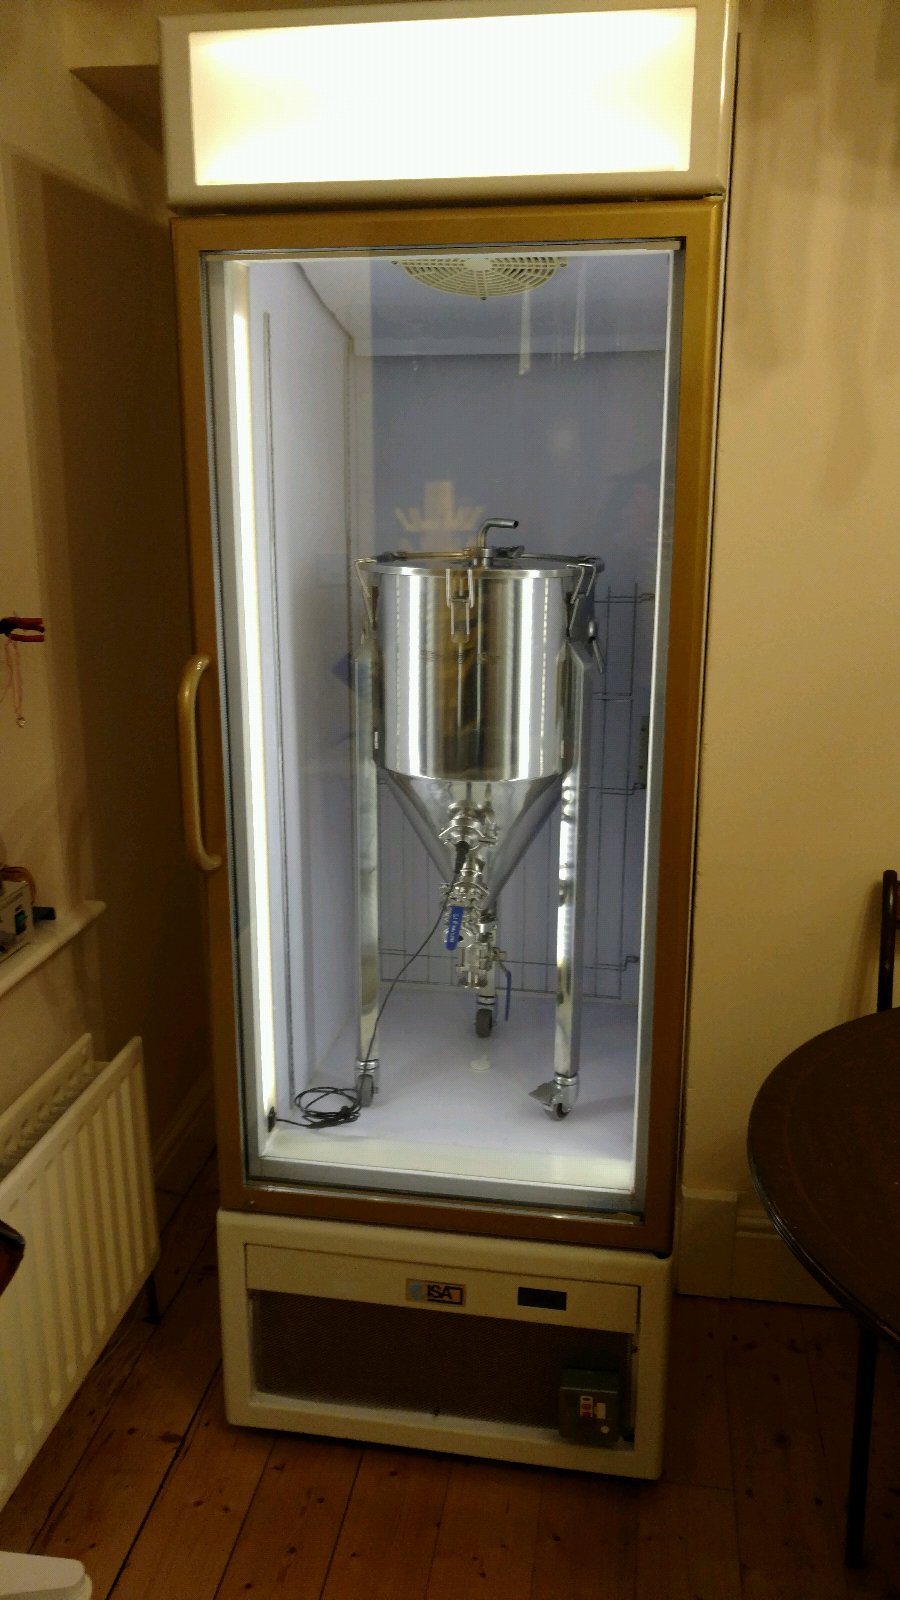
Just thought I’d share a pic of our newly finished fridge & ferm project. Its based on a ISA Tornado display freezer I got for £1 off of ebay from a cinema. I’ve completely replaced the temp control, themocouples, etc with BrewPi kit. I’ve replaced the condenser fan and circulation fan with very large 12v PC fans that run really quiet. Heat is provided by a tubular heater above the cover you can see at the top of the chamber. In this model, the freezer evaporator is also above that cover as a heat-pipe unit. So the fan mounted to that cover draws in air, blows it over the tubular heater, and then through the evaporator and down the back of the fridge with nothing exposed so it looks pretty slick. I’ve replaced all the fluorescent lights with LED strips. The door has heaters to prevent misting so I’ve run these and a the LEDs through a switch so I can flip that switch to make everything pretty. Power all goes through a latching RCD for peace of mind.
The fermentor is a 7gal conical from Brew Builder https://www.brewbuilder.co.uk/7gal-std-conical-fermenter.html . I got a friend of a friend to weld an extra TC port on to accommodate a BrewPi TC thermocouple. I’ve ordered an array of TC parts including a TC mason jar attachment to act as a kraeusen catcher for my more lively Belgians.
Most of the improvements on this build over my previous came from the display freezer having lots of space for running cables, mounting the SSRs, and hiding the heater. Its an all together nicer looking and more maintainable build. It should be pretty easy to replace any failed parts. The other improvement is that I’ve used Wago blocks wherever I can. They are so much easier to work with than crimping lots of cables and stacking them on terminals. When I was testing my setup and having to disconnect/reconnect cables multiple times, the lever operated Wago blocks were a lot quicker and easier that screws. I also used punched stainless sheet to bolt all of the SSRs and PSUs to and to zip-tie all the cables. It’s a pretty tidy solution thats easy to work with. This is then slid into the space under the freezer chamber next to the compressor and screwed onto the side wall. All the connections for fans, compressor, etc are available at Wago blocks on each end for easy install/removal.
All in all, really pleased with how this has turned out. Fingers crossed I’ll be able to control both this and our old fridge from the same BrewPi soon