So assuming your in the folder that step one points you and that you need to create the index.php file
type sudo nano index.php
This will then open up a blank window and I cut and paste all the contents from post 3 into that window and save and exit.
It’s easier to do these commands if you’ve connected to the pi via SSH as you can then just use the normal Mac or Windows shortcuts to cut and paste big blocks of text.
Oh man, thanks a ton! I just skipped the original post (page 9) and moved on to these more recent directions. That won’t mess it up either right?
Also, on the last part, “Create a file using vi editor called .htaccess and inside of it put
the following, modify the first line where it is bold and replace it
with what you plan to call your Private PHP file. Do you just rename the first line (“admin.php”) to anything specific?” And do you do anything with the “YOUR LOGIN HERE”?
Thanks bud
Sorry for all the questions. I really don’t understand this stuff too well.
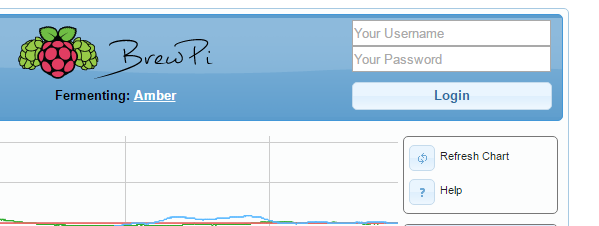
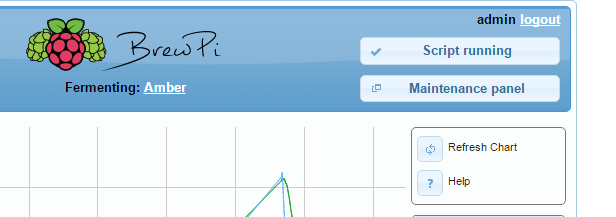
Yep the admin.php is the bit that allows you to login and edit for example to access and edit brewpi on my home network I put 10.0.1.7/admin.php I can’t remember what I put in for the login part though
Yep exactly, the user name I just kept as pi but I can’t remember if this was the user id for the pi of the htpassword but I think I kept the same user name anyway.
Man, thanks a ton for the help @mikmonken. I’m up and running. I just left everything the same on that last part (except for the IP address, obviously) and it all works quite nicely.
Dear folks (i.e. @mikmonken),
I have a couple of questions regarding this one in order to get it working, which I haven’t yet been able to find answers for. Can someone help provide some input here? In the 2nd section of Prymal’s post:
In step 5, do you need to replace “webmaster@localhost” (line 2) w/ anything else?
–> When I run apache2ctl -k graceful (per step 6-8), I get the following error:
AH00558: apache2: Could not reliably determine the server’s fully qualified domain name, using 127.0.1.1. Set the ‘ServerName’ directive globally to suppress this message
–> I tried replacing [webmaster] w/ my new username and [localhost] w/ my RPi’s IP address and I get the same message when I try step 8. Also, [127.0.1.1] isn’t my RPi’s IP address lol
In step 10, none of it is bold? Which part does they mean when they say “modify the first line where it is bold and replace it with what you plan to call your Private PHP file”?
For step 5, just change “AllowOverride All” Making sure the “All” is there is the only thing you need to change. Leave the “webmaster@localhost” alone.
I’m not really sure what this means. Sorry.
It’s saying you can replace the “admin.php” to whatever you want to call it. I just left it as “admin.php” and it worked great. You do want to change the second-to-last line and replace that ip address with your RPi’s ip.
fork my brewpi/www repository (the only changes I have made are to enable authentication) https://github.com/nzjoel1234/brewpi-www
– this will create a new repository in your github account
clone your new repository to your RPi (instead of the ‘mainline’ code)
That will break updates though, since the default remote is not BrewPi anymore.
Sorry Joel, have not had time to take a good look at your repo yet and I am not very knowledgable in PHP security. I have asked @ajt2 to look at it, but he has been busy too.
In order to remote access the BrewPi over the internet I would strongly suggest an SSH tunnel.
This is the only way I use in order to access my LAN resources (e.g my NAS) even if my devices support the “cloud” option, which I always disable for security reasons.
The idea is using an SSH client (putty for windows, ConnectBot for android or whatever) to forward all traffic coming to a specified port on the client, to a specified port on the server. It sound “tricky” but it is actually very easy to accomplish.
I would give generic guidelines not a detailed guide.
Copy the contents of the public key to the .authorized_keys found at the RPi’s SSH folder. Restart SSH server.
Using Putty enter the DDNS address as the destination you want to connect to and then go to SSH–>Tunnels. Choose a Source port number (e.g 4321) and fill the Destination field with the address of the BrewPi interface. Under SSH–>Auth enter the location of your authentication key. Under Connection–>Data set the Auto-login username field with root. Save the session using a name of your choice and click open.
Hopefully you will be connected to RPi’s SSH server. Now open the browser and enter 127.0.0.1:“port” where port is the Source port you chose at 4., e.g 127.0.0.1:4321
And Voila! You can access the BrewPi securely over the internet.
Sorry for the coarse guide but in my setup I have both DDNS and SSH server on the router (a DD-WRT compatible router) and I am using ConnectBot for android as an SSH client, so I can not provide right now more details or a step-by-step guide for the setup. I thought that a thoroughly explanation of my setup would not be useful for most of you because it is very specific.
In case you find the above interesting, I could find some time and broaden the guide in the future.
Guys, get a router/modem (or check the one you have) which supports a VPN (either SSL or IPsec), even better if it supports come kind of Dynamic DNS too. Either that or repurpose an old PC and use IPfire, Pfsense, etc to build a real firewall.
I know Elco is a talented guy, but I’m guessing security is not his main concern so I wouldn’t put the web server directly on the Internet via port forwarding even with the dummy page.
Then you can connect from your phone, tablet or PC in the knowledge that your connection is 100% secure, and your web server and your beer are safe from tampering.