Side-by-side converted to single chamber fermenter

I was previously using a wine fridge which I converted to a fermentation chamber for my brew bucket. Worked great until I purchased a Spike CF5 conical which needed a bigger fermenting space.

I decided I didn’t need extra freezer space and I also already have a keezer so having one big chamber made the most sense to me.

Purchased this one for $100 from a friend who also delivered it.

tempImagerQpeCD.jpg

tempImageITHzHC.jpg

After a major cleaning and gutting of almost everything inside, I cut out the ice/water dispenser. It was dirty and crusty and no need for it.

tempImage9r48fQ.jpg

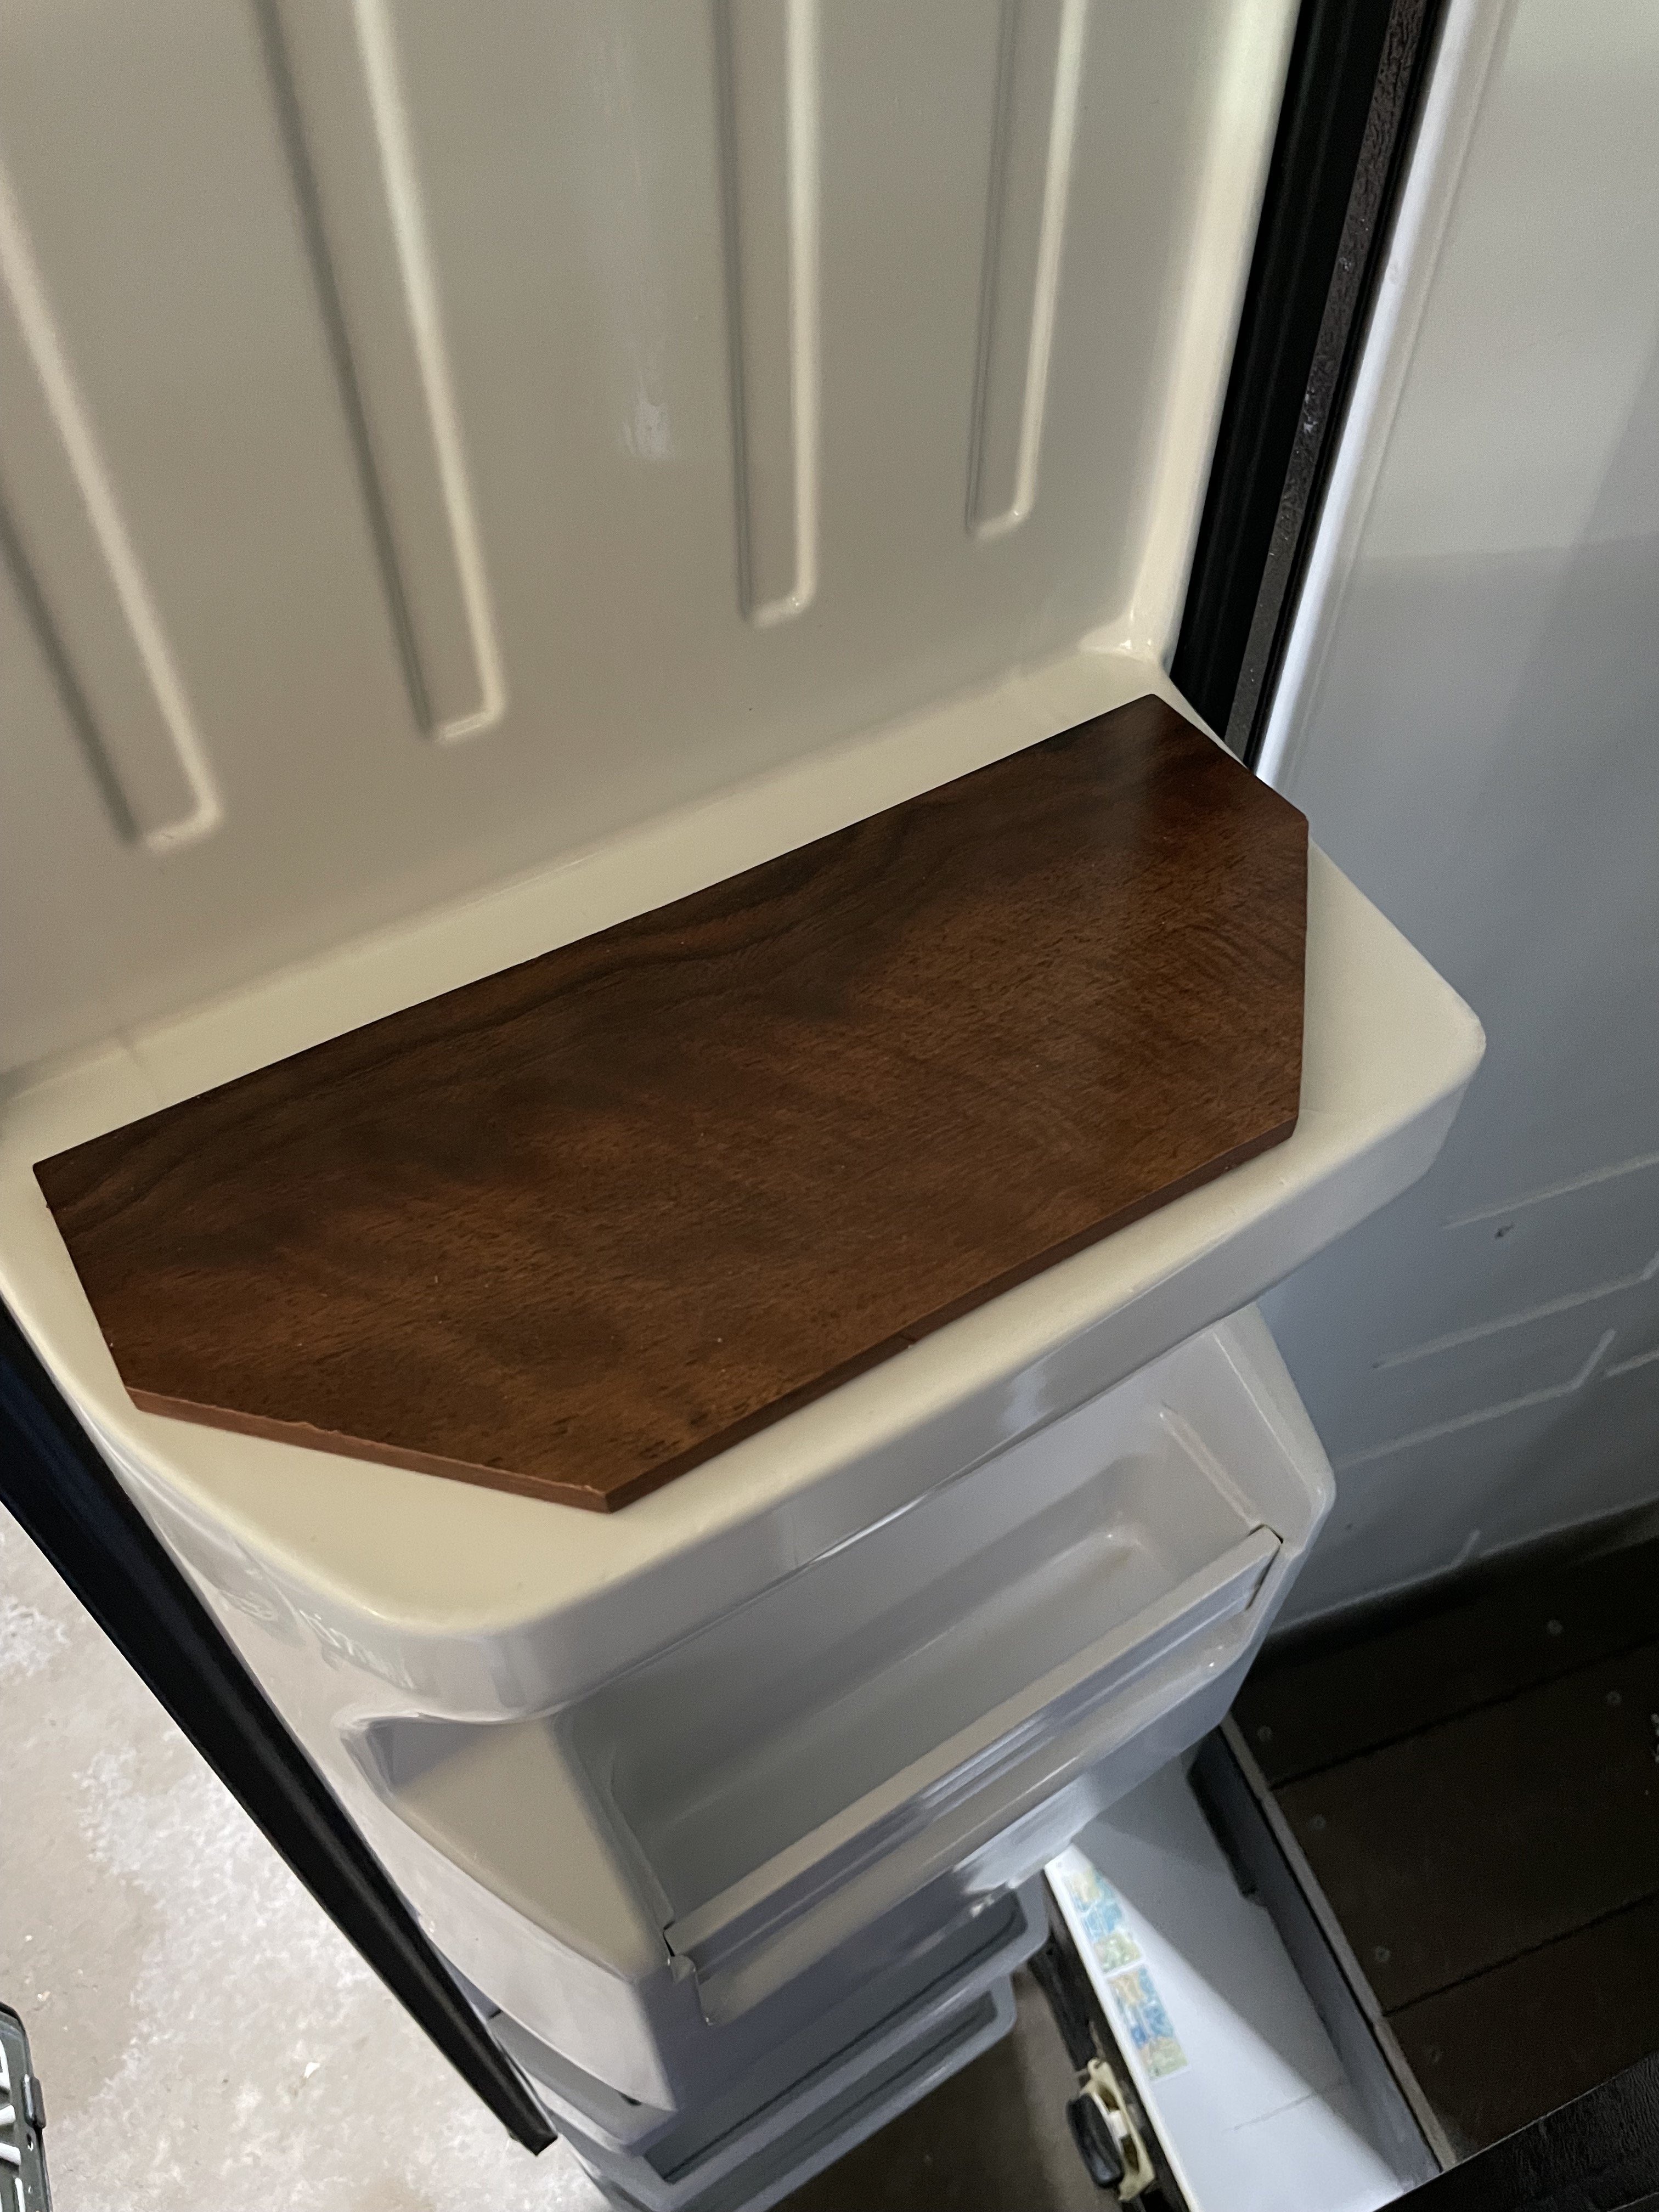
Sealed up the front with a piece of sheet metal, shot a can of spray seal in the hole and covered the inside with a floor board I had laying around.

tempImageBnTiqm.jpg

tempImagerKew73.jpg

tempImageuk58fl.jpg

Time to cut the interior wall out! Used a multitool which worked very well. Mostly thin plastic and insulation…couple wires and compartments (venting) here and there.

tempImagec770I9.jpg

tempImageKlelZc.jpg

tempImagezf1iJm.jpg

Built a sturdy floor for the conical to sit on

tempImageM8NEzZ.jpg

tempImage0UuqLk.jpg

Now for the wiring. I simply removed the fridge thermostat and then cut and attached the 2 wires to a (SSR) solid state relay (which attached to my BrewPi controller).

tempImageCPywaK.jpg

tempImagehc7MAk.jpg

First test yesterday to see if it works. All good, YESSSS! Lights, fan, cooling!

tempImageMY6iUV.jpg

Very roomy for one, could probably fit 2 in there…

tempImagewKNn1a.jpg

tempImageRC5RL1.jpg

Still need to add the heat source and put a few things back in place but think it’s going to work well.
I’ll steal my light socket with reptile bulb for heat. It’s only 40w and works great for my little wine fridge but might need 100w bulb for this beast.

I’m also trying to figure out how disable the auto defrost board as I’m never going to go below 32ºF. My understand is that if I don’t disable the auto defrost, it may not allow cooling at times when the BrewPi calls for it.
If anyone knows more about this or if you know anything about bypassing this board, please let me know.

Here’s a pic of the defrost board. Unfortunately, the only thing I know about this fridge is that it’s a “Whirlpool Conquest”. There are no stickers or wiring diagrams inside, outside or underneath.

tempImage3HzCba.jpg

Thanks for looking!!
Cheers.

1 Like

That’s awesome. You really have plenty of space now.

I think you might be able to bypass this entire board and connect the compressor directly to the SSR. That will require some probing to see where all the wires go.

We will make it easier soon to also manage the defrost with brewblox, so you can just use an SSR for that too.

Thanks, Elco. Too bad the wiring diagram is long gone. Searched the web for one but the only info I have on this specific fridge is “Whirlpool Conquest” which doesn’t help much. I don’t know much about wiring anyway so I took the easy way out and just replaced the thermostat with a SSR.

So you agree that I still need to get around the defrost board or the defrost mode will interfere with BrewPi controller turning on “cool” at times?

Thanks!

Not sure if you replaced the thermostat with an SSR, that’s very similar to normal operation. You might see a short blip in the temp control, but I think it wouldn’t be a big issue. I would try it first before jumping through hoops.

Thanks for the feedback. My understanding is that with the older “defrost timers”, they triggered a defrost mode after a certain amount of time no matter what. I have no idea the “defrost boards” work? Are they smart enough to never trigger a defrost mode if the unit never goes below 40ºF (or at least freezing)??

I really can’t say much about how your model responds. It does have a PIC microcontroller on the board, so I expect it will have some intelligence inside.

After thinking about this more and getting some feedback from a few people, I now don’t think it makes sense to disable the ADC board. For example, if my beer is at 68ºF and I tell BrewPi to take the beer temp down to 40ºF, I assume BrewPi will drop the chamber temp down below freezing to get the beer to 40ºF, therefore frosting/freezing the coils. After countless hours trying to figure out how to disable the ADC board, I think I’m going to need it! …and, like you said Elco, might not be a big deal to temp control anyway… Thanks for all you feedback!

OK, ran a quick first test tonight to see if everything was wired correctly. Filled the conical about 3/4 of the way up with water and let it rip.
Beer temp (in this case water) was 83ºF and I set BrewPi to set beer temp for 72ºF. Took about 1.5 hours to bring it to 71.7º. OK, that’s good!

Now to see if the heater kicks in. 15 minutes later, heater does kick in but several hours later it’s clear the 40w bulb is not sufficient in this MUCH larger space (than my old wine fridge) to bring temp back up if needed. The heater was clearly running but isn’t putting out enough heat to bring it to the set temp.

I’m going to need a much bigger heat source…

tempImagepJpmtu.jpg

tempImage6qE2XN.jpg

tempImageu48ucO.jpg

1 Like

Maybe a belt or pad heater around the conical will be more efficient than heating that entire space.

Just to follow up, I had already ordered a 150w reptile bulb before I saw your recommendation to try a belt or pad heater or I may have tried that. I can report that 150w (vs the 40w) handled 3.5 gallons of water in a test pretty well. Hopefully it will handle 5 gallons of beer OK too. I will find out after this weekend when I brew…