I’m contemplating a rebuild of my equipment and getting a spark 4. I’d like to mount the spark 4 display on the door of an enclosure box. Is there any advice on how this is best achieved?
If I need 2 or more 1-wire/GPIO modules the stack will likely get too tall. Can I mount the extras to the side with a 26 pin GPIO extension cable? Can the modules be mounted on a din rail or screwed onto a board? Wasn’t sure if the bottom module (or spark) had its connector blocked by the din rail mount?
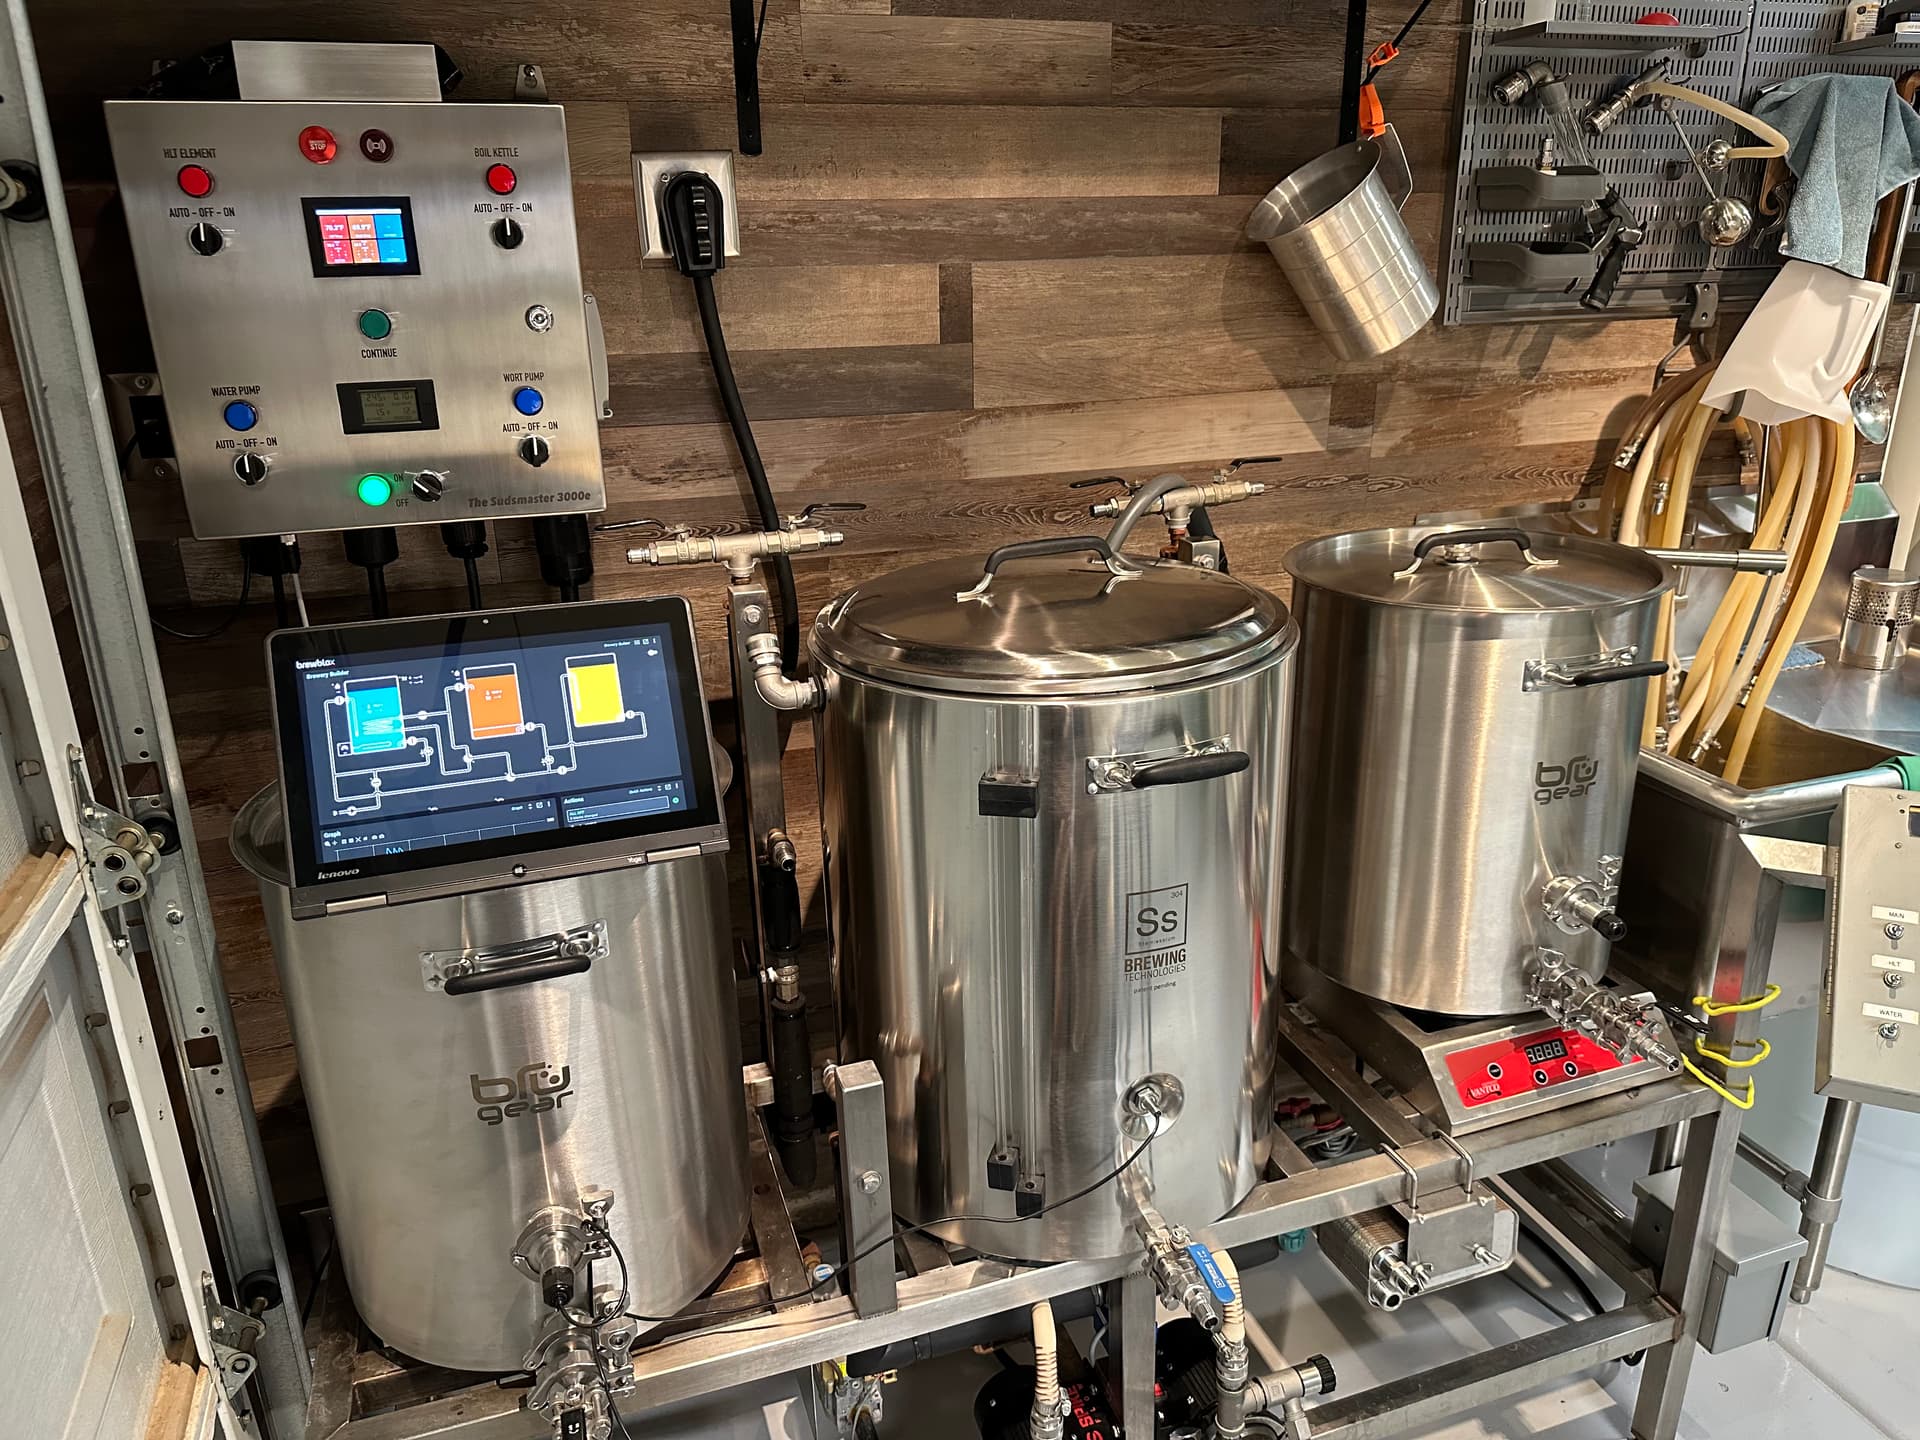
I mounted my display on the outside of my panel. I got a 25cm ribbon cable and printed a custom case for the spark and the I/O board, including a din rail mount. It allows the ribbon cable to hook to the Spark, while being mostly protected otherwise. I also had to print a custom bezel to hold the display in the door of my panel.
My panel is about 16” x 16” x 8”. The custom bezel I made has 4 screws that overlap the bezel and the door, and 4 screws that overlap the bezel and the screen.
I think I used conventional computer case screws, both to hold the display to the bezel, and the bezel to the case. IIRC, I might have had to add some glue, as the screw holes were a bit big, and I was too lazy to reprint.