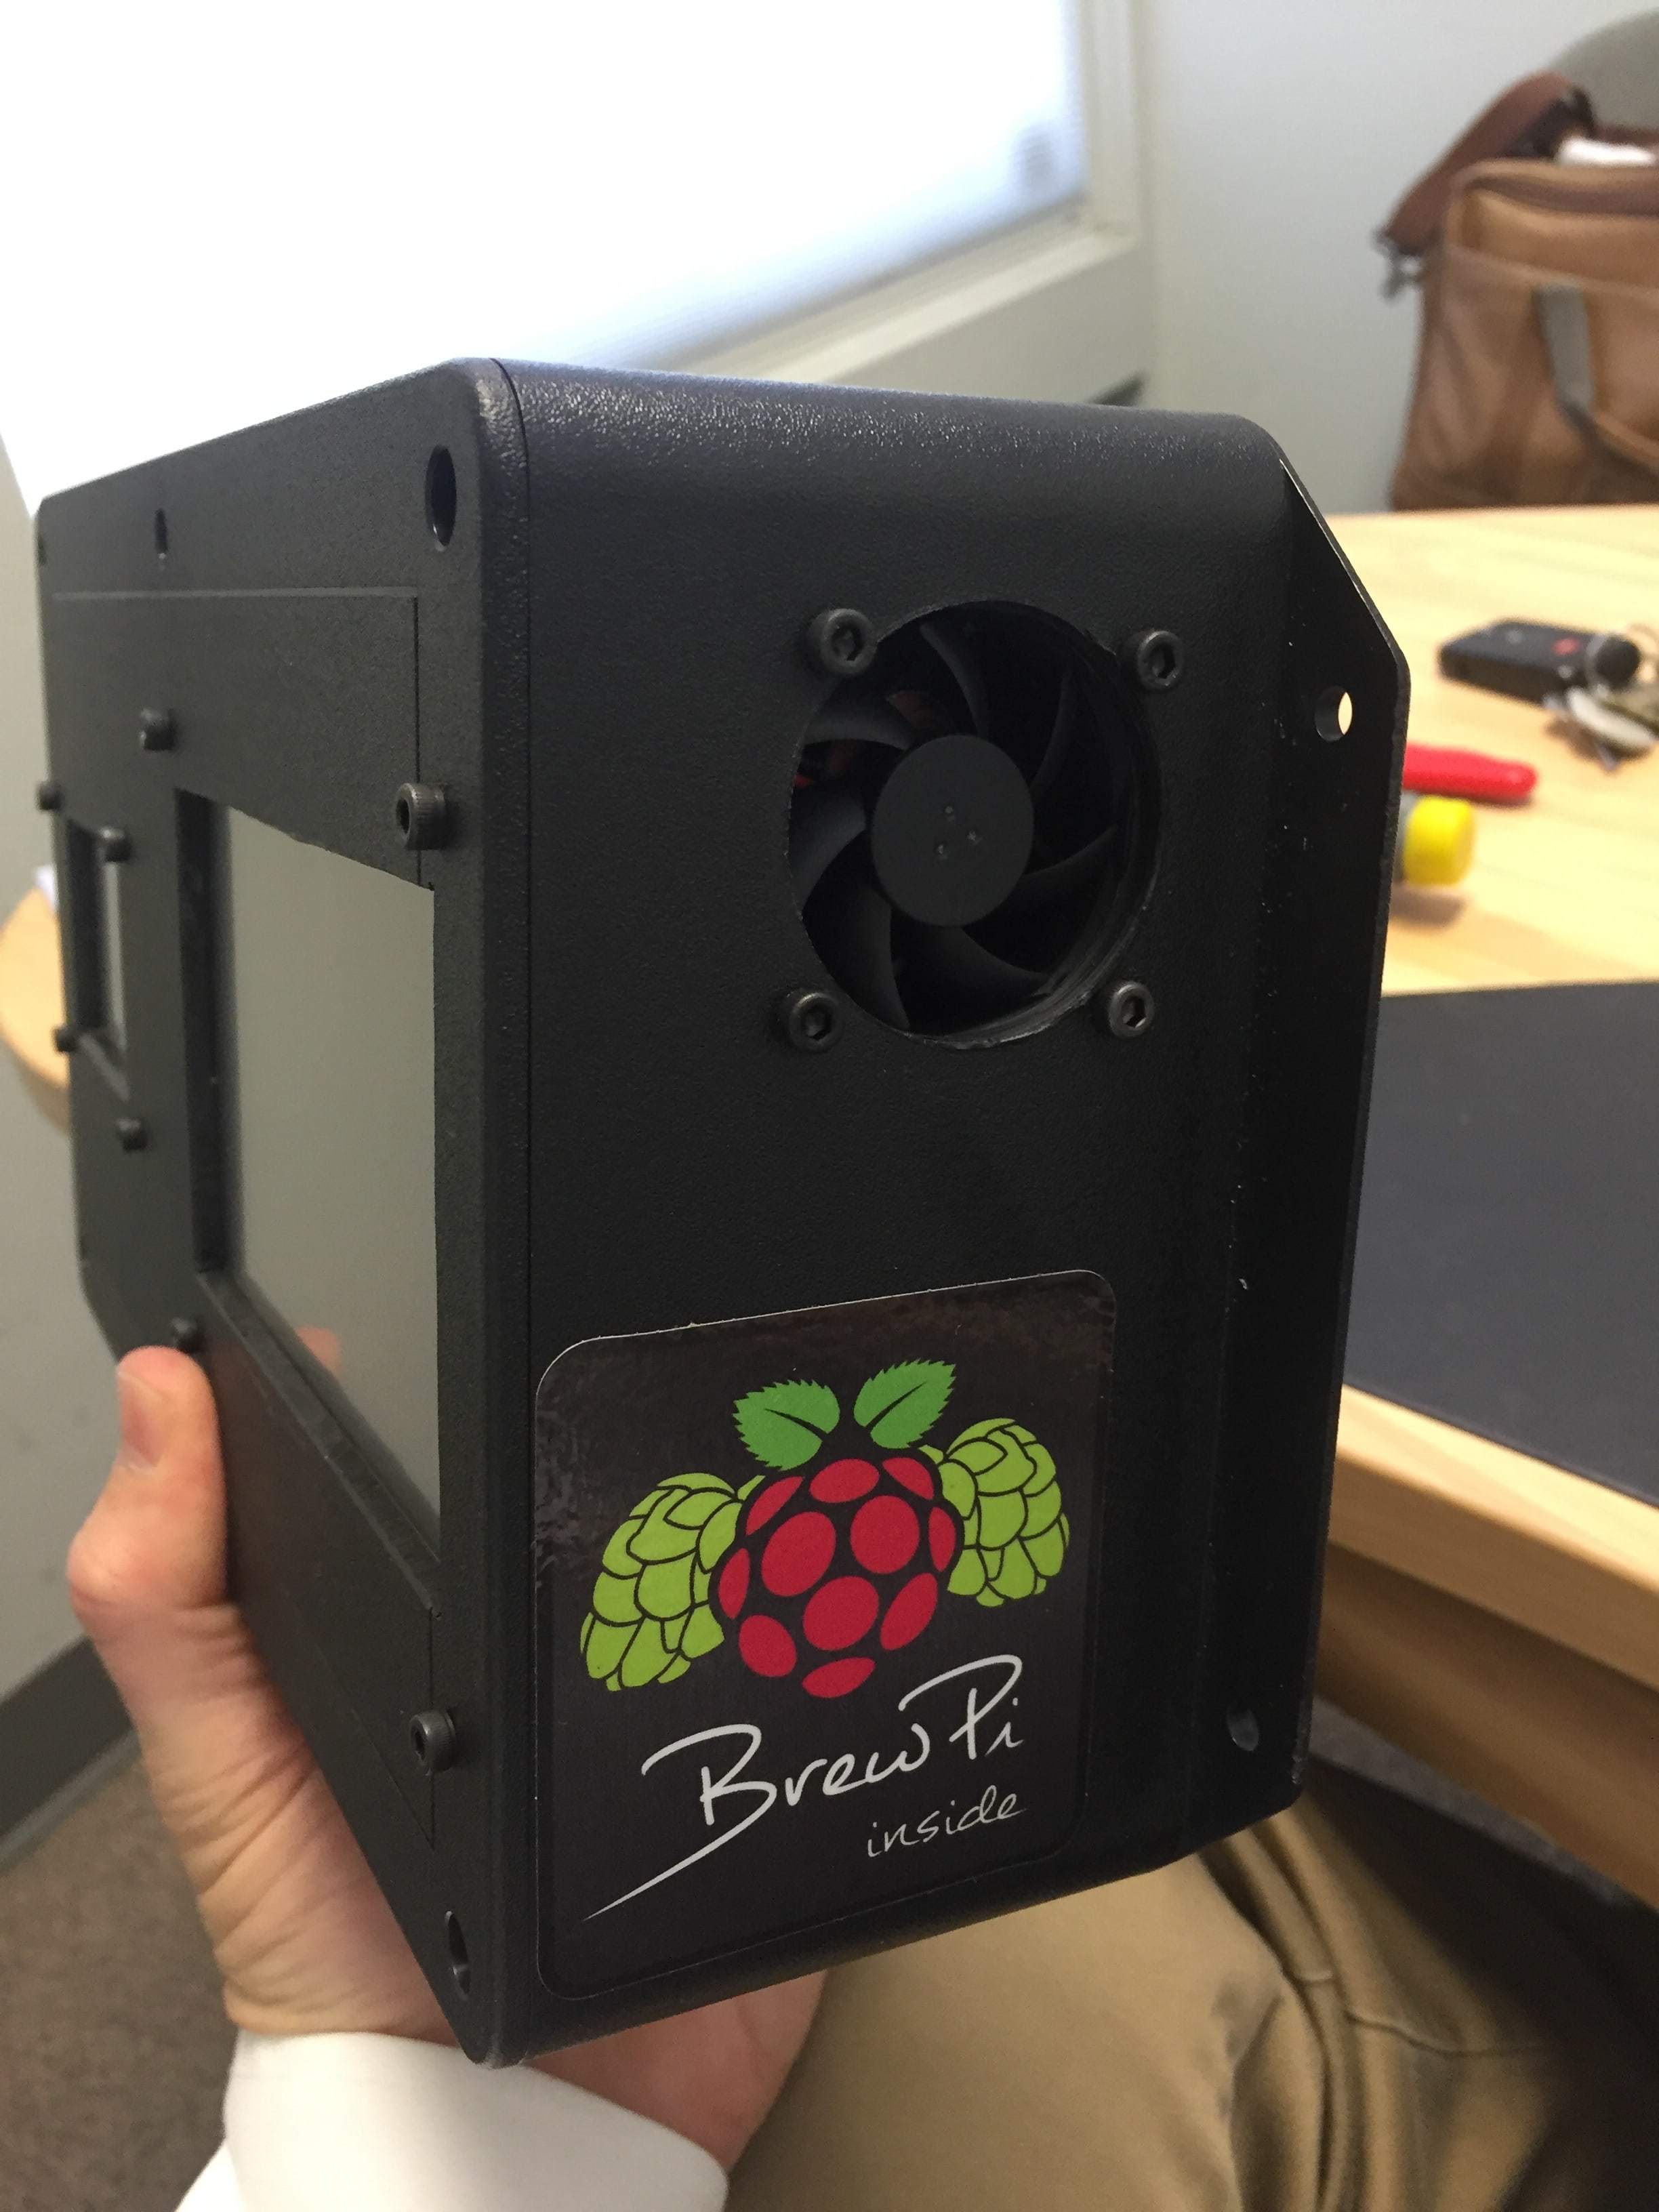
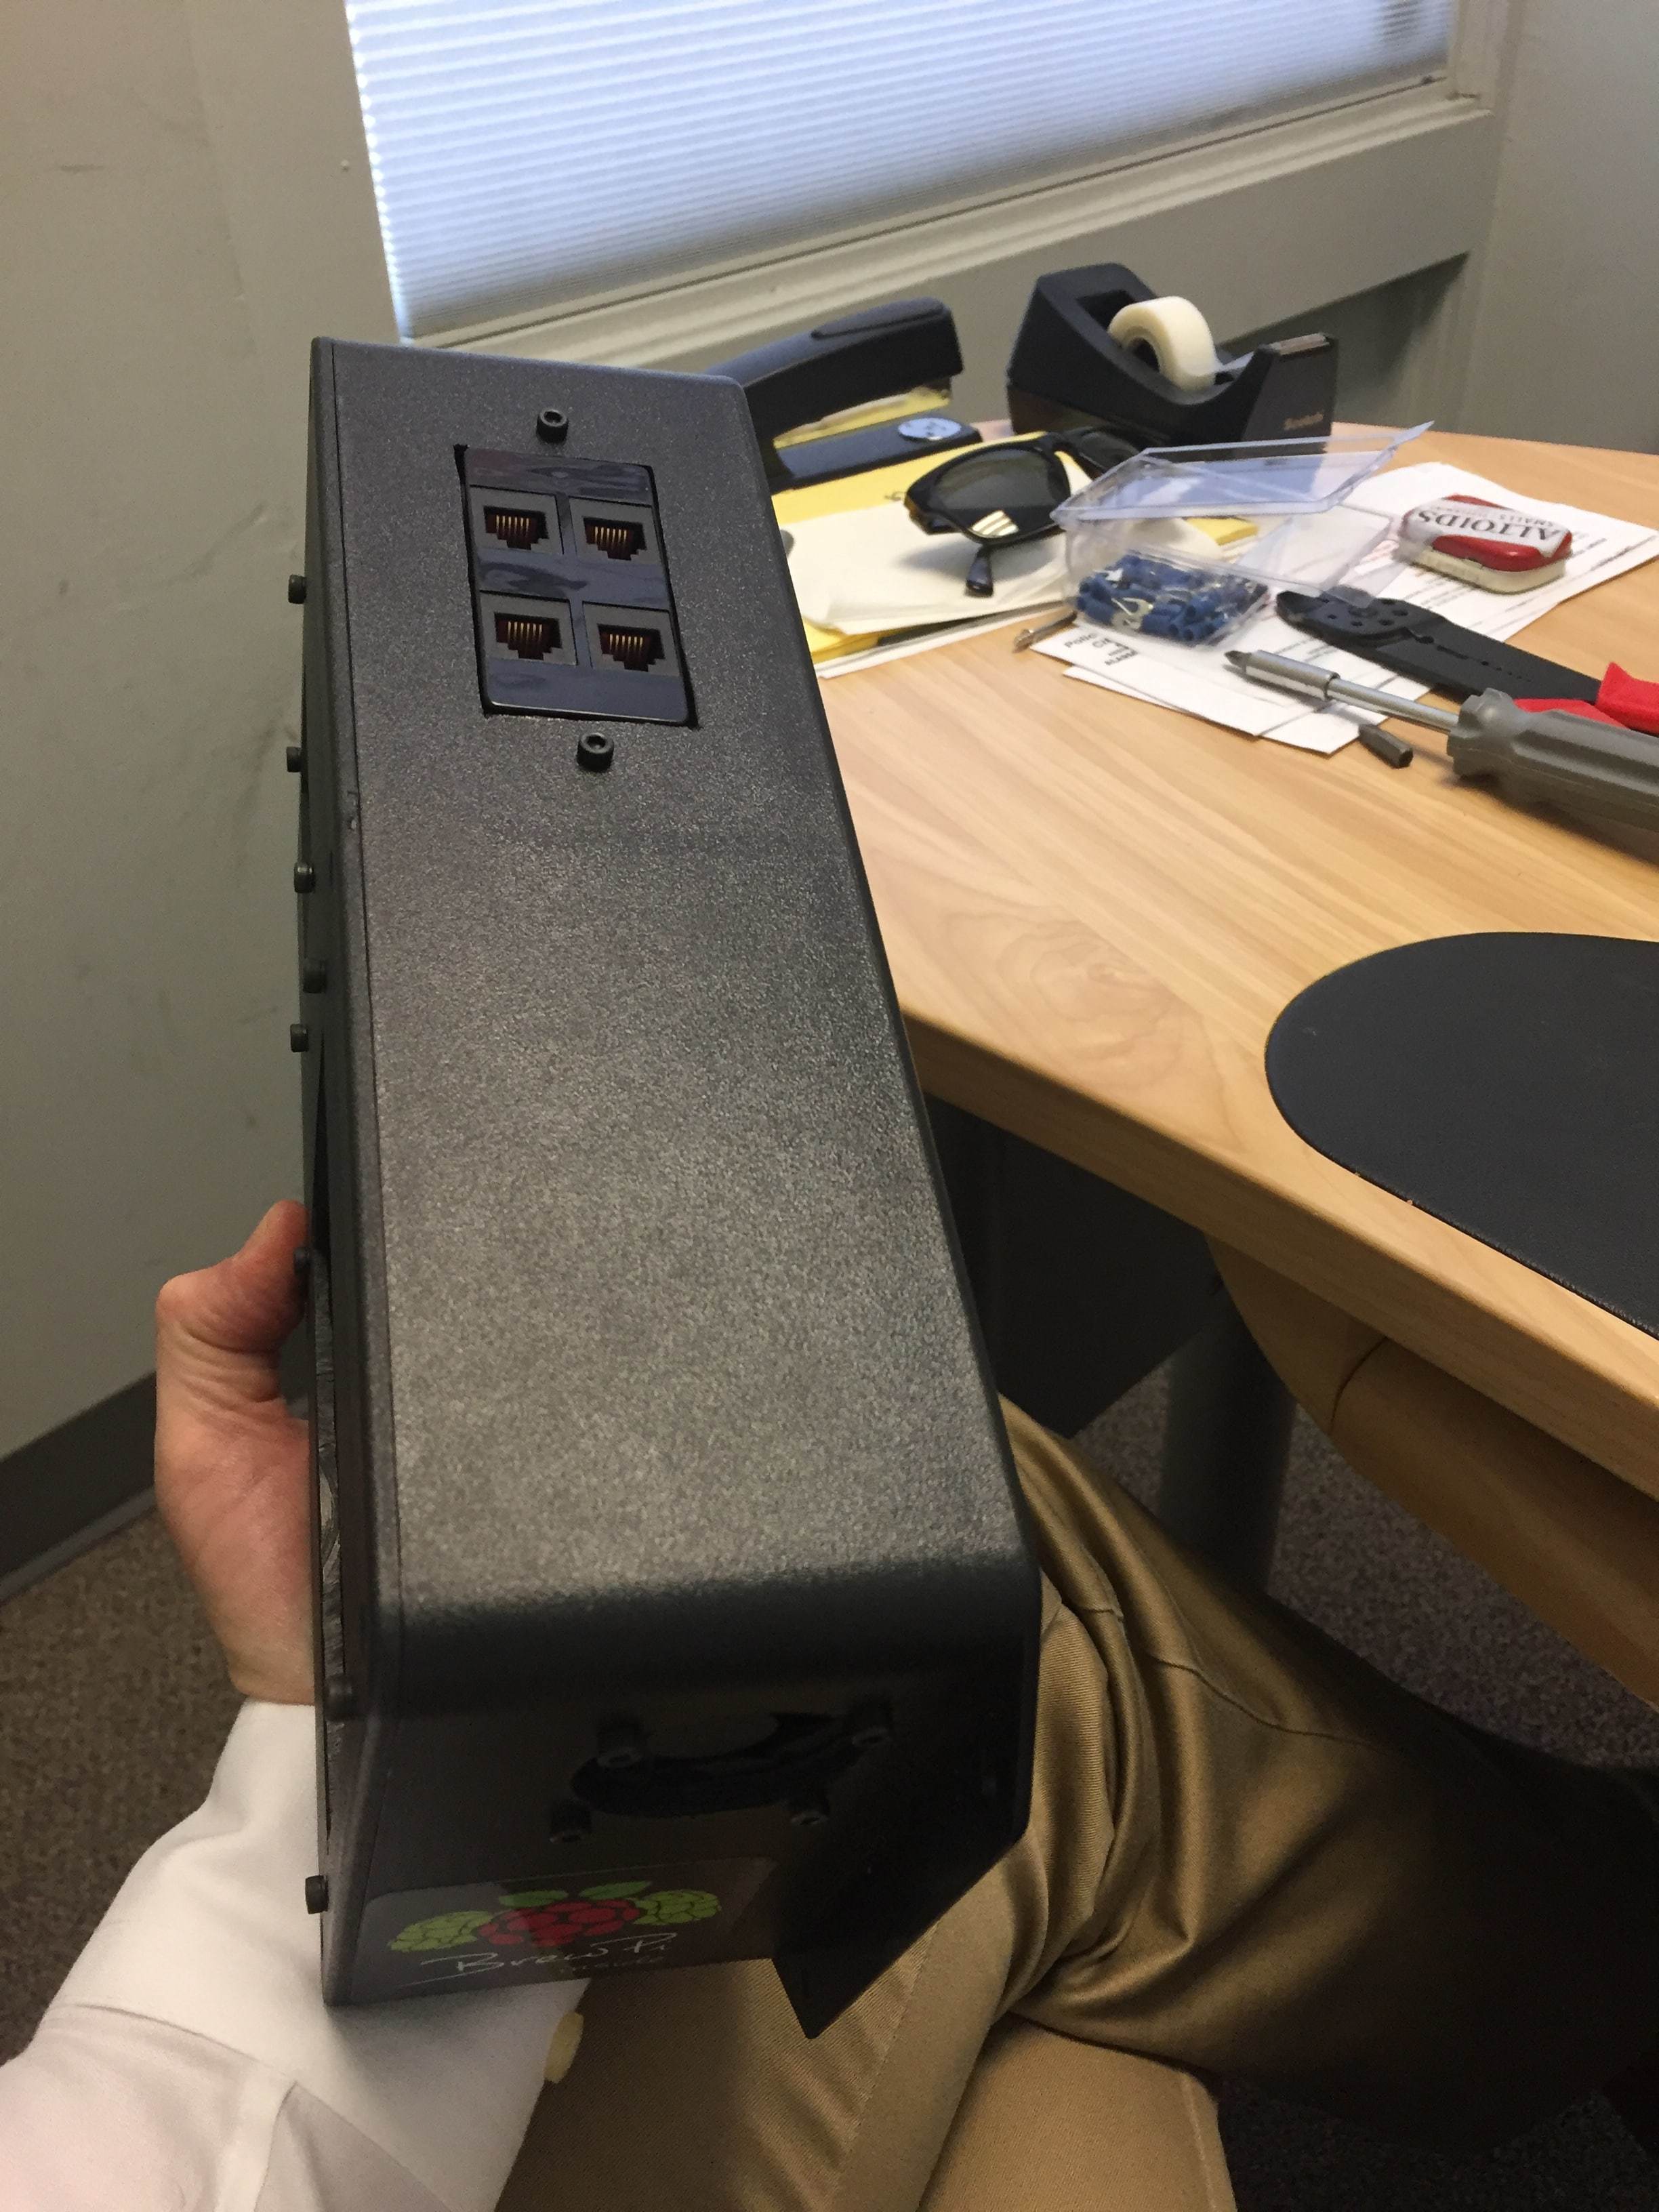
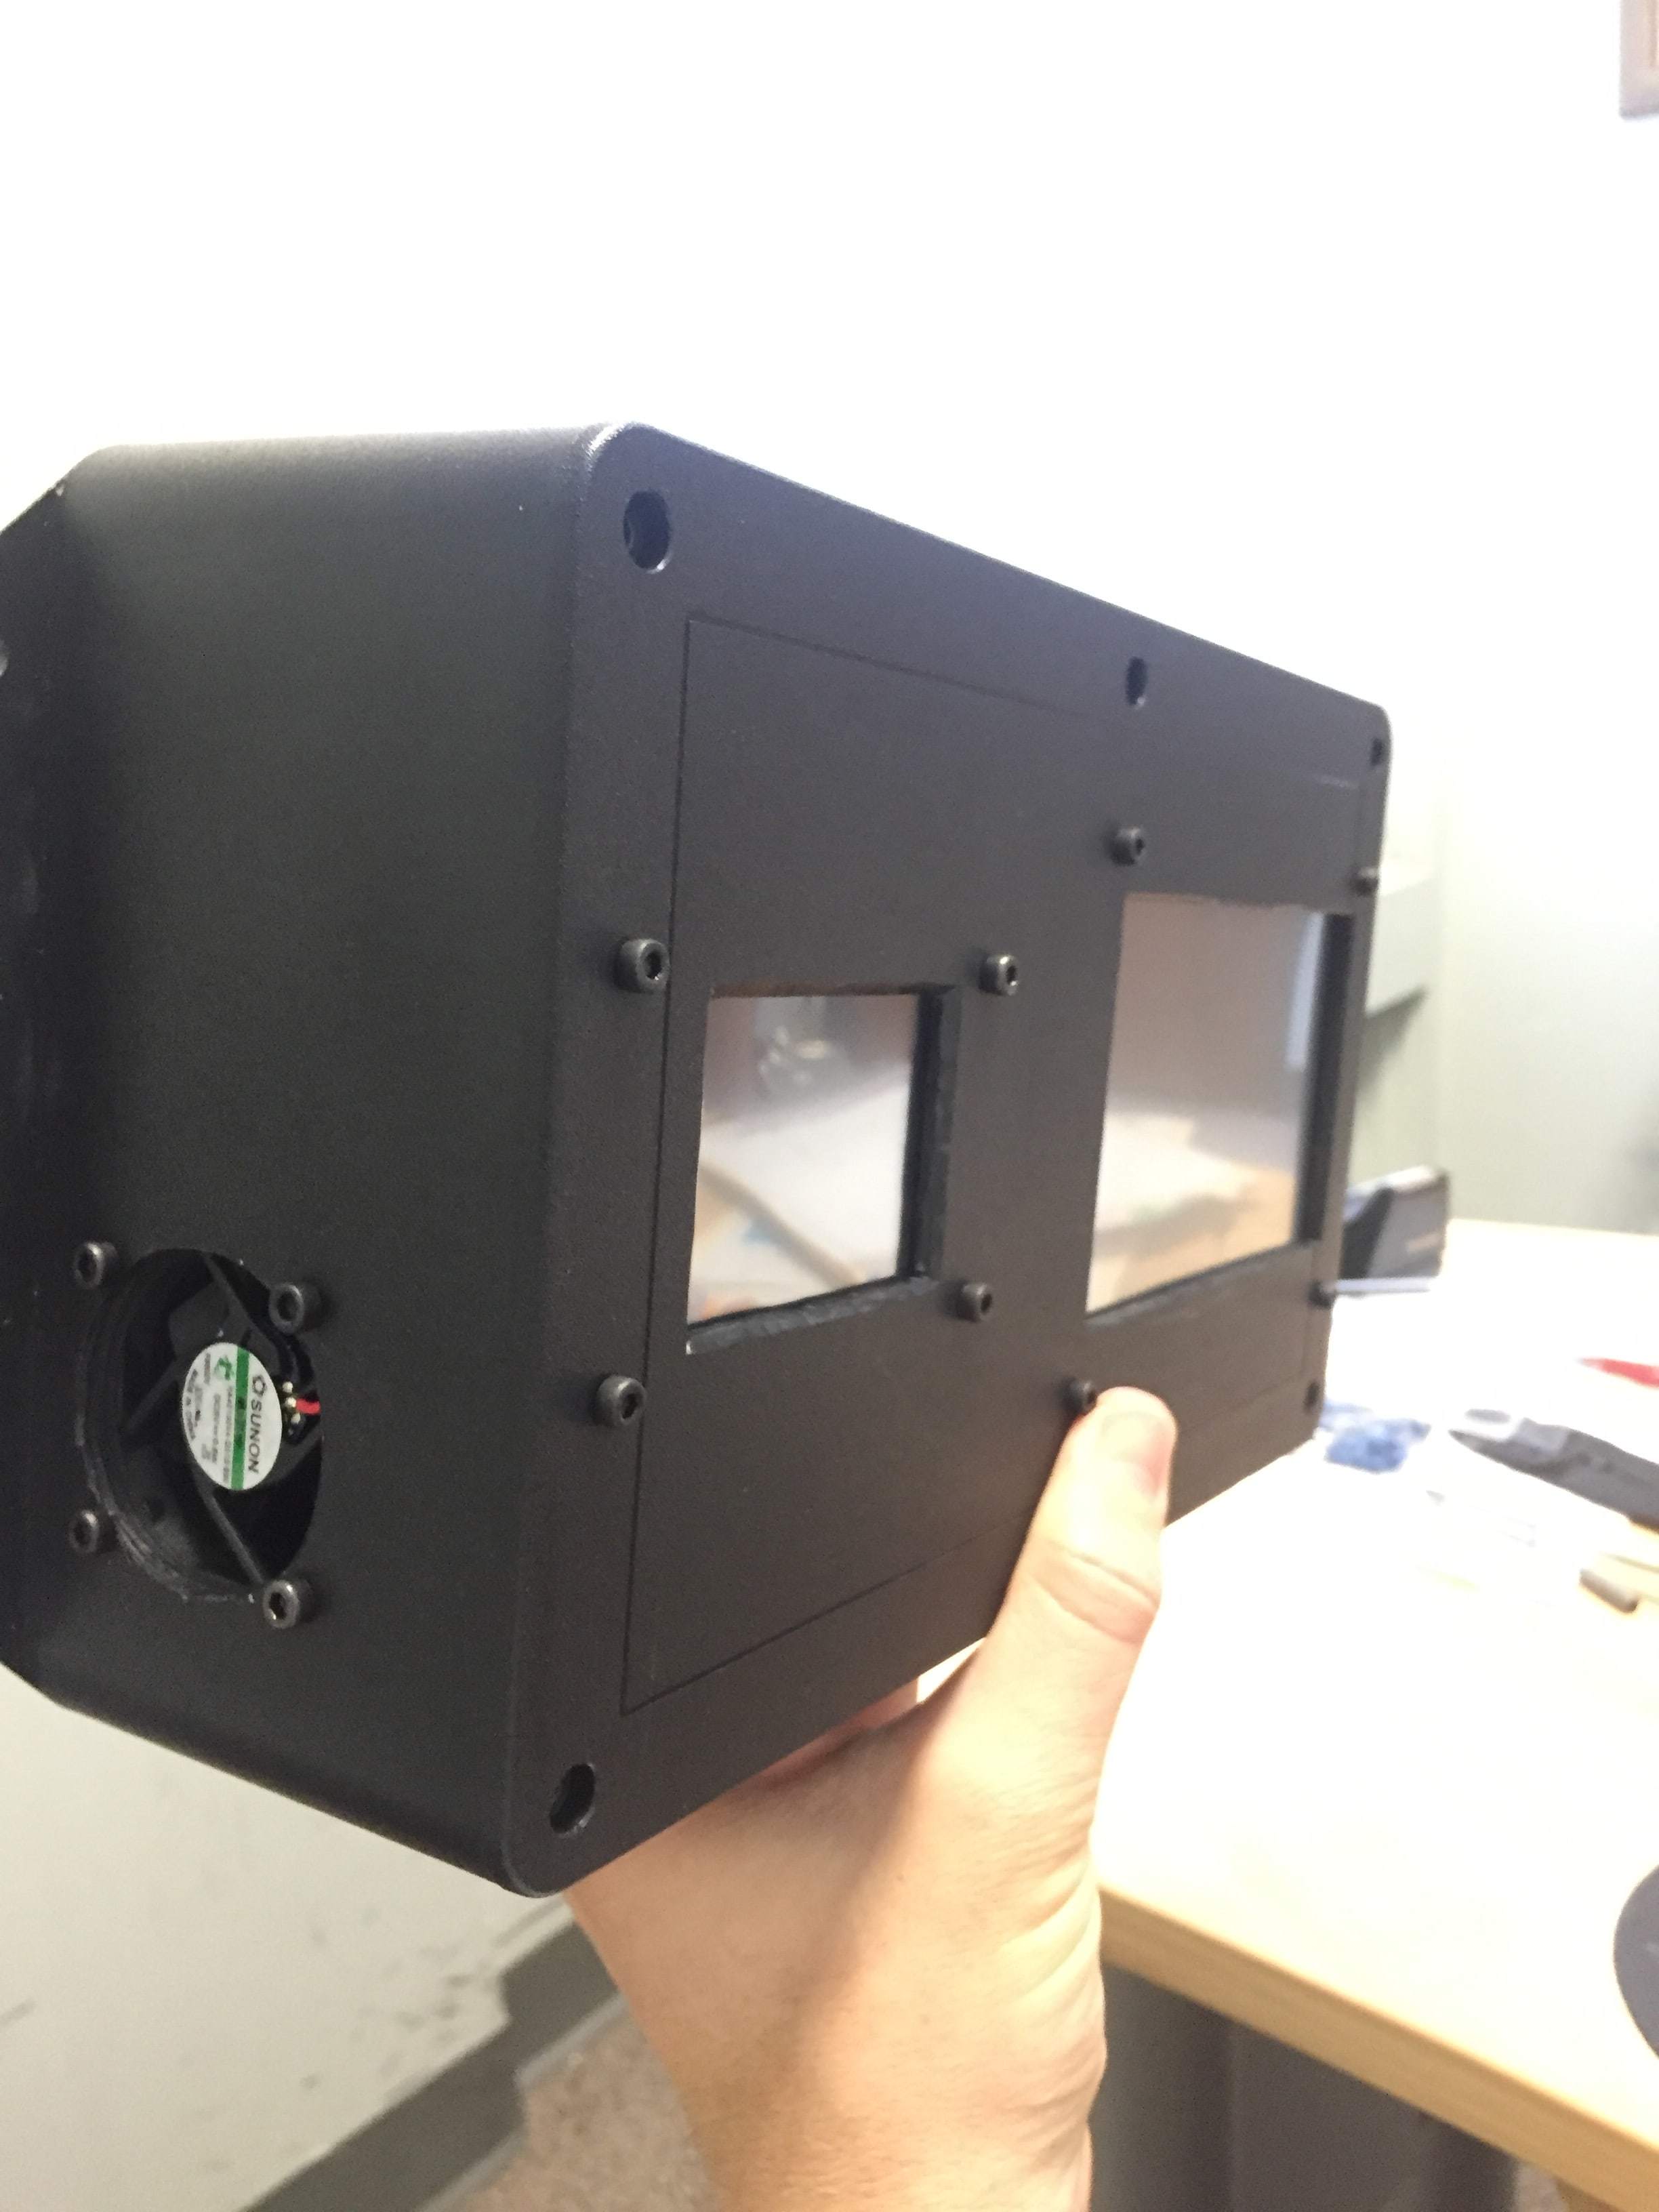
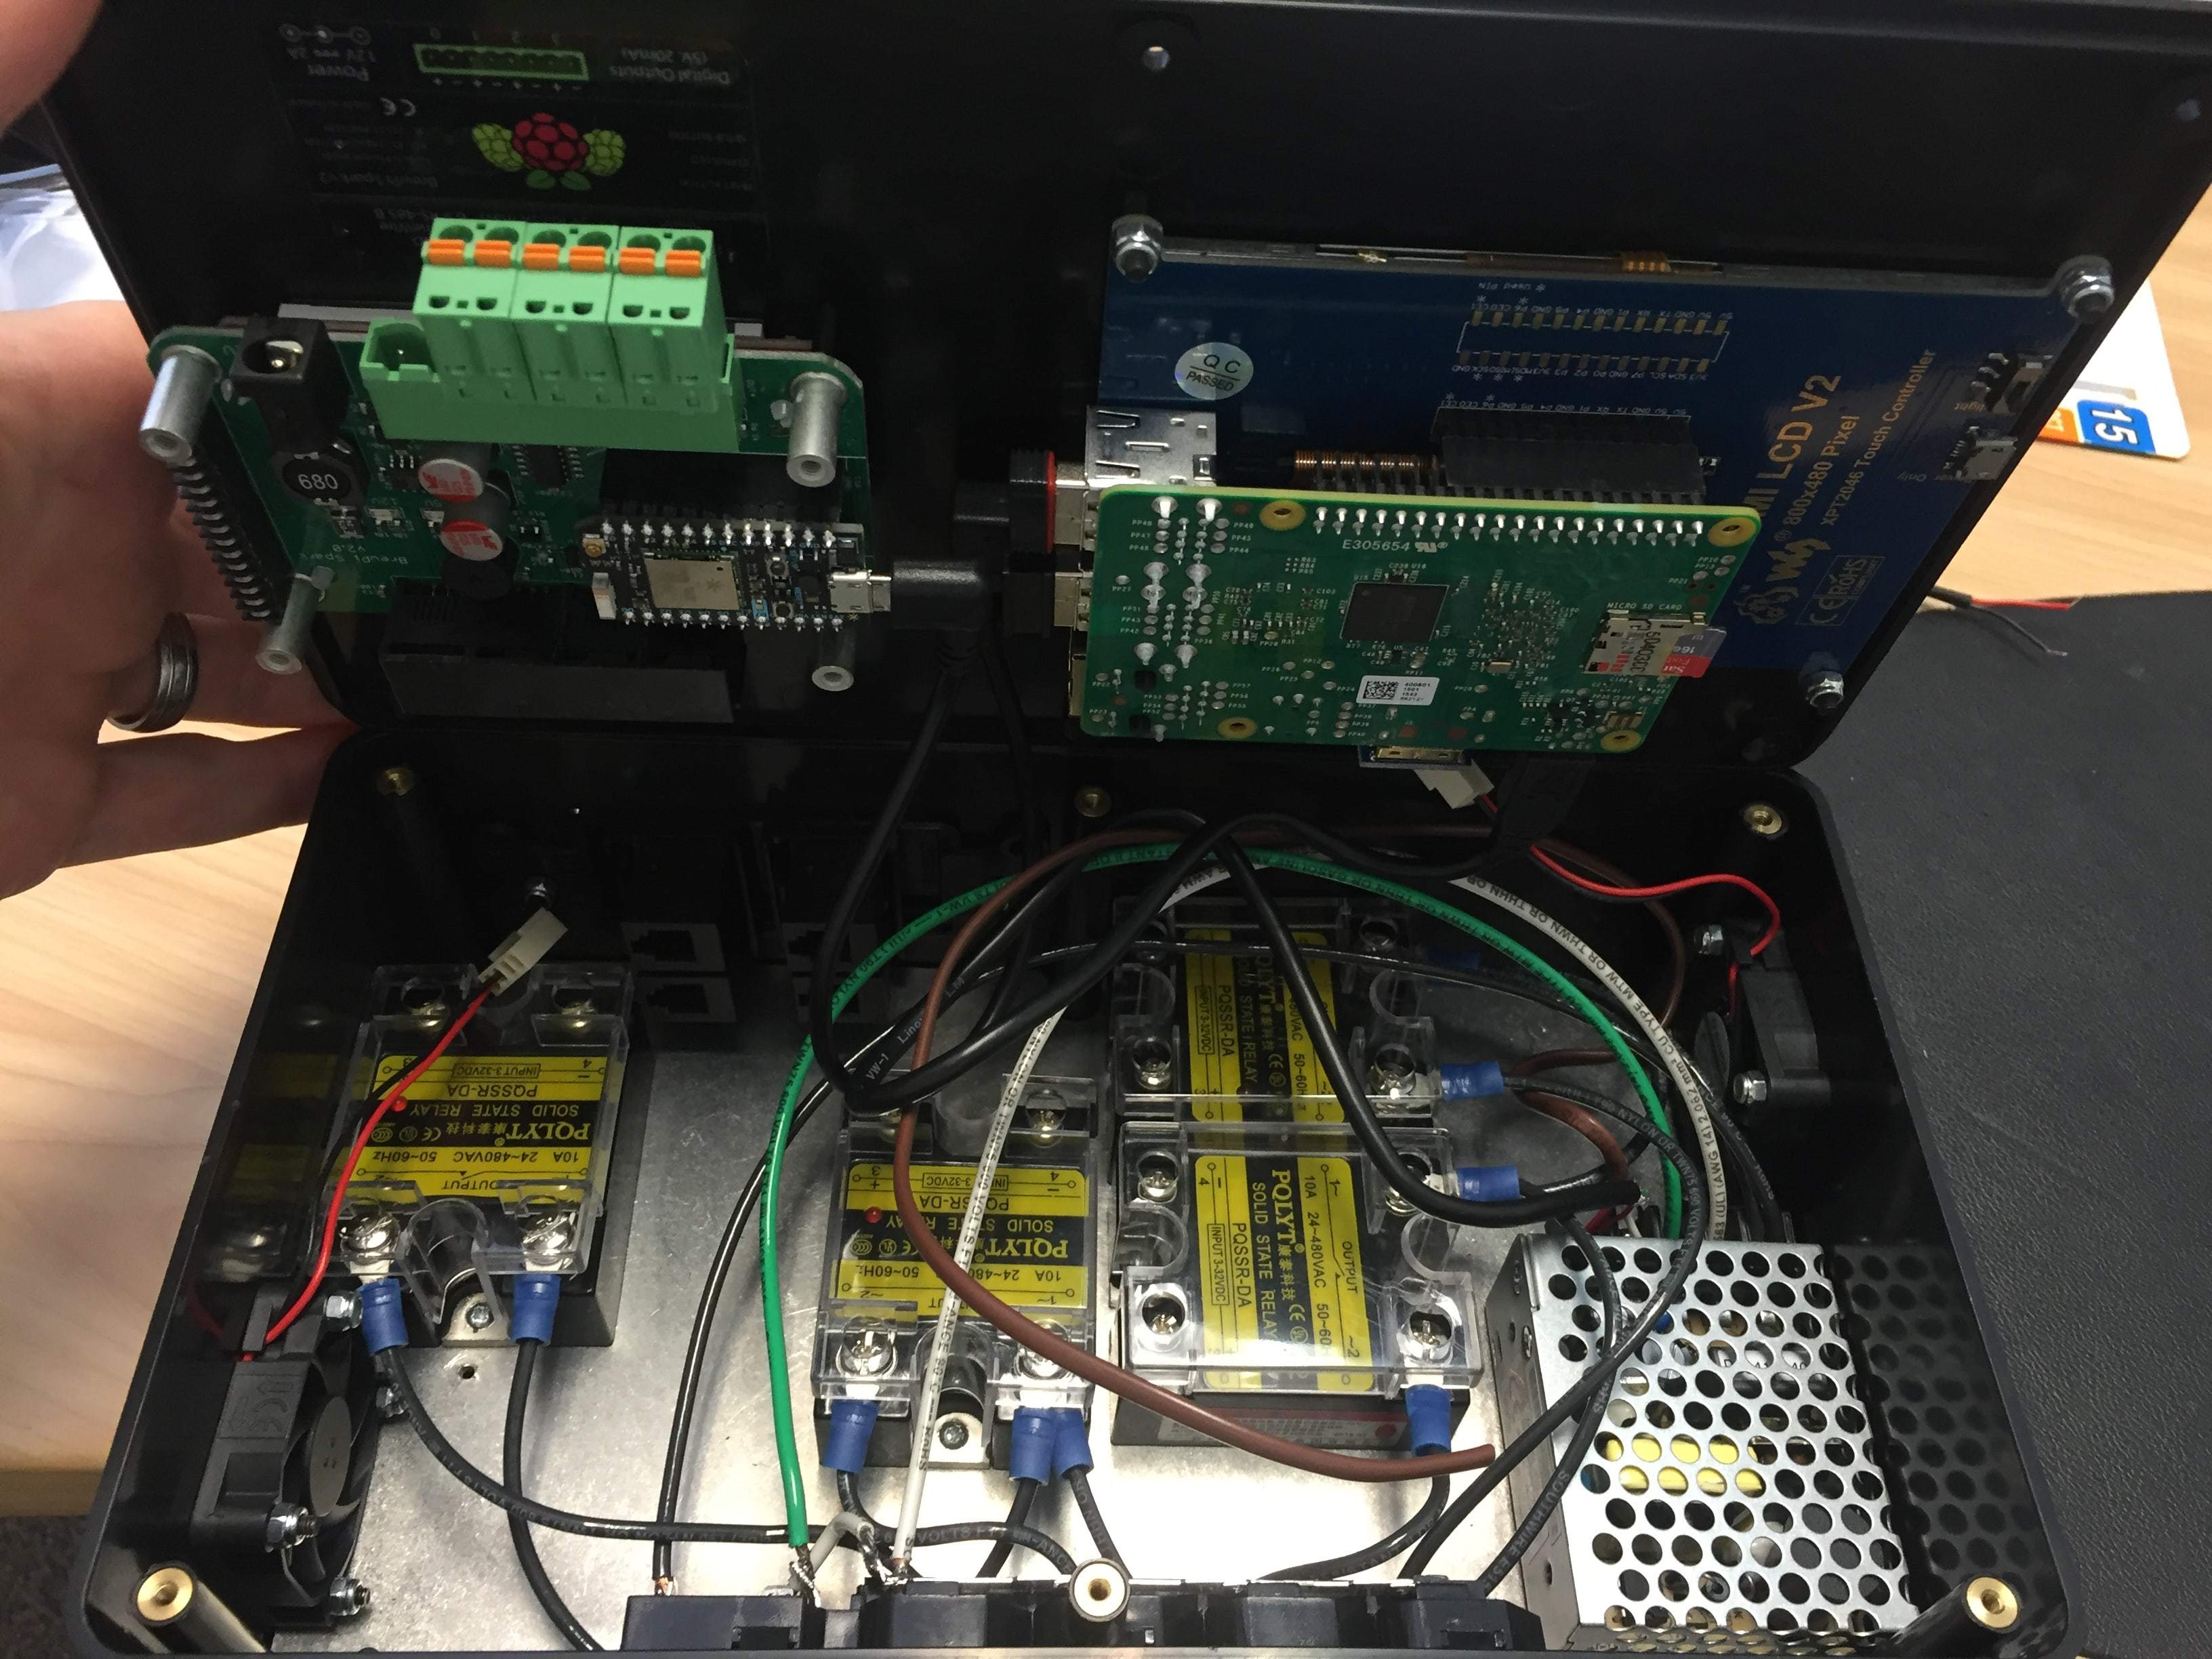
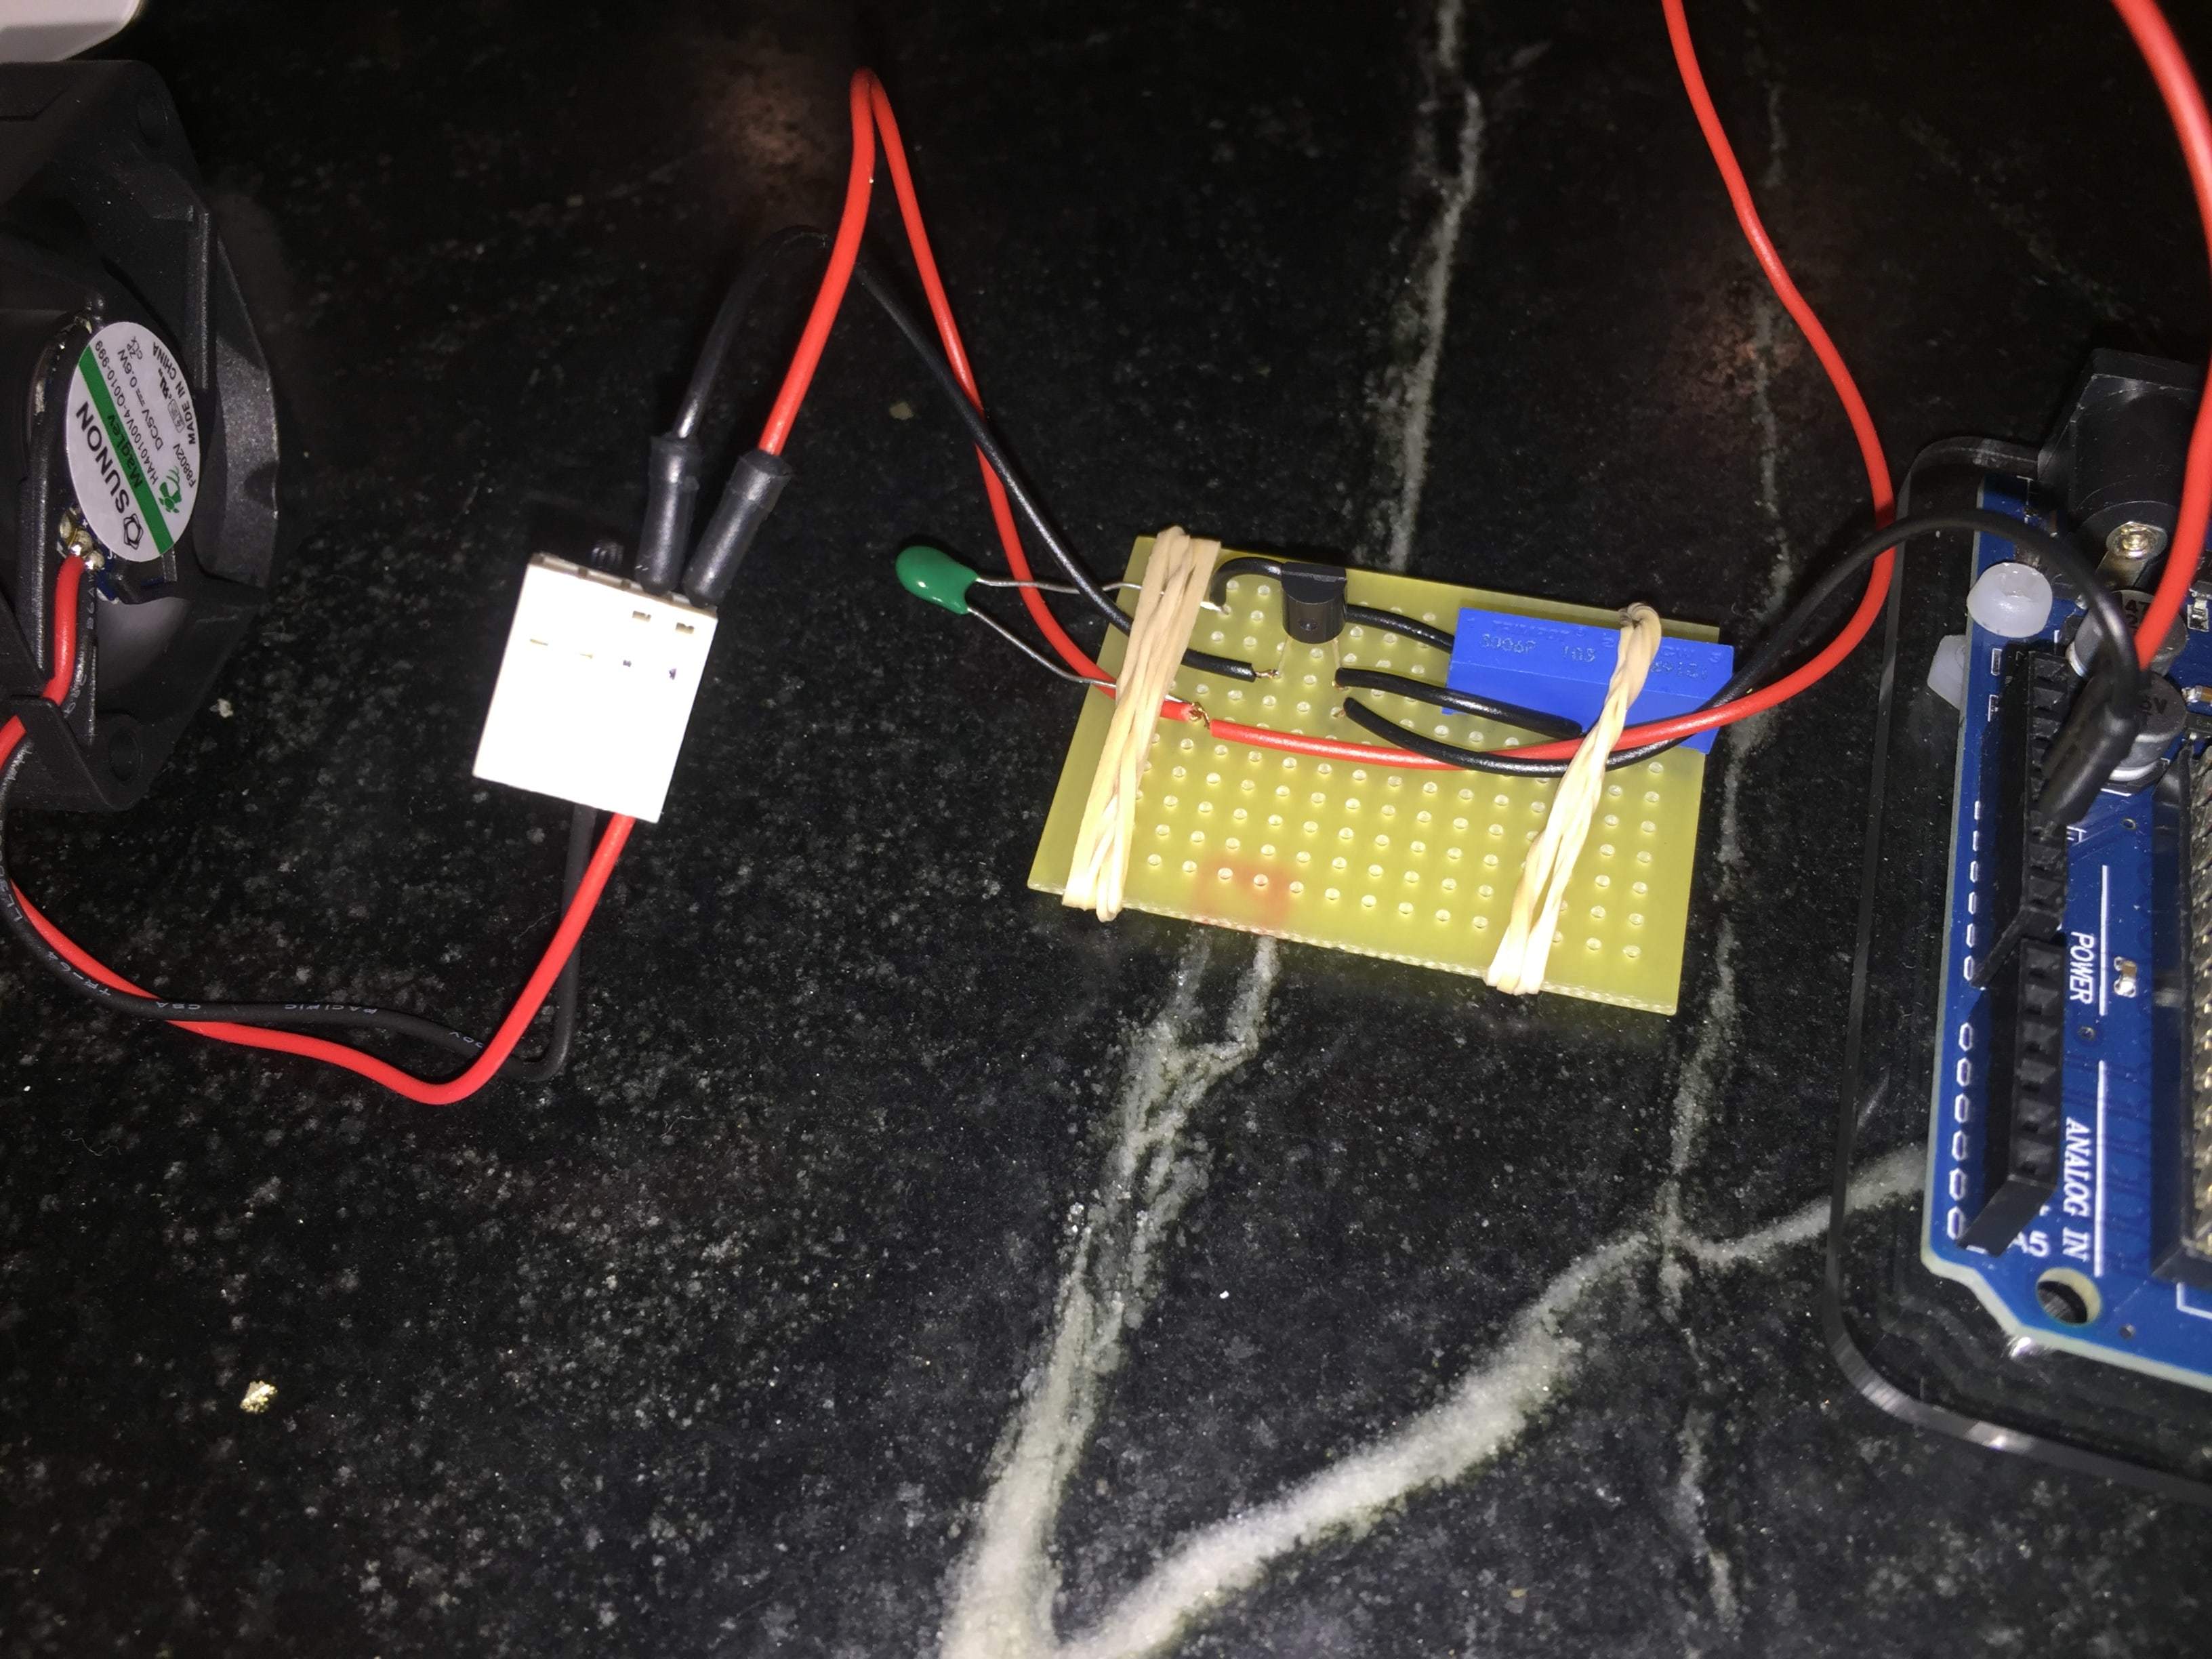
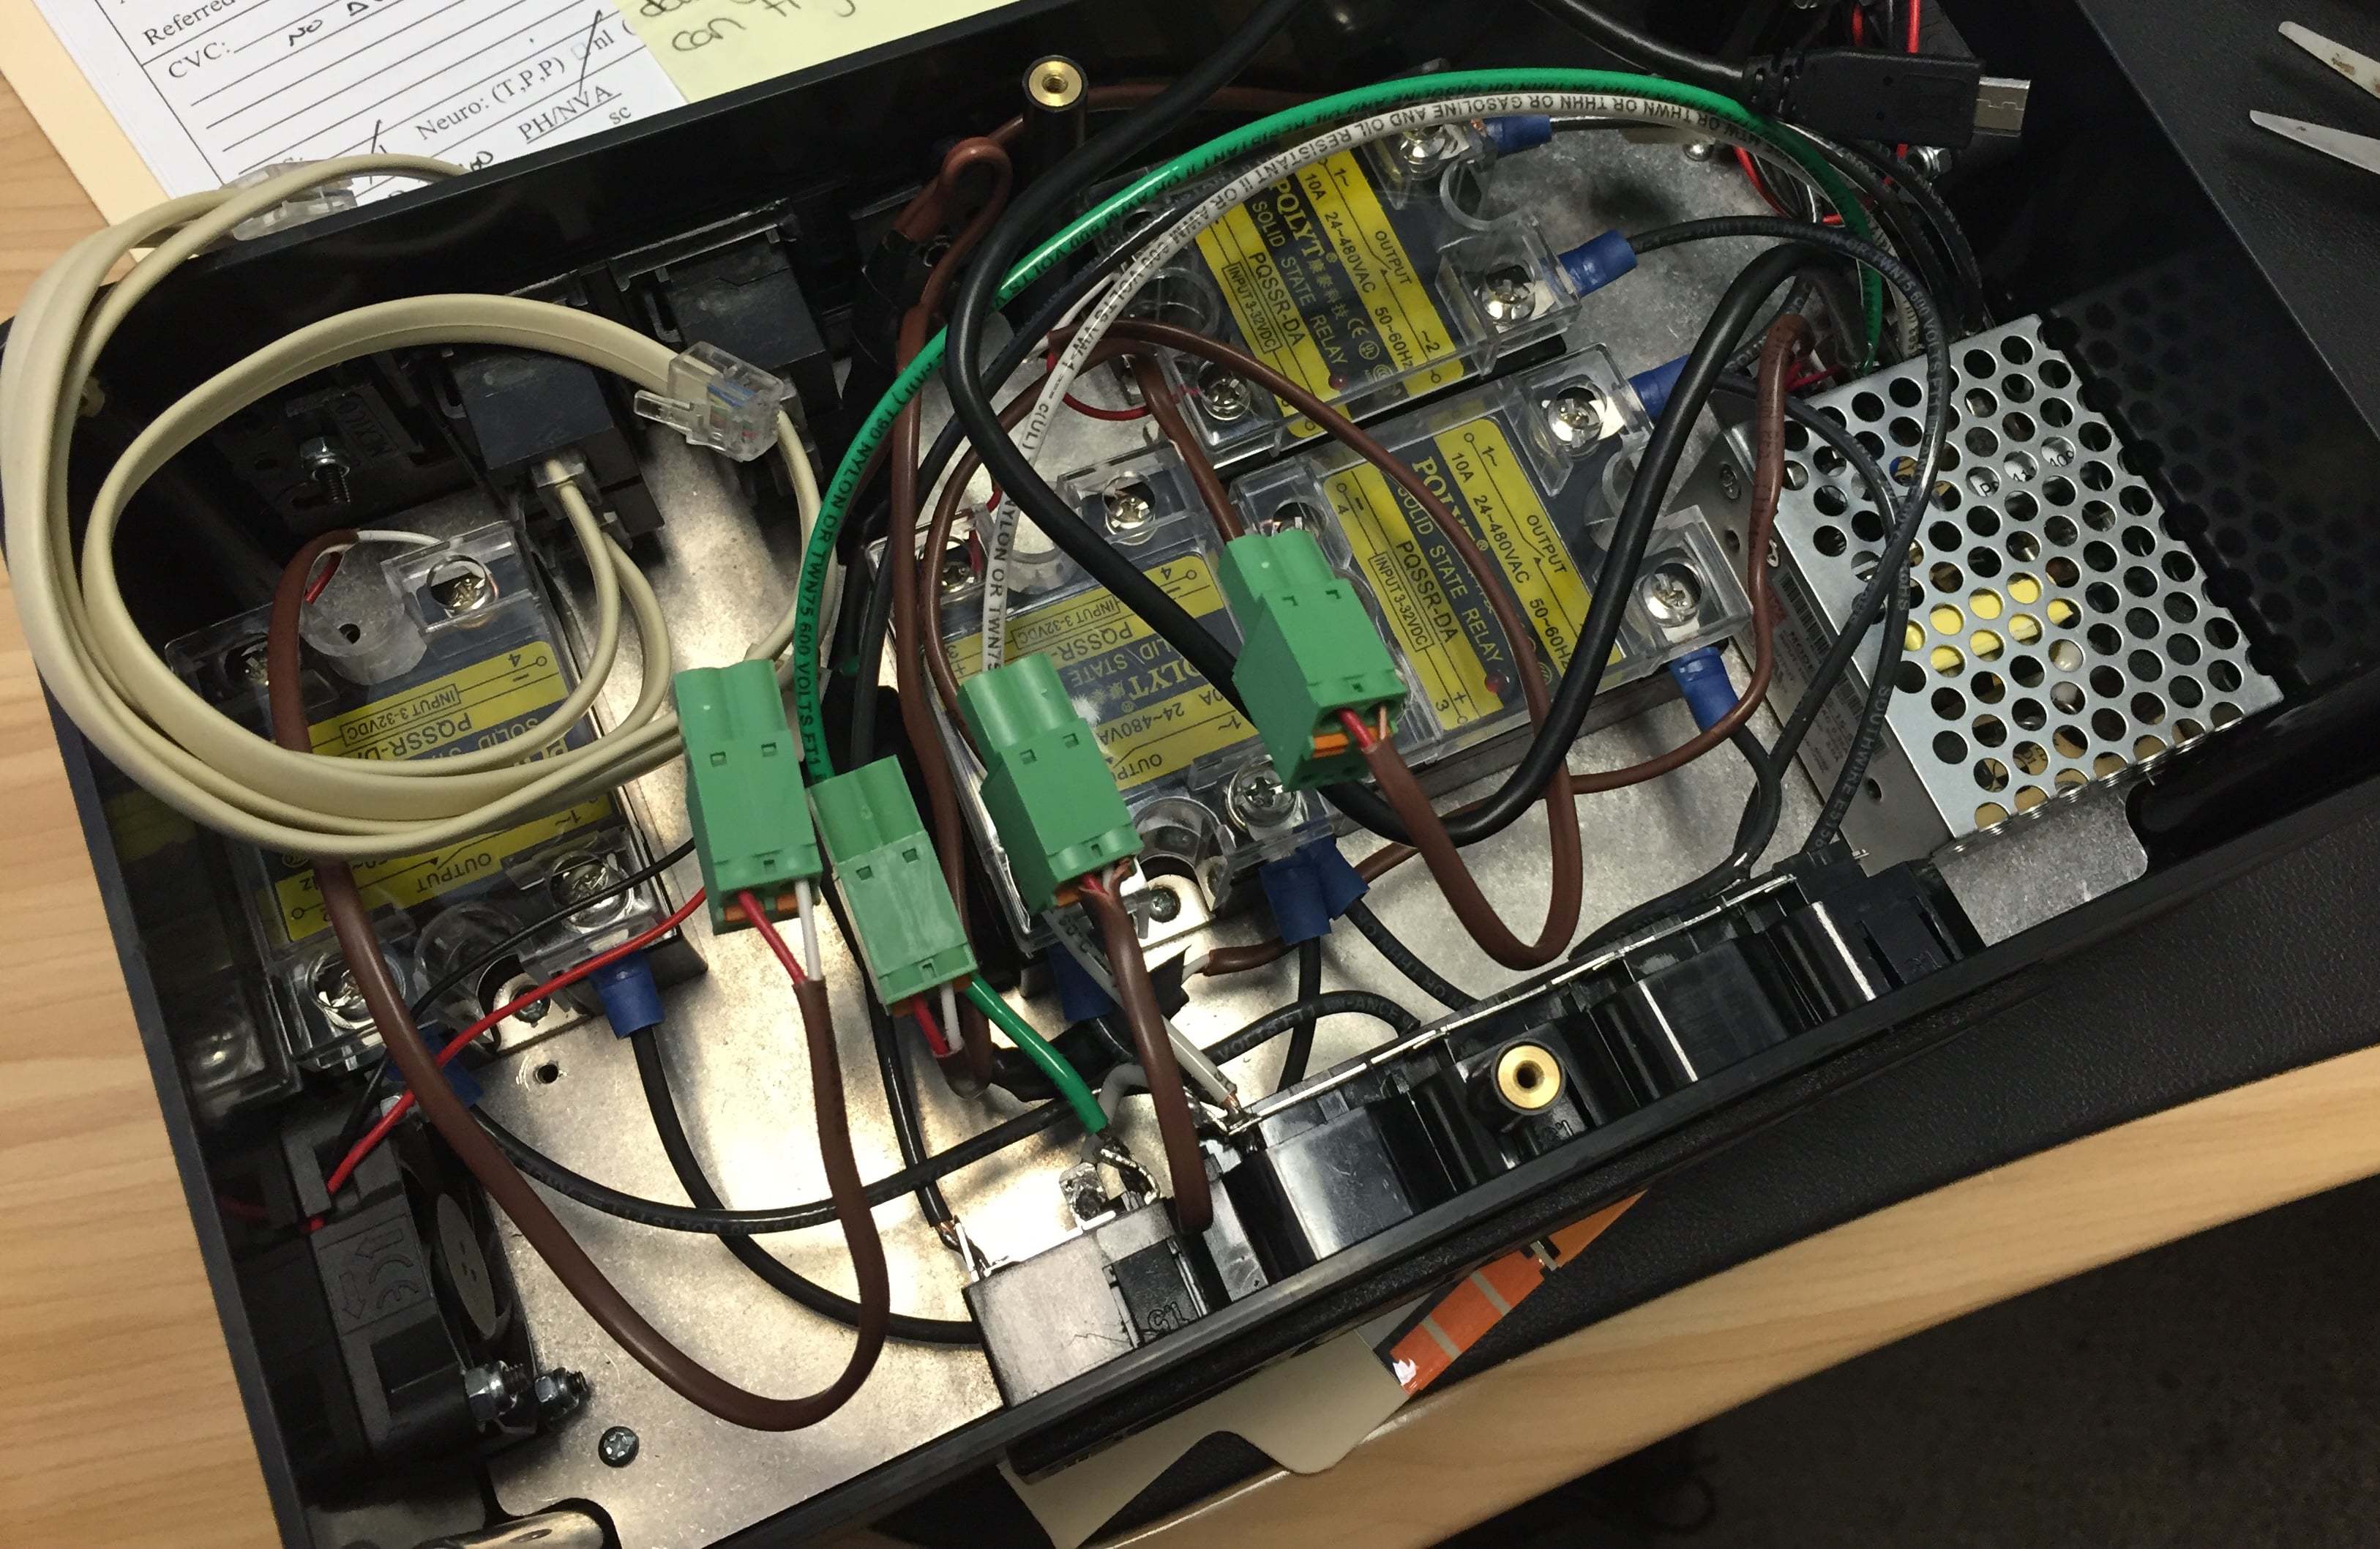
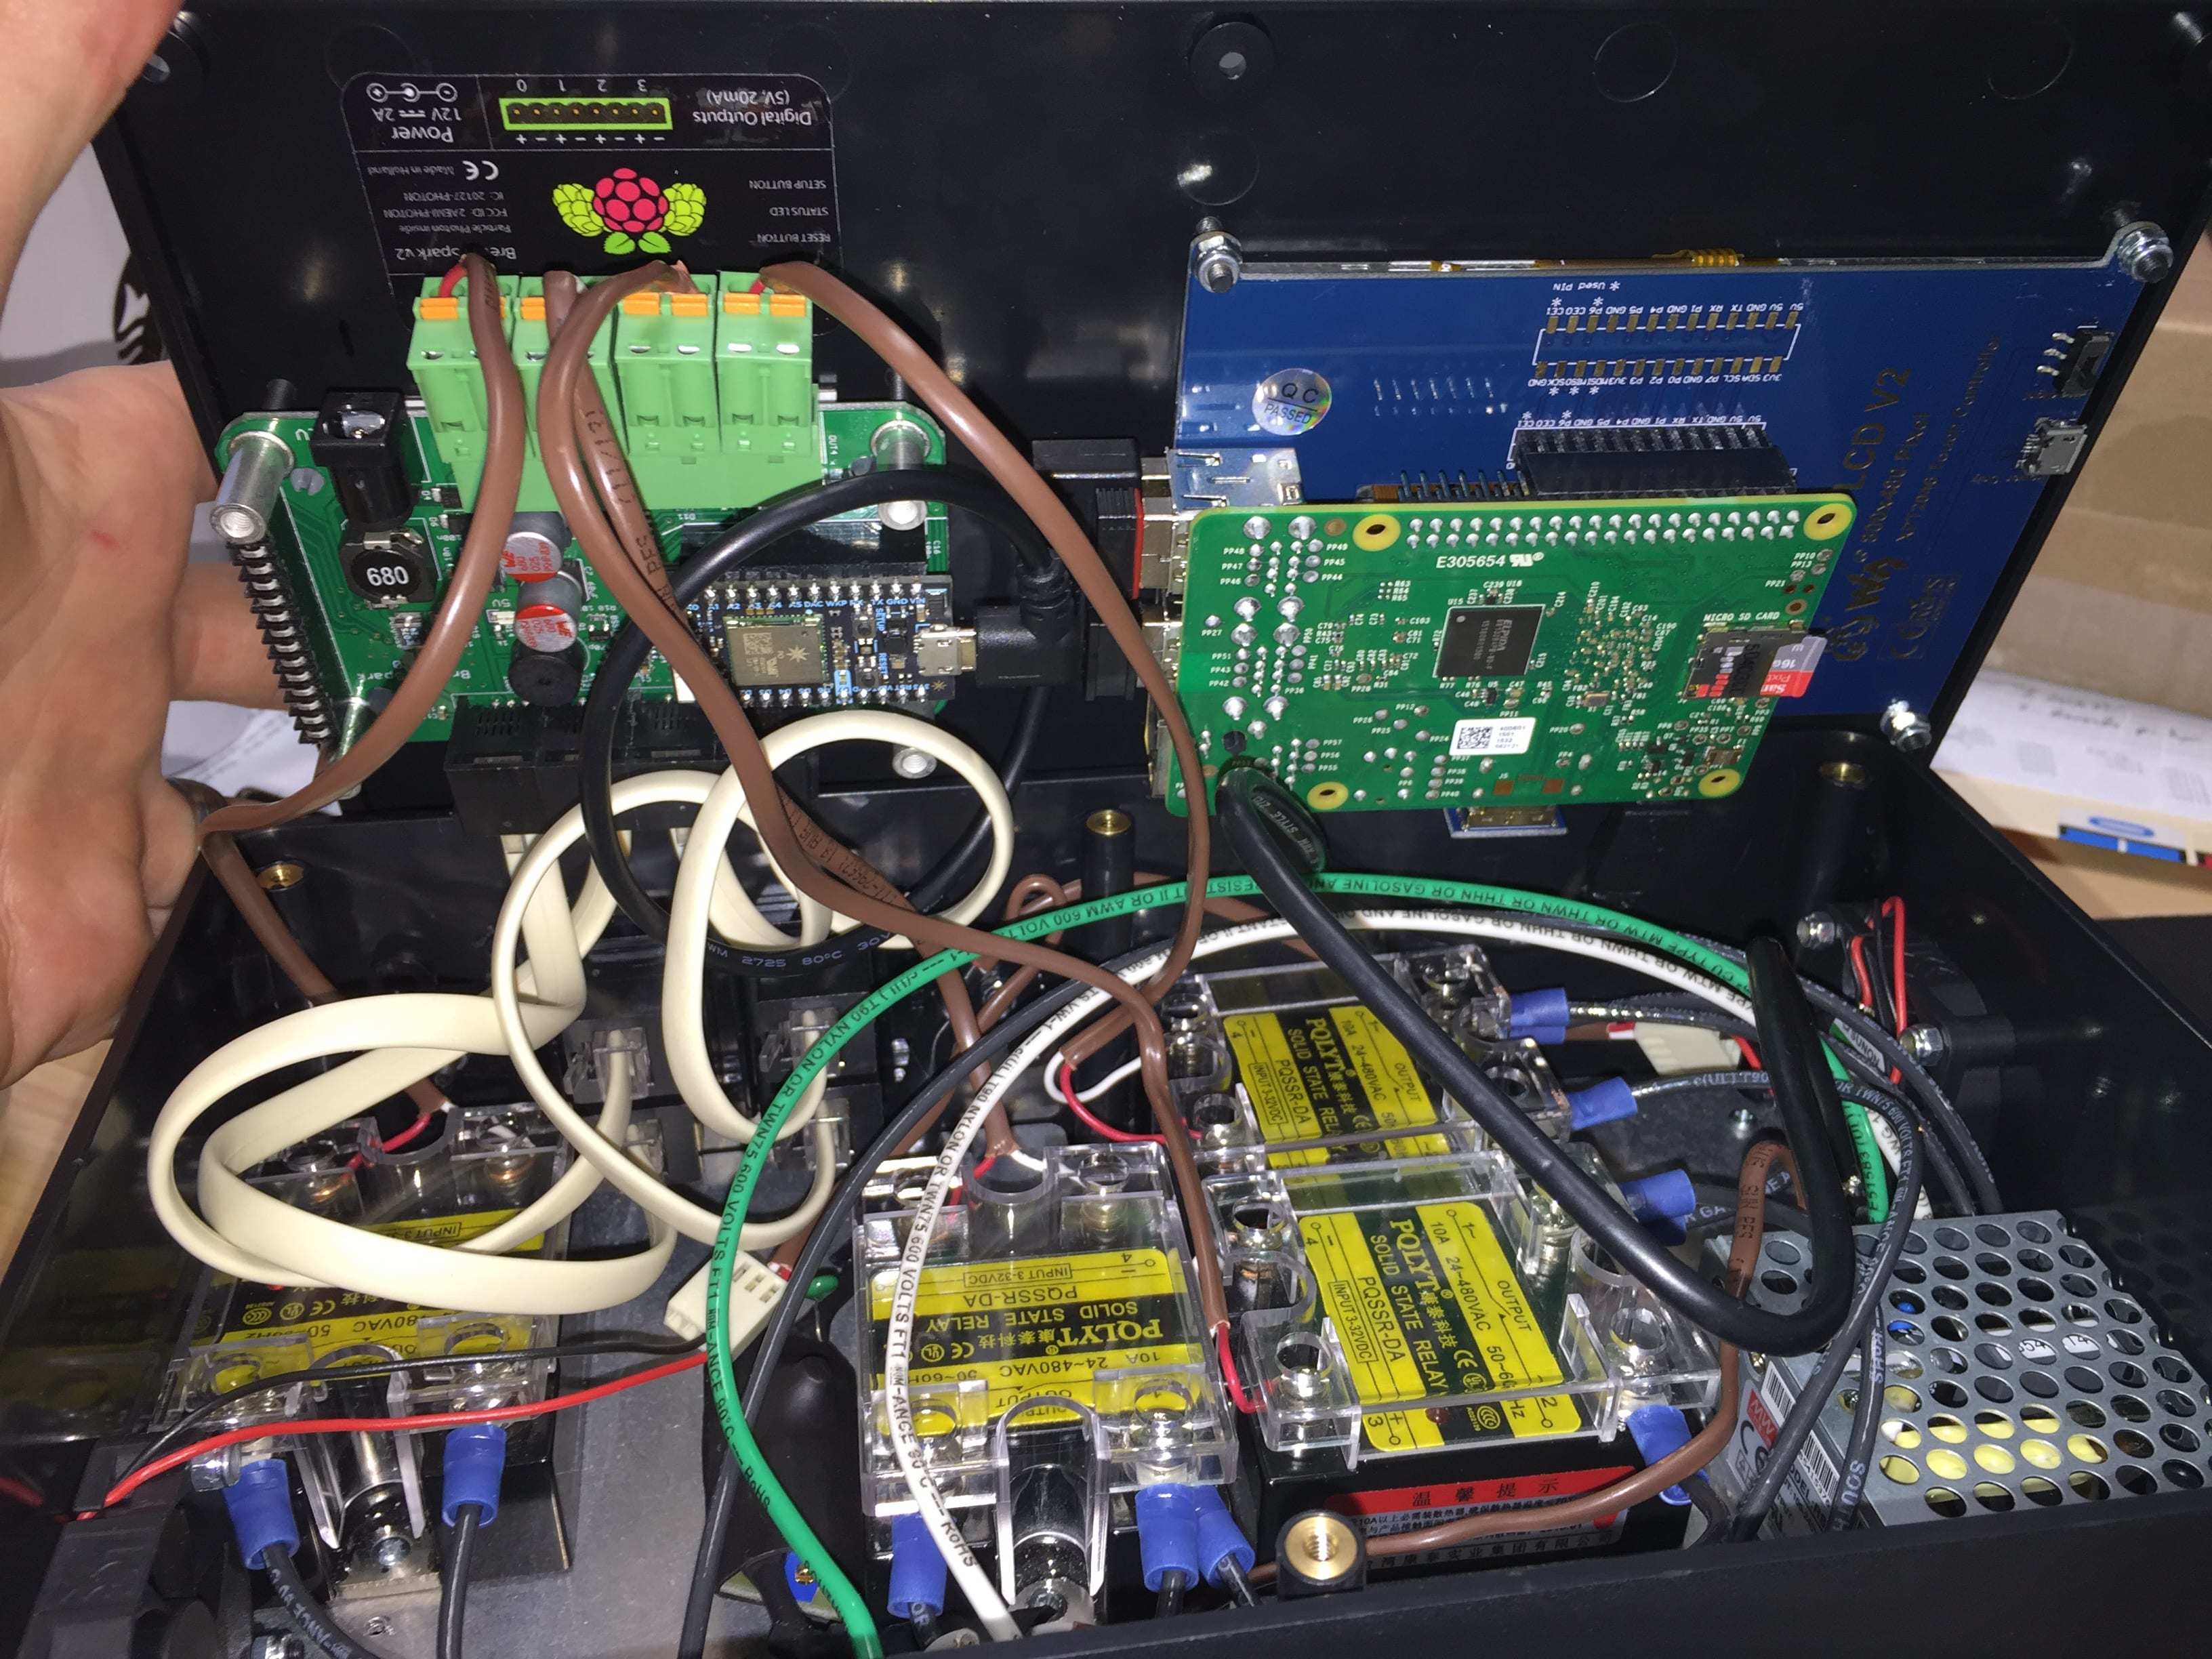
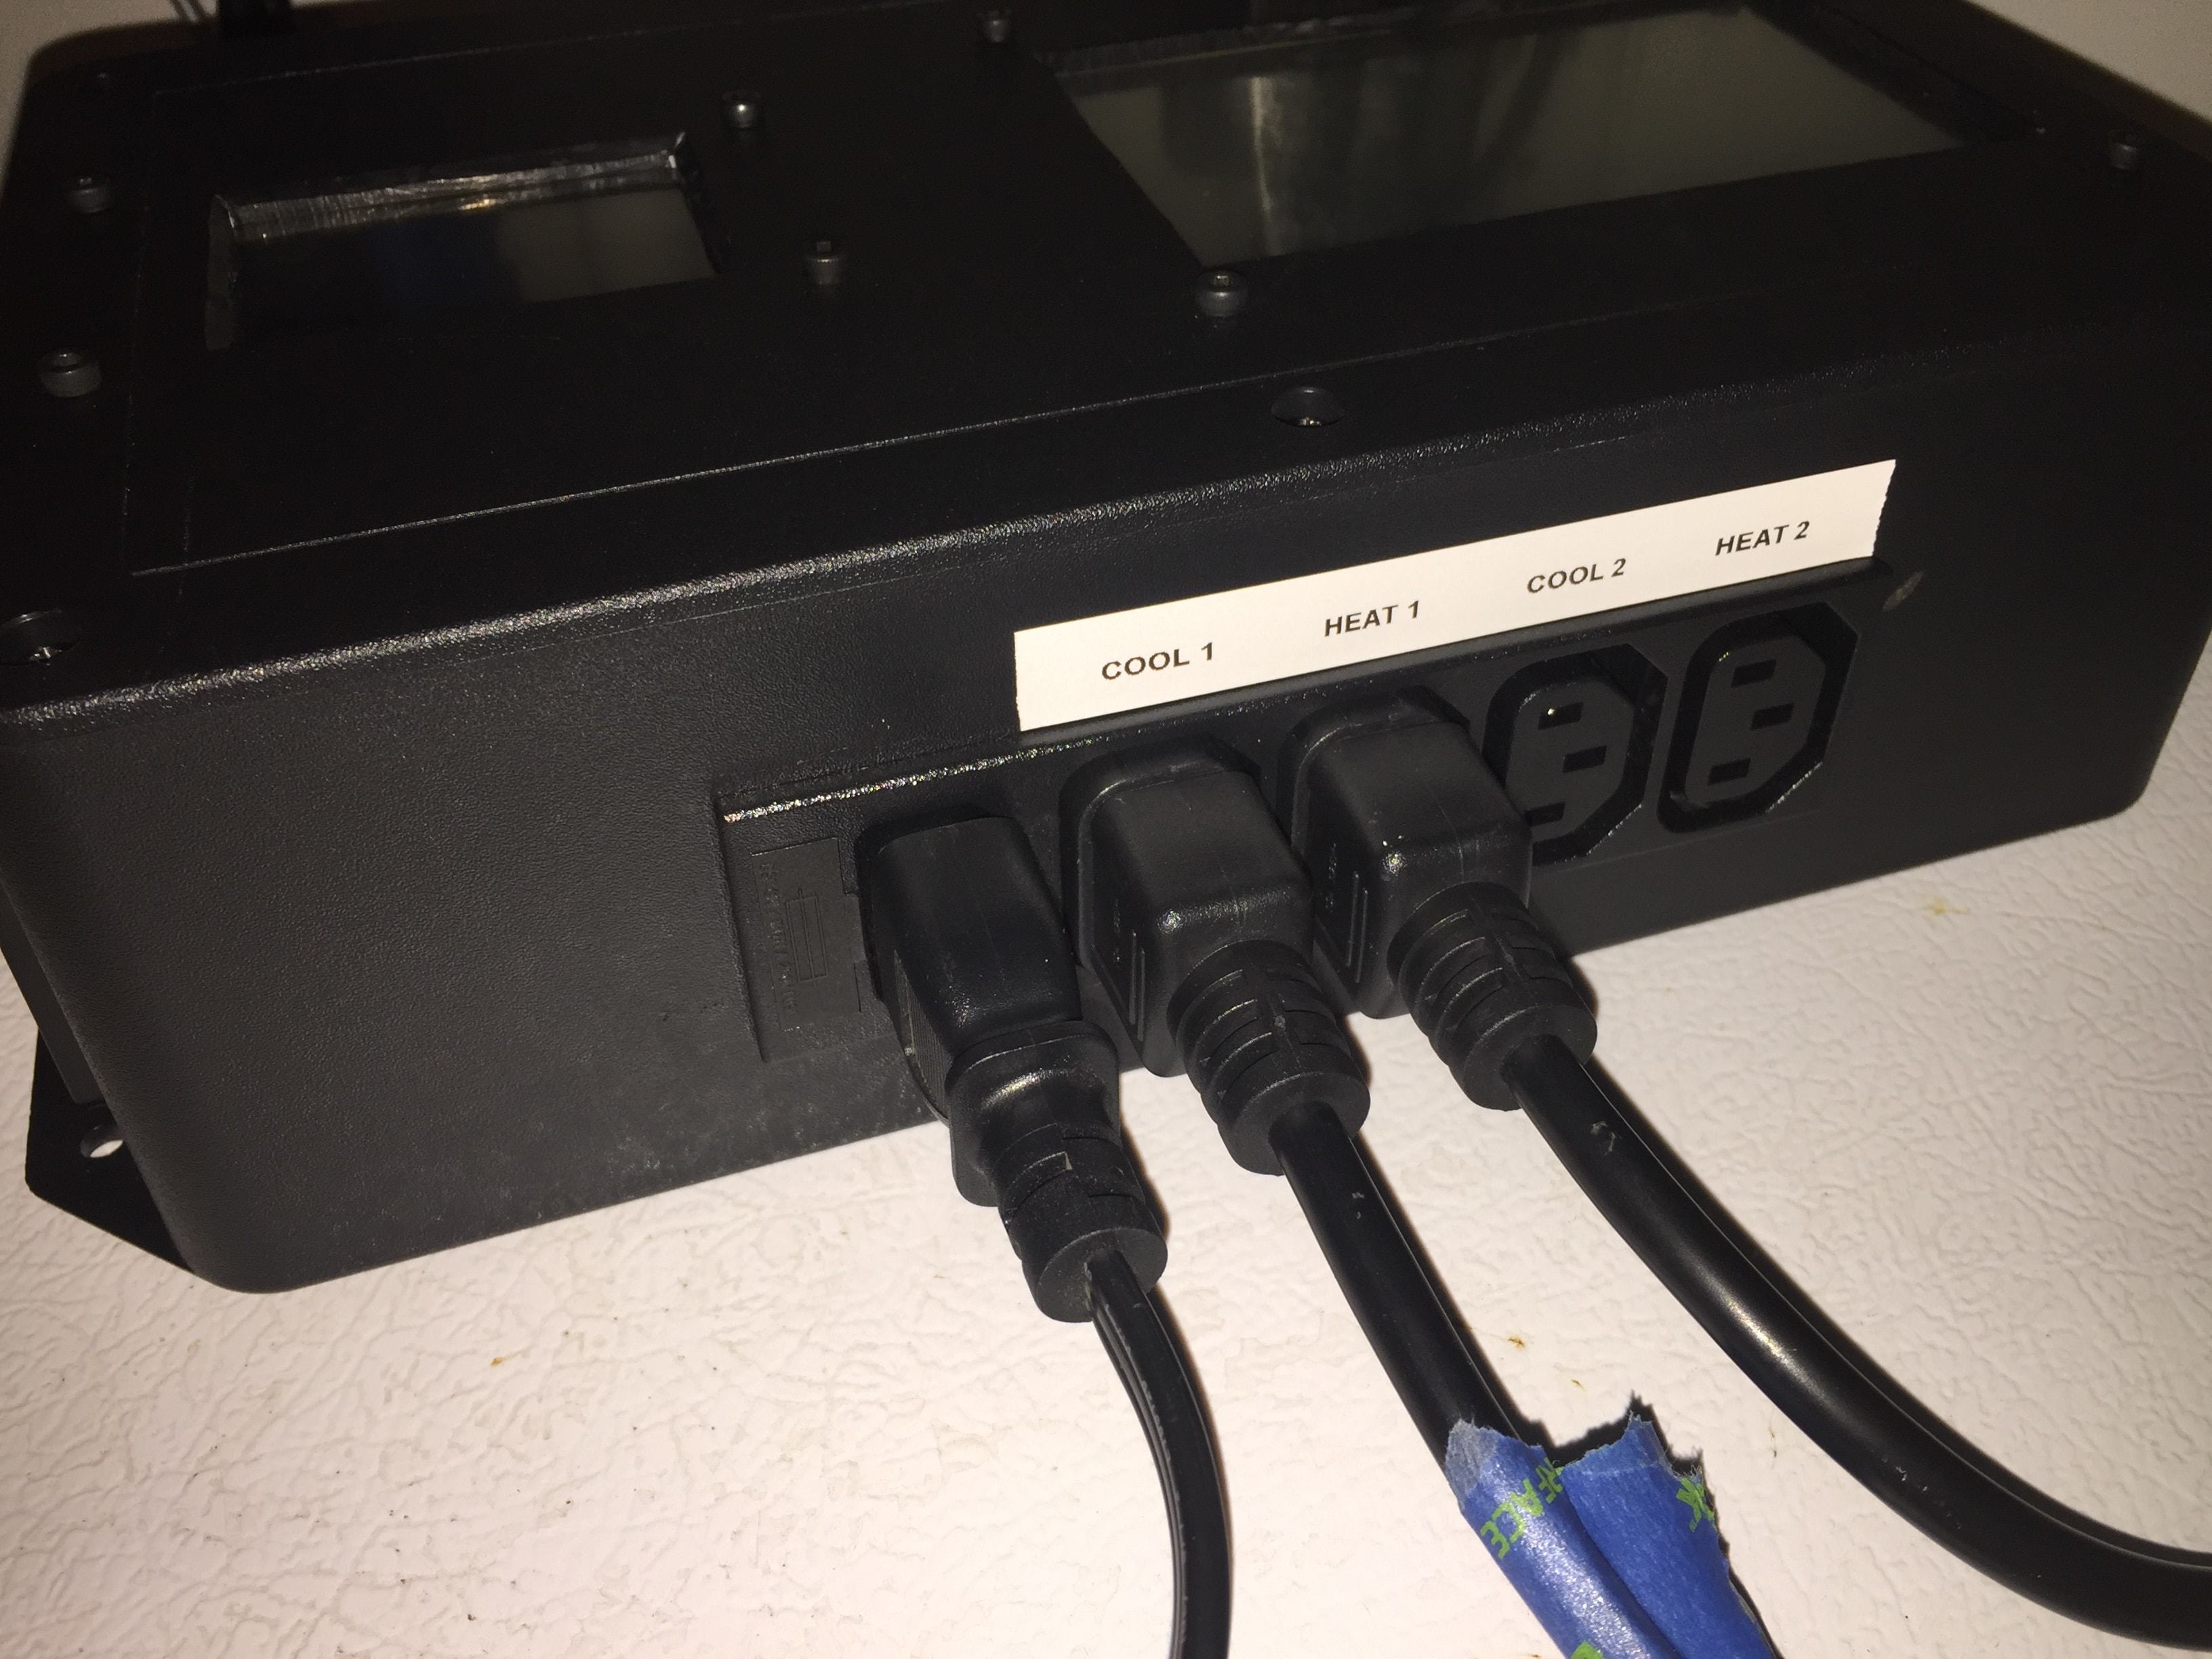
Wanted to make a single box that I could plug into with 2 freezers and 2 heaters for both of my fermentation vessels (for when the updates are done to support multi-vessel). It basically uses C13/C14 plugs for moving the 120vac. There is an input that takes the a/c current to each of the 4 SSRs and then to a 120vac to 5vdc@3A switch to power the RPi, Spark and 40mm fans. I made a small fan control with a thermistor/potentiometer/transistor that turns them on and regulates based off of heat in box. One fan sucks, the other blows. Nothing fancy or accurate but seems to work just fine.
I used:
BrewPi Spark with Photon DIY board only.
BrewPi Temp probes
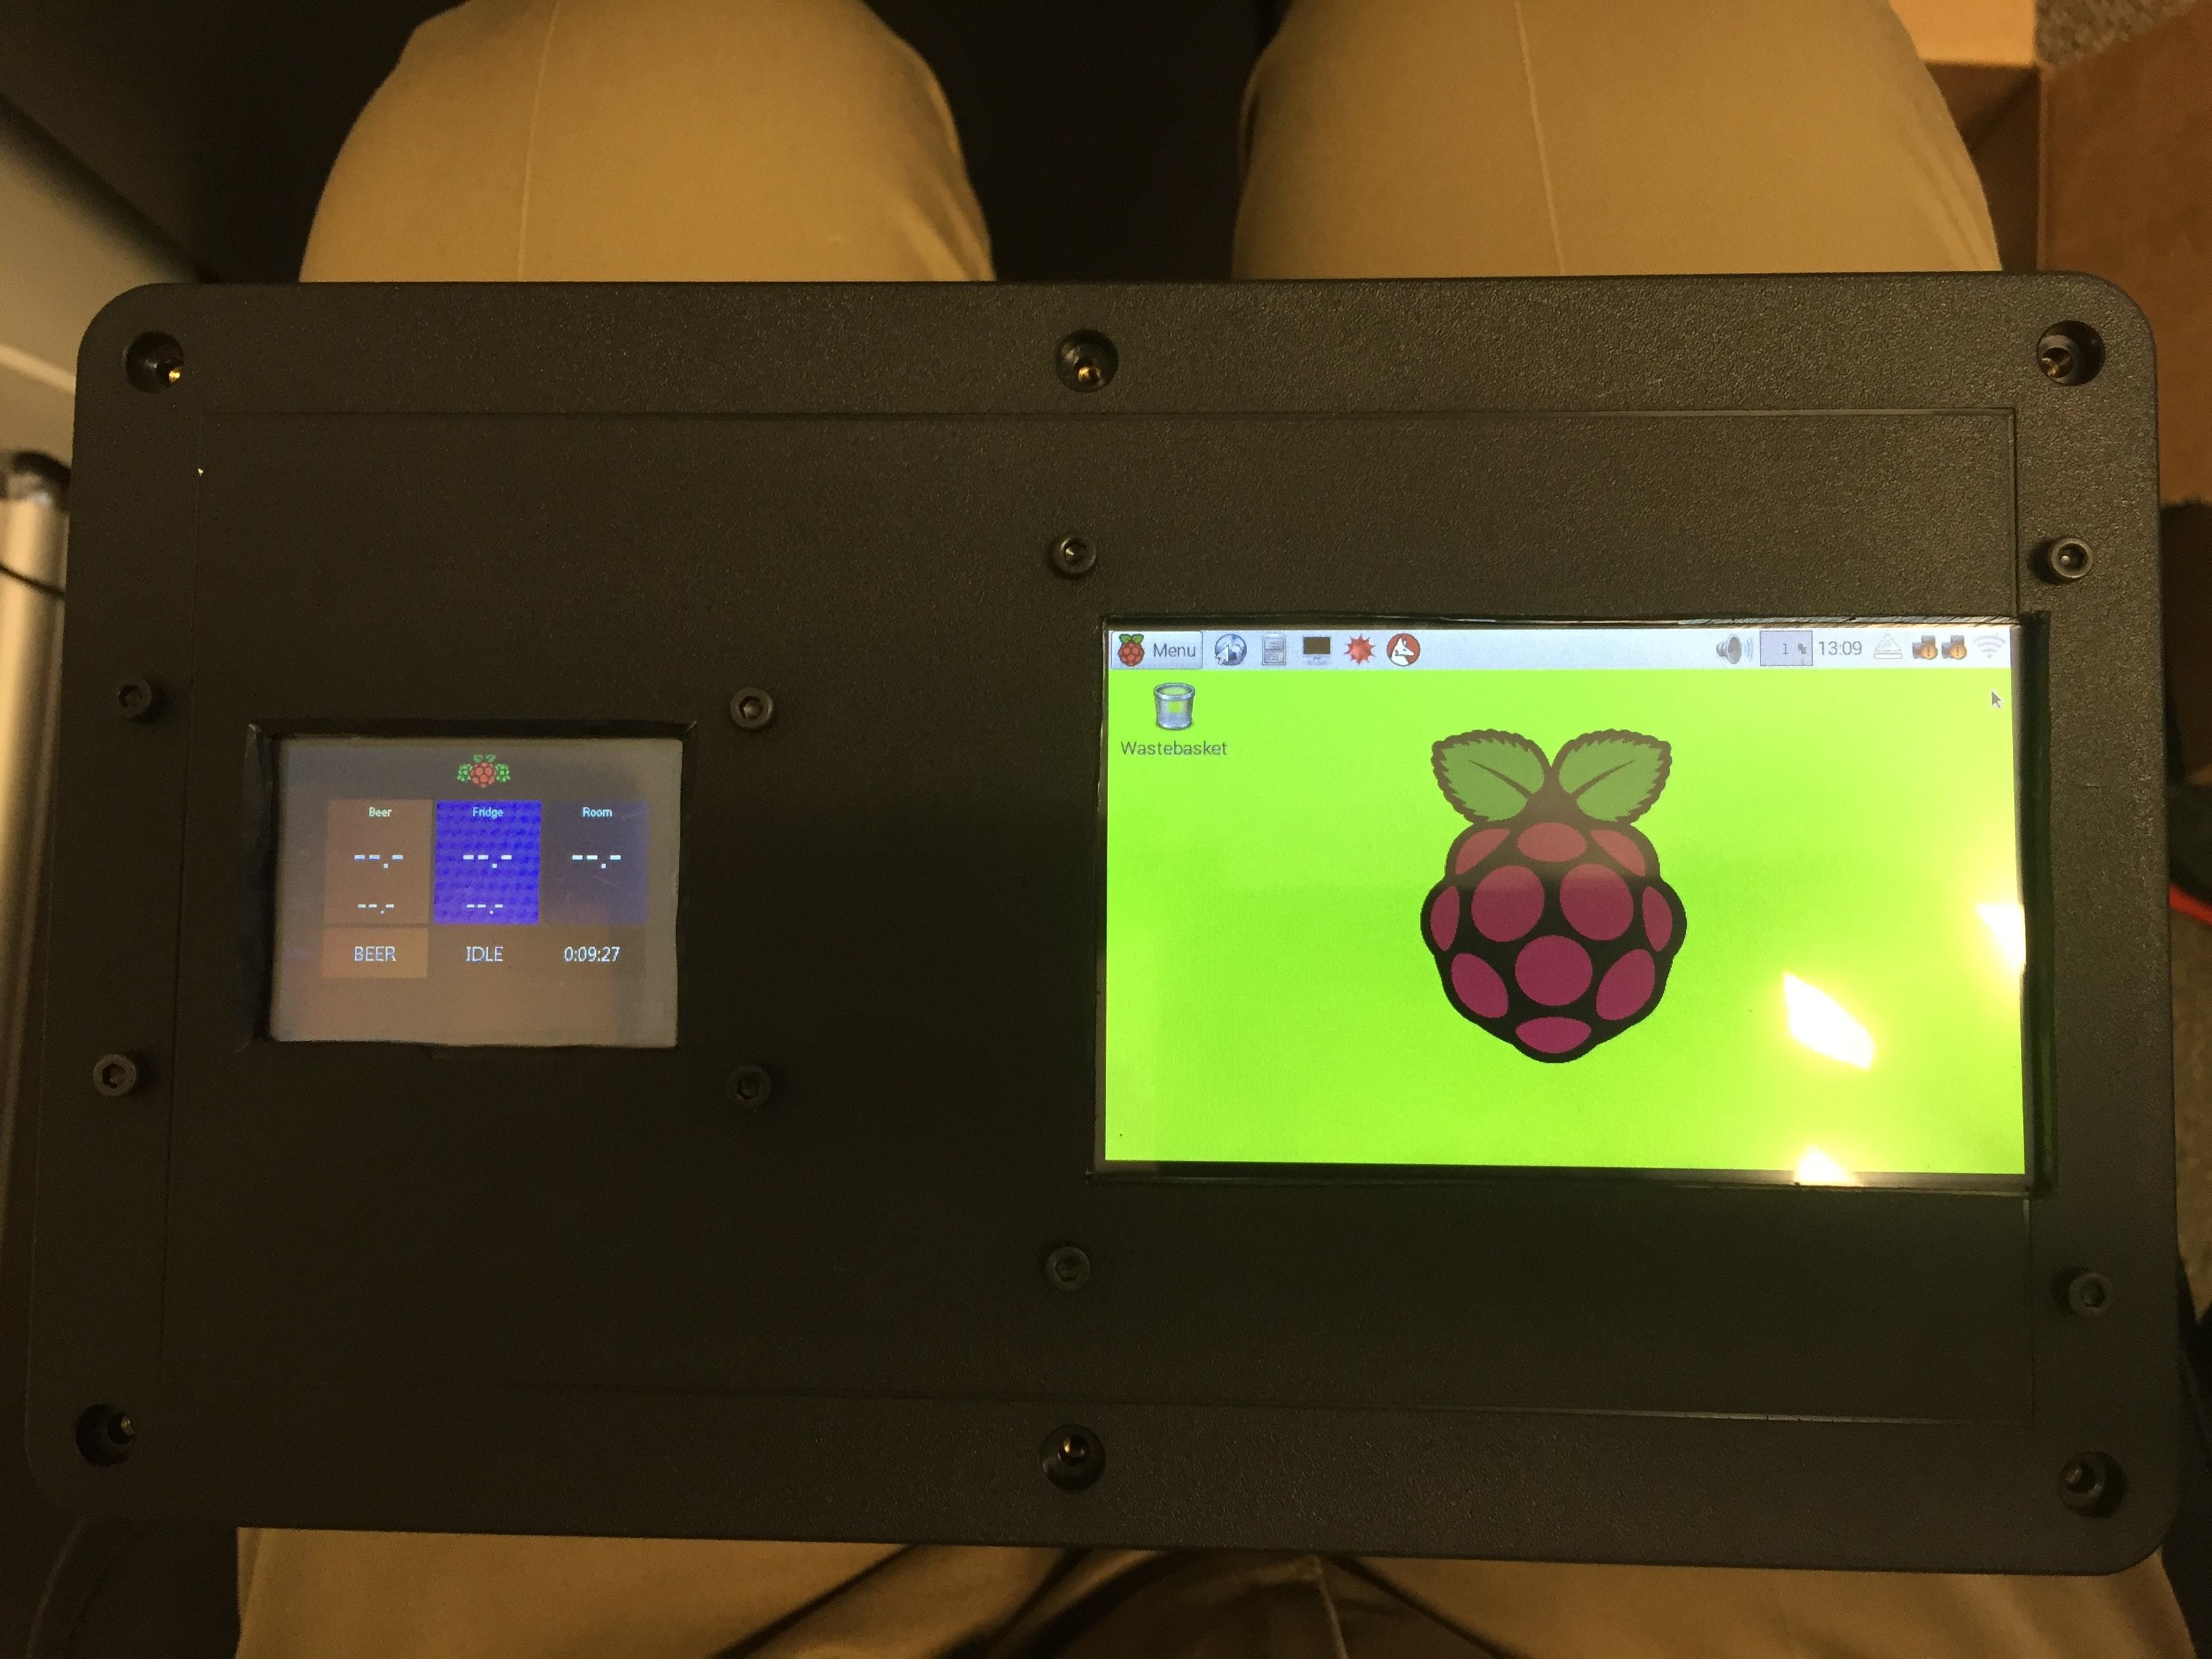
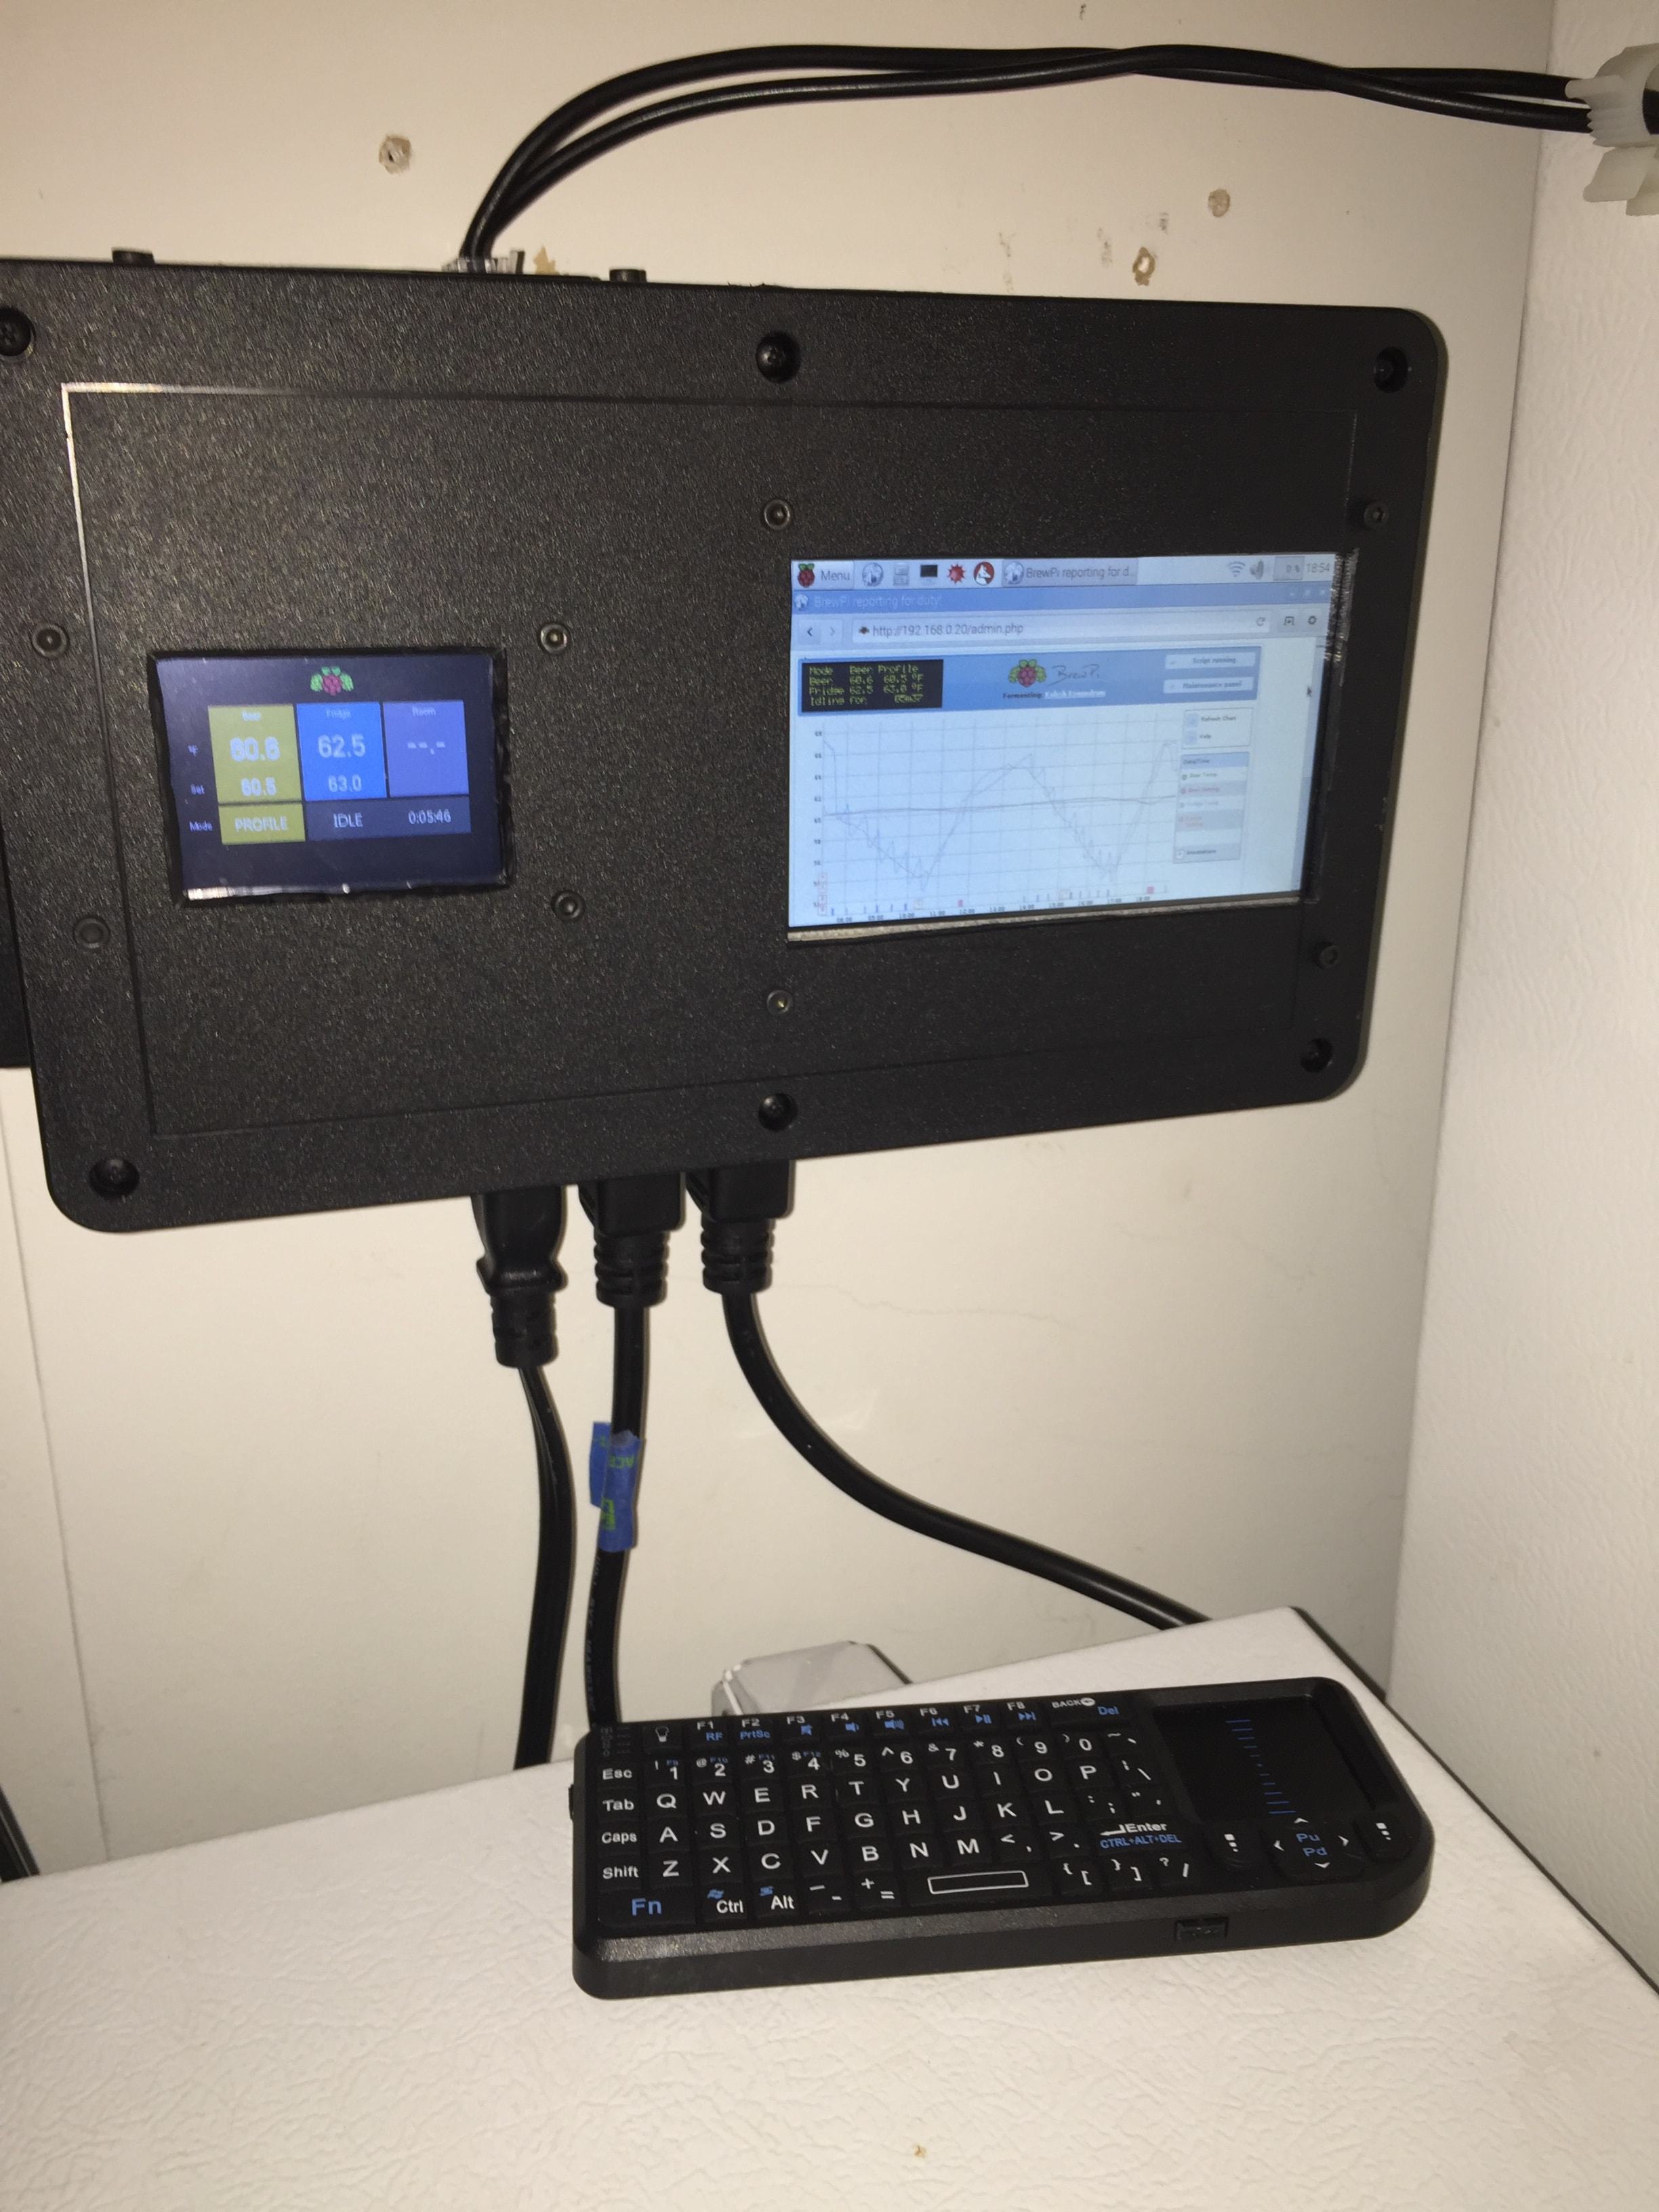
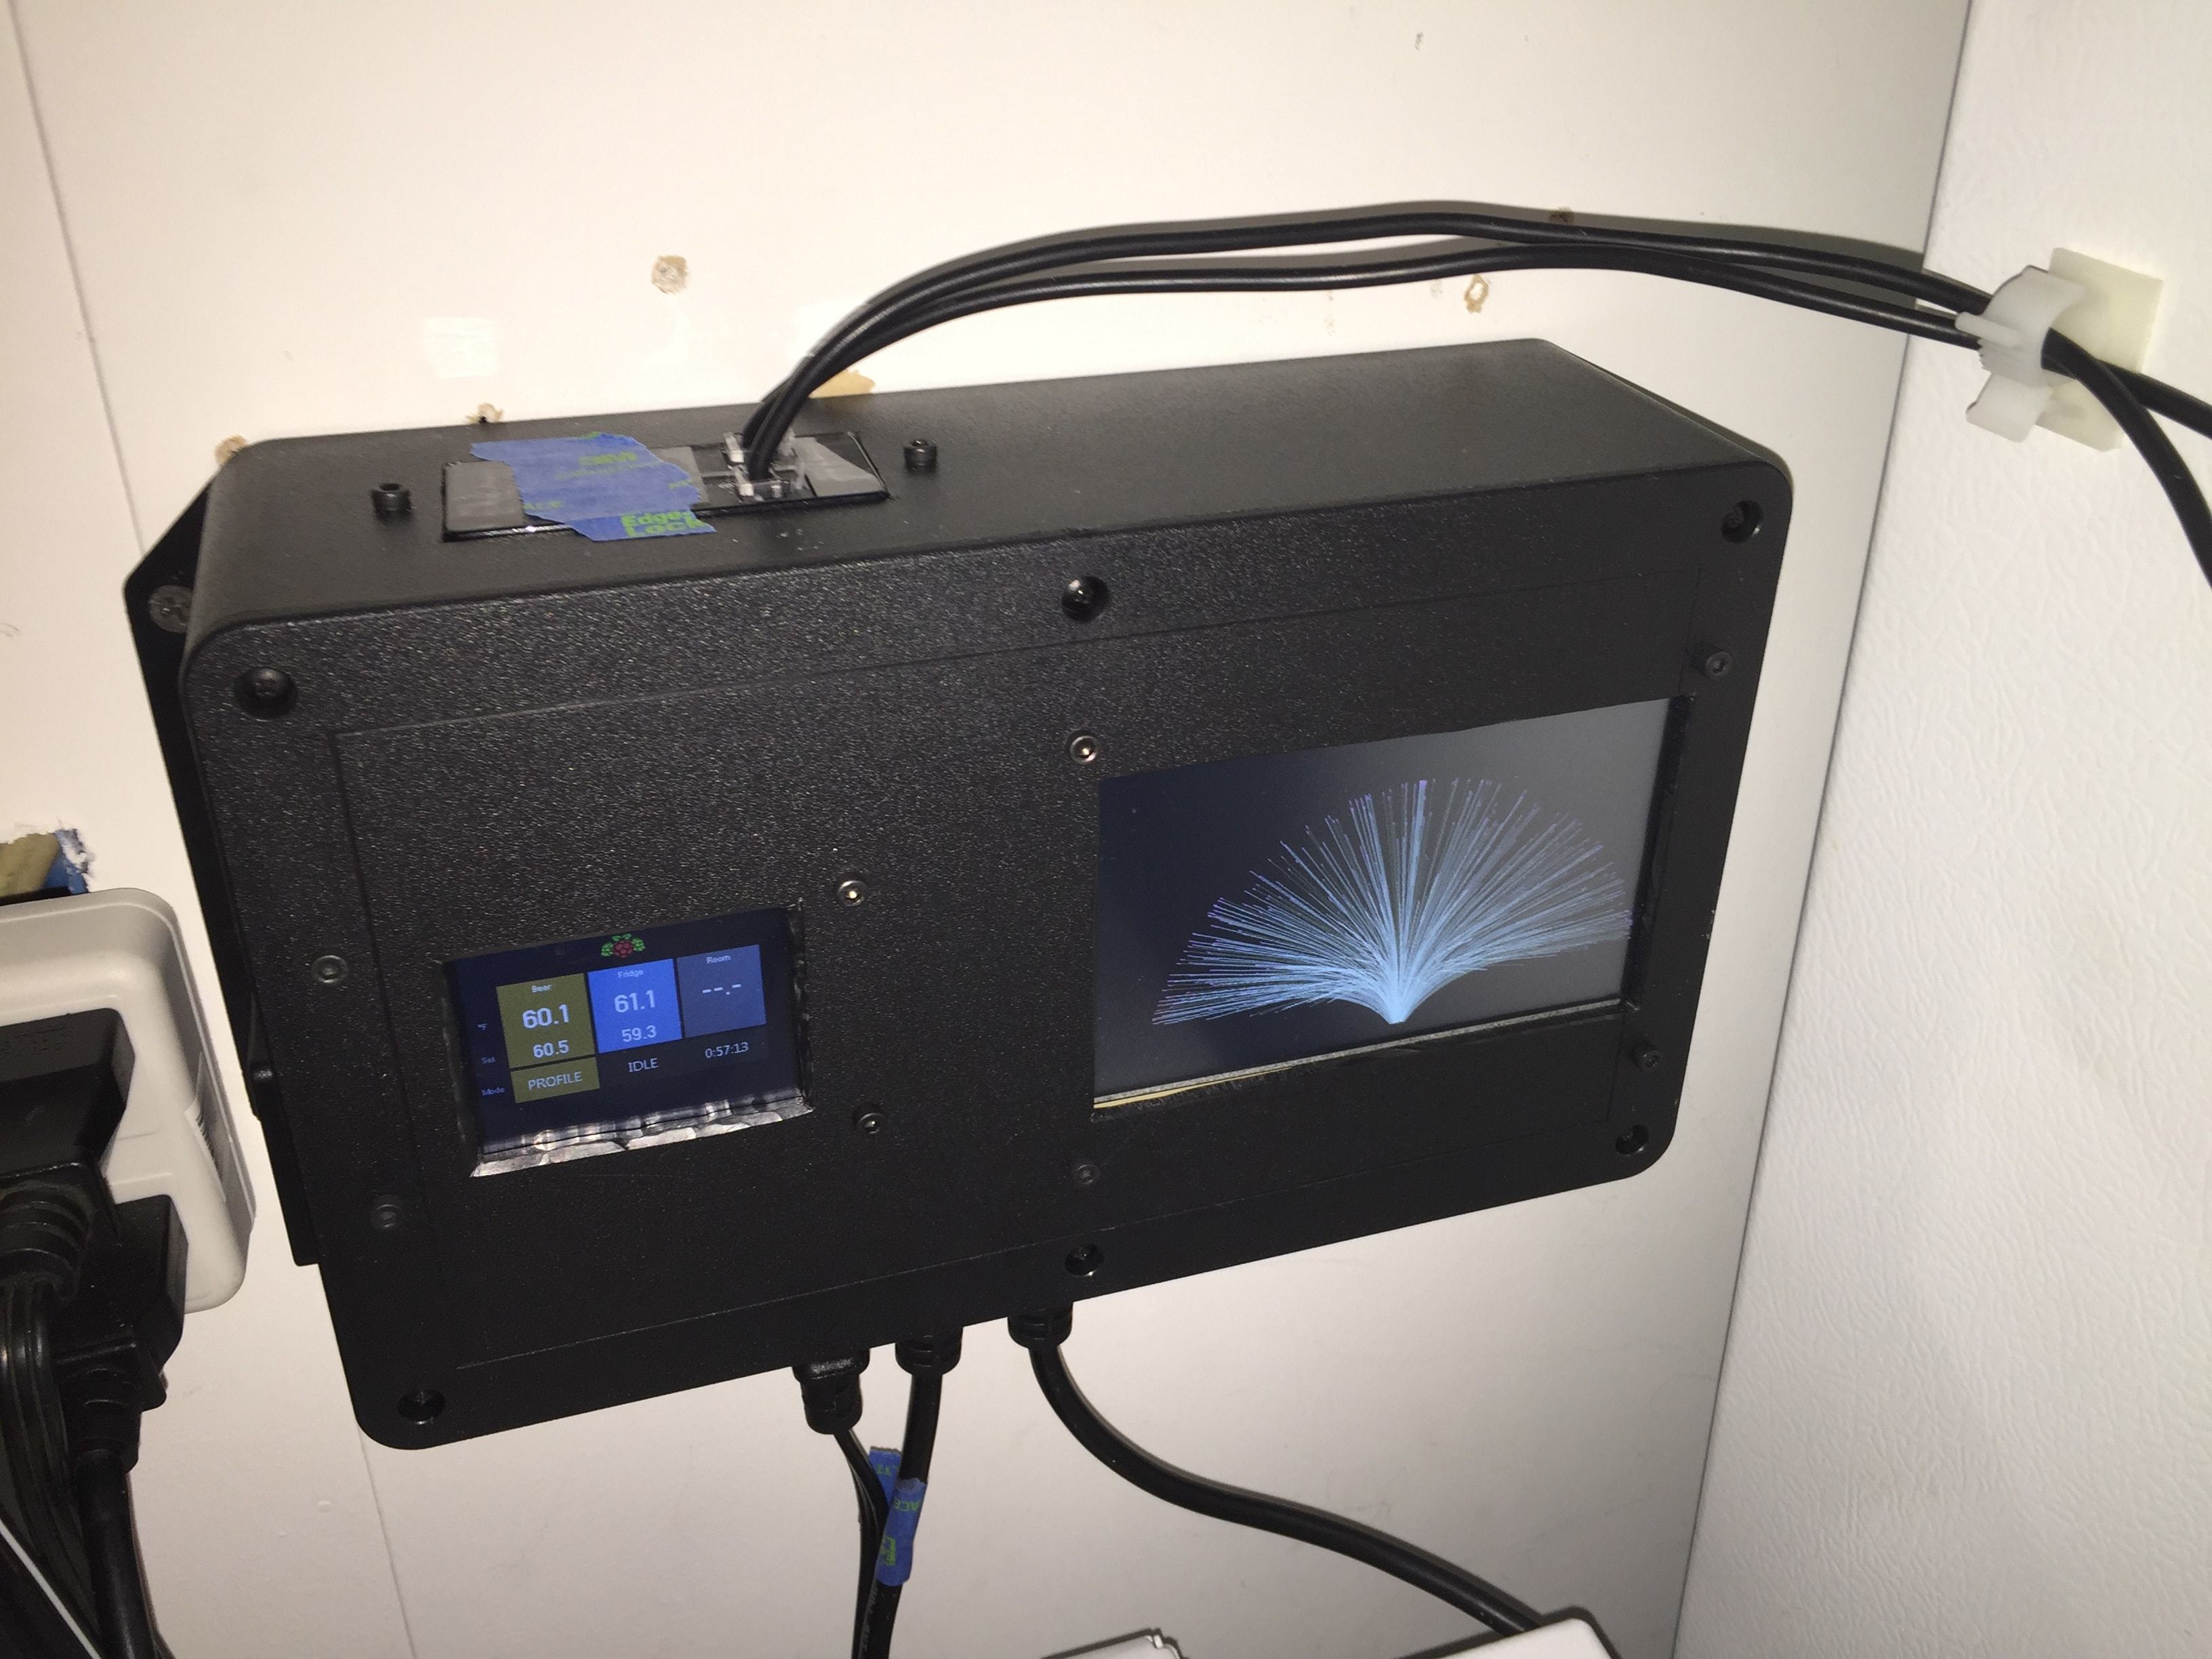
Raspberry Pi
5 inch touch LCD
MeanWell 120v AC to 5v@3A DC converter
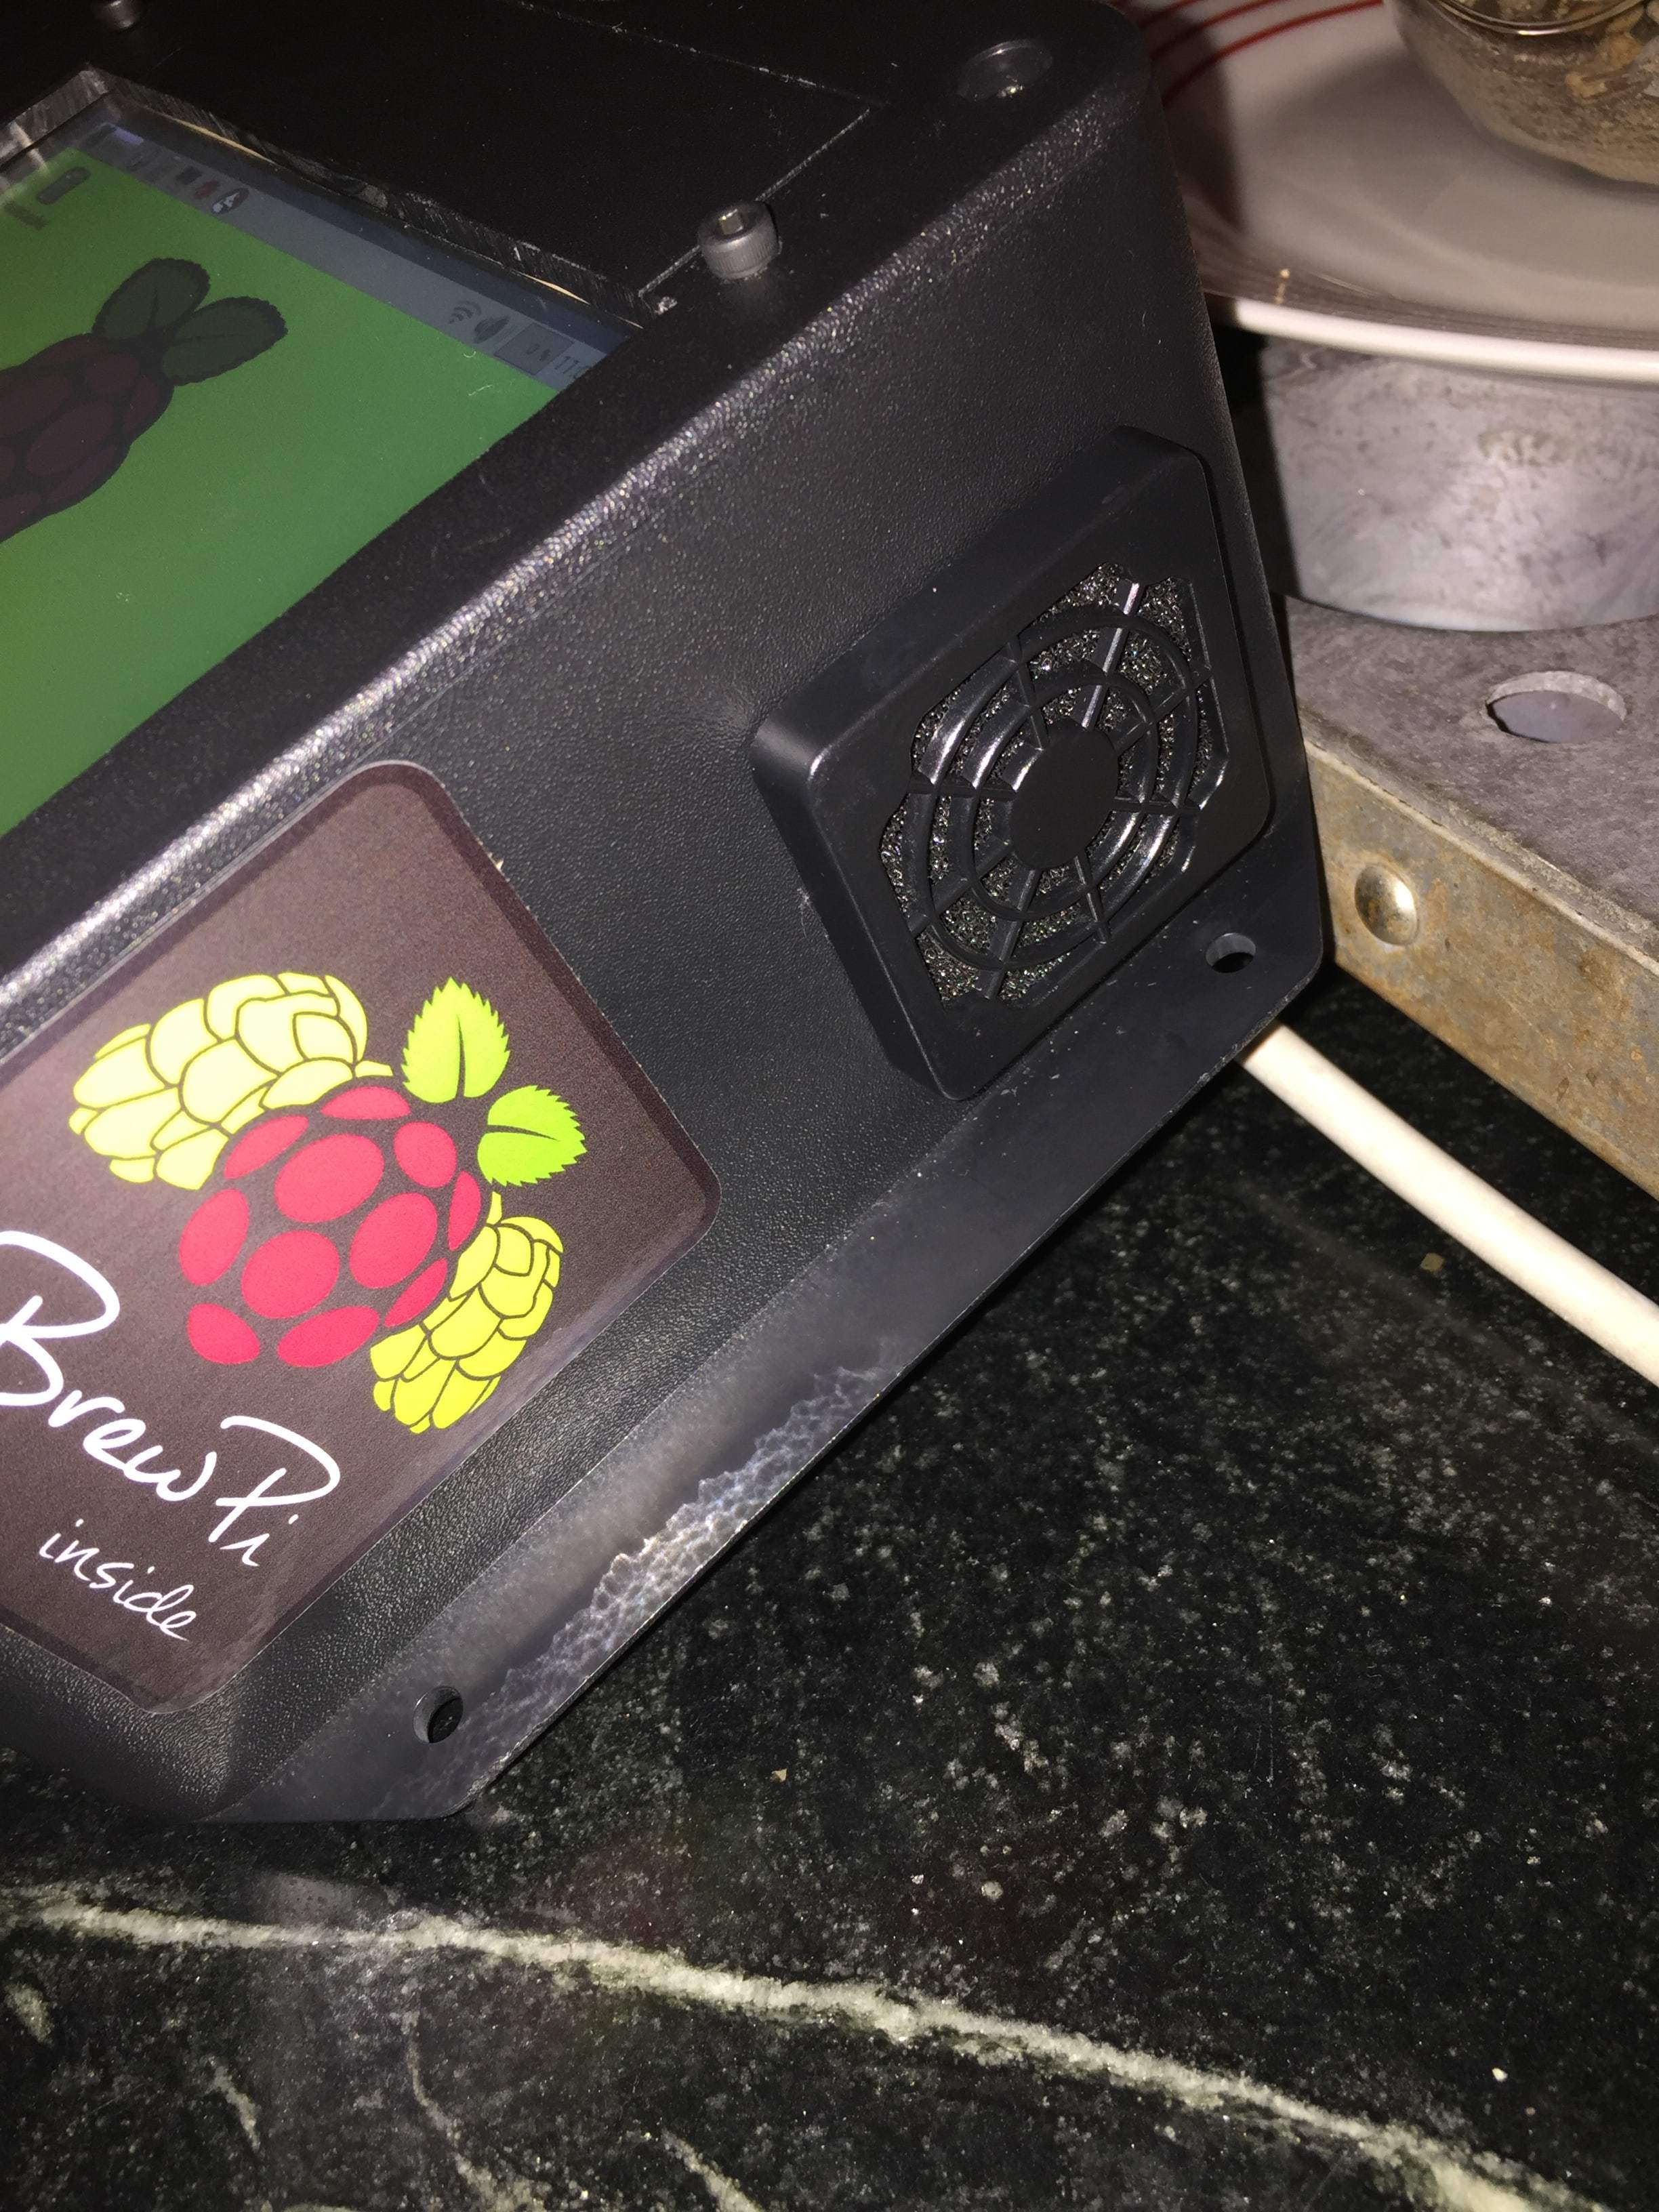
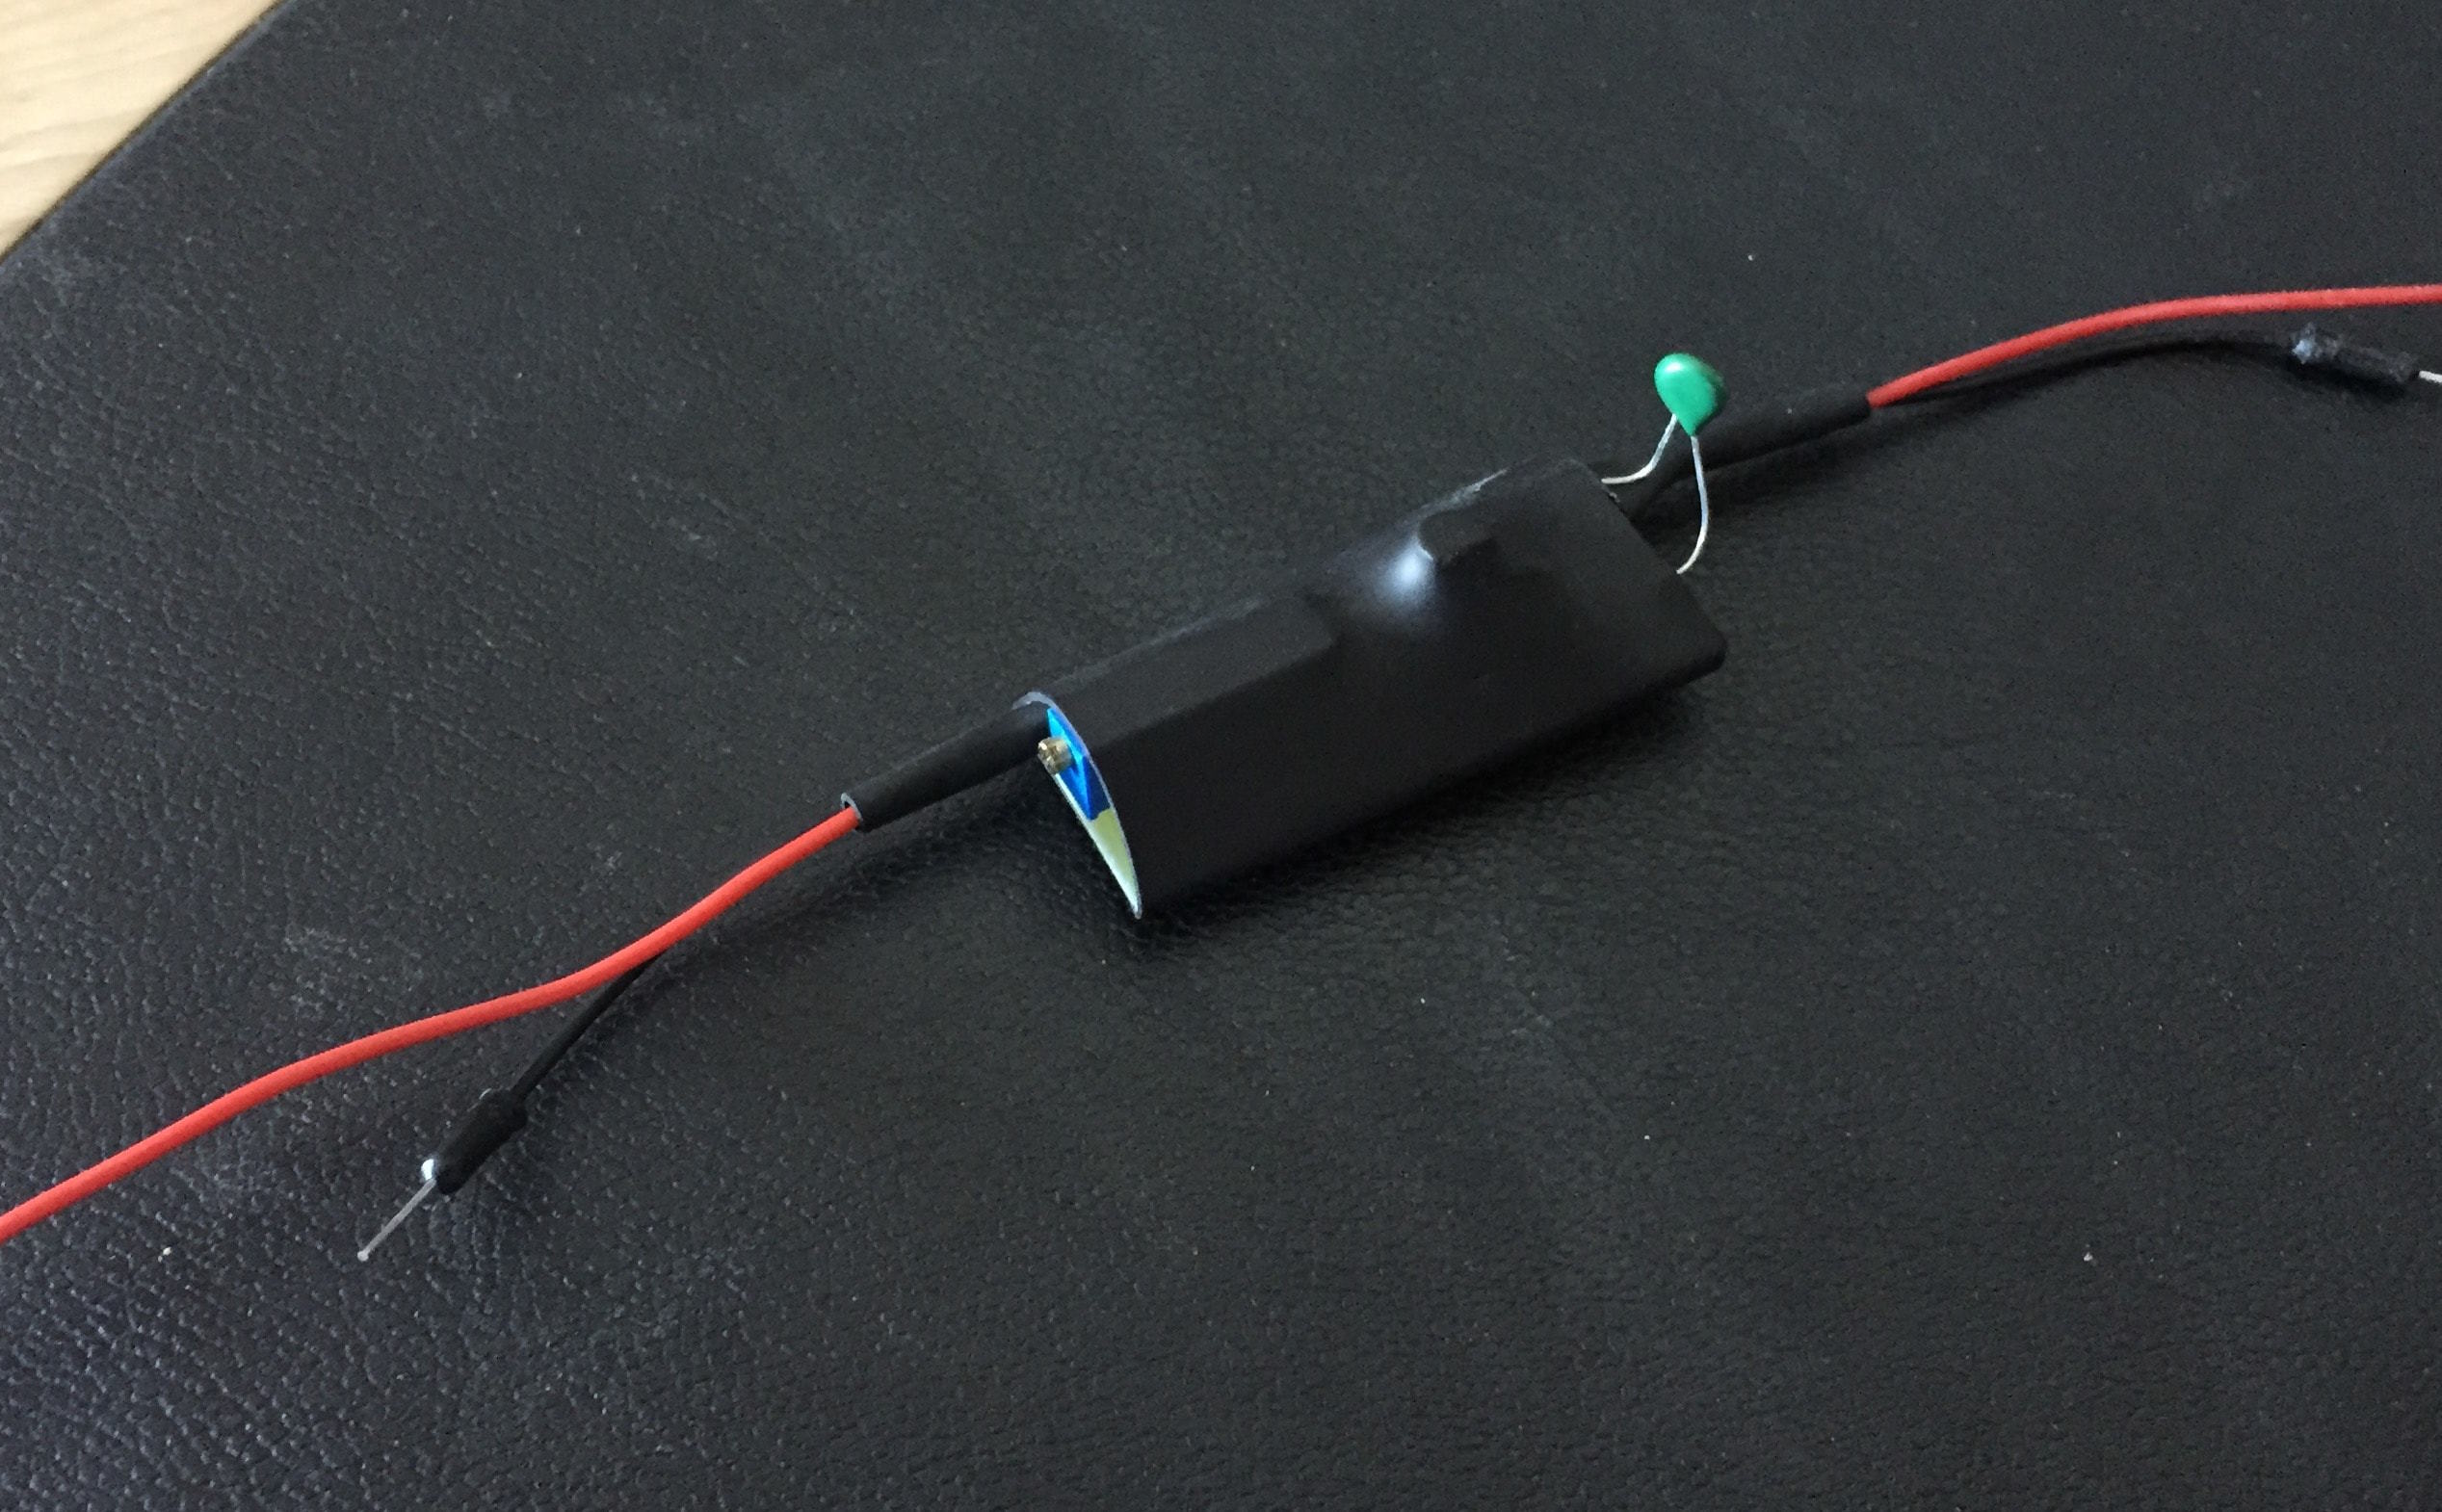
DIY thermistor/fan regulator (to keep the box cool)
2x 40mm 5v fans with grills
1x Large polycase project box
1x 4 hole network plate
4x female to female rj12 jacks
4x male to male rj12 patch cords that I made
4x 10A SSRs from BrewPi
Wireless Keyboard
1x 1input/4output AC plug adapter
I’m just going to post the pictures as I’m sure most of you can figure out how it was put together. All my cuts were pretty rough as I used a dremel, razor blade and drill. Most importantly, it works thanks to @Elco and everyone else for helping me through some of the setup.
On a more beer related question. I looked at your Kolsch profile and saw you were running at 60.5F and then ramped up to 64. I am a novice on fermentation profiles and have been using my BrewPi for some basic ales going with 66 for 7-10 days then a quick ramp to 72 and then cold crash to 35 as well as some lagers. What does the 60 to 64 do?
It honestly all depends on the yeast you are using. I used WLP029 for this Kolsch and it does great at 58-60 during the early stages of fermentation. It likes to stall out under 62 though once things slow down. I generally use it at 58 for 3-4 days but it was at 60.5 when I pitched so I just left it there. It needs to go up a bit after that. White labs suggest 65+ but that is just being safe for them. If you use it, try at 60 for 4 days then ramp to 64 to finish. I’ll even give it 2 days at 66 before heading to 35. Turns out awesome.
For IPA/DIPAs I love WLP001 and I ferment like you at 66 for 5-7 days then ramp to 68 for another week. Drop the yeast and then DH. Each strain is different.
I notice that you have your brewpi front mounted in your enclosure and it looks like you are using the threaded bosses on the Brewpi board to do that. Can you tell me what you did to deal with the brewpi screen board interference with the threaded bosses on the Brewpi board?
Apologizes, Im not sure I understand the question. I just cut the screen hole to match up properly and then screwed the screws into the spark boards bosses. I might have had to trim a bit of the red board on the screen for the screws to get through but can’t remember exactly. Probably just used wire snips to do that. Sorry.
I ask because I tried to mount my Brewpi similarly and after filing down the red screen board a bit to make room for the screws have had screen issues ever since. I thought you might have come up with some other solution that didn’t involve trimming the red screen board.