Received my Spark 4 and it is up and running with an RPi 4B. Now I can “explore” and learn about its possibilities without disrupting our Spark 3 fermenting operations. Ultimately, I want to run a new RIMS brewing system with it.
For fermentation temperature control, I currently have a new Glass Door Merchandizer (Fermentation Fridge AVA), running on one of the Spark 3’s with the thermostat completely bypassed. The evaporator fan is currently piggybacked on the compressor SSR since the factory control of the evaporator fan was within the solid state factory thermostat. The factory “logic” ran the evaporator fan for about 1 minute after the compressor shut down. I want the fan operating on its own SSR and be able to run for 1 to 2 minutes after the compressor SSR turns off. When the evaporator fan shuts down with the compressor, I get a frozen evaporator when trying to lager in the high Houston humidity. Our other fermentation setup with a continuously running evaporator fan does not have this issue.
Can I do a “Time Delay Deenergize” control scheme within brewblox? If its possible, can you point me in the right direction?
OK Bob, thanks. Excellent! I see where to find these functions within the UI.
In using the Fermentation Wizard however, I cannot seem to “discover” the second SSR which I have connected to the GPIO pins. Either/or, but not both together. I have the SSR’s wired identically to the +/- pins on each plug-in connector using two channels. Either of the two SSR’s will work on any of the 4 channels.
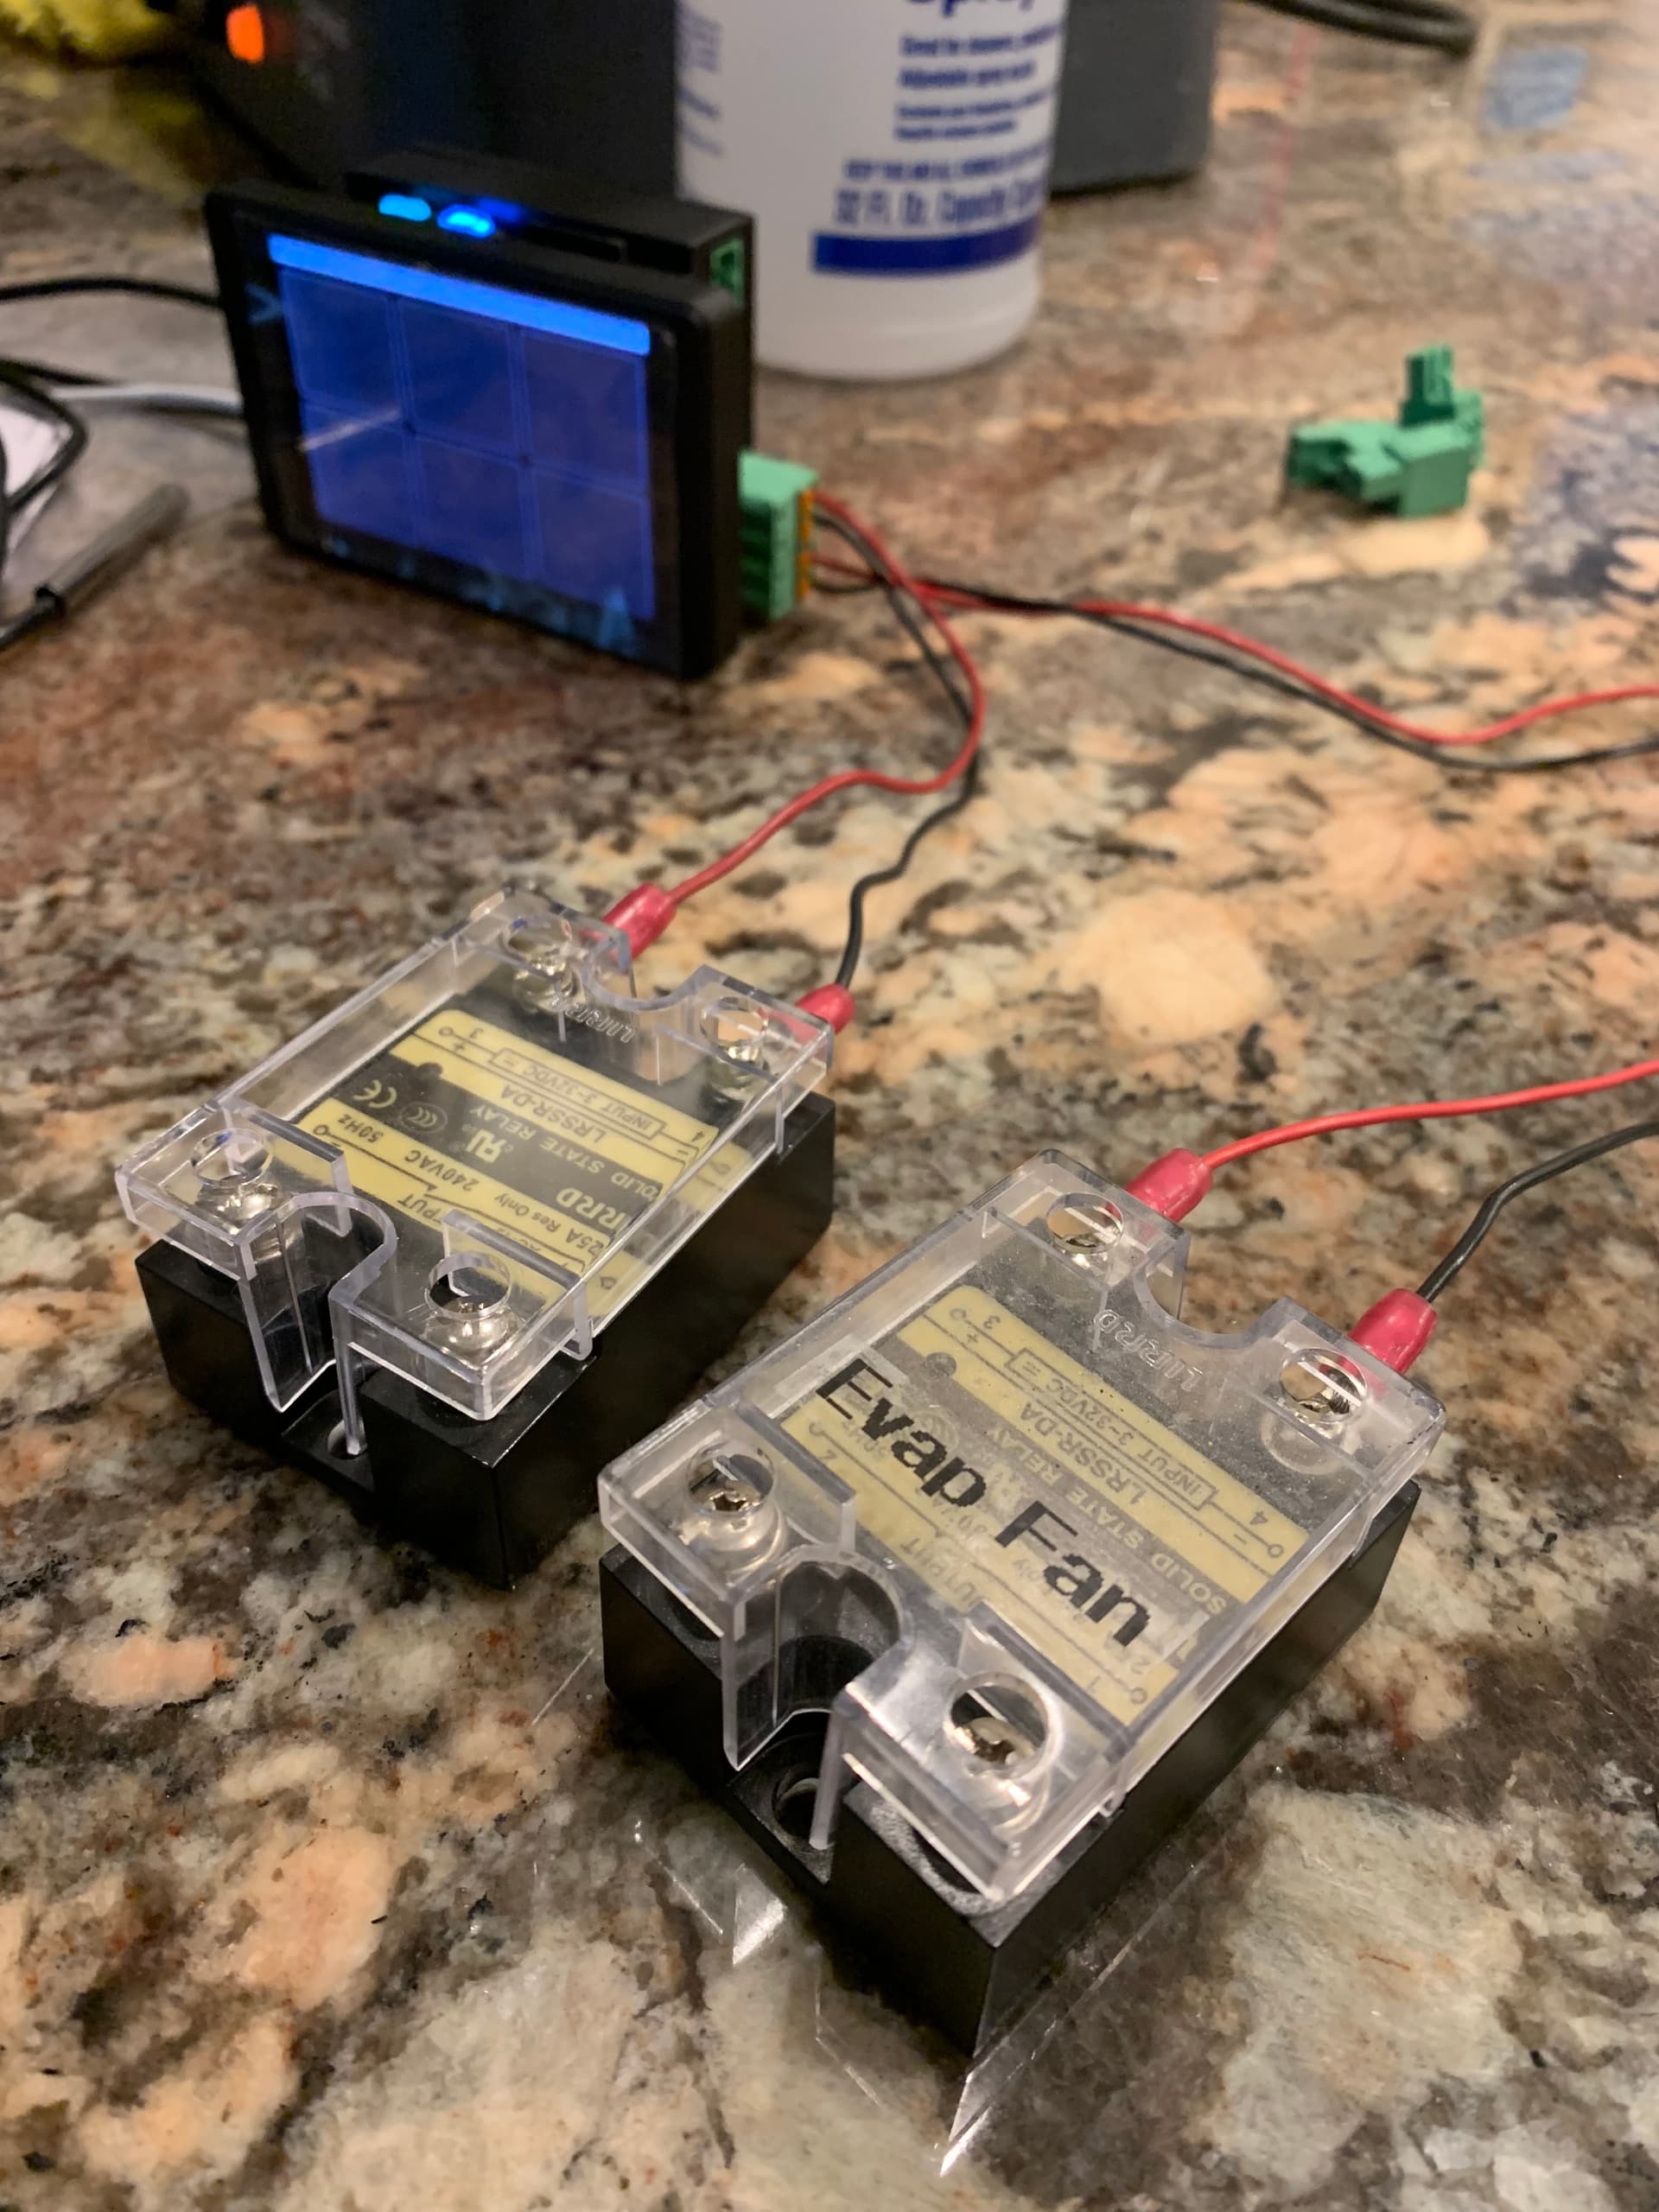
The two SSR’s are LRSSR-DA with 3 to 32 volt DC input.
I’m not sure what you mean with “discover”. Spark 4 GPIO channels are not discovered, but explicitly created. DS2408/DS2413 OneWire extension boards are discovered. Which one are you referring to?
You can add a GPIO channel by going to the OneWire GPIO Module block, and creating a new channel. You can find the block in the Spark service page.
Sorry for my confusion. I’m trying to create a second GPIO channel (?). One (an SSR) shows up (is discovered?) automatically when I run the fermentation wizard, even though two are plugged in.
A “channel” is a software term for a grouping of IO pins. Each SSR will be connected to a channel with 2 pins.
The OneWire Gpio Module block (your “COMPRESSOR SSR”) is the software block for the rectangle with IO/OneWire ports that’s connected to the Spark. In this block, you can create channels to use the 8 IO pins.
The wizard can create channels, but you can also do this manually. To create a new SSR channel, press the “ADD CHANNEL” button visible in the second photo.
When this is done, it will be visible underneath the green squares. Click on the channel, and then on one of the squares to link the channel to the pins.
Then, to actually control the second (fan) SSR, create two new blocks (the “New block” button in the third photo):
A Digital Actuator, to control the SSR channel
A Logic Actuator, to trigger the fan actuator whenever the compressor actuator turns on.
You can find all your blocks in the Spark service page (left side bar, “spark-one” under the “Services” header)
Thanks Bob! It should be getting late there, so go home. Have a great weekend!! I will explore the paths you have indicated over the weekend. Brewing a Witbier Sunday and for this fermentation, I will wire the evaporator fan to be on all the time.
It took more than a few tries to get the blocks layed out in the right sequence with the correct input and output paths. Then I realized I had to come up with a “logic” expression. Seems to work perfectly now. Thanks for your help!
When adding this feature to the existing Spark 3 controlled fridge, I’m going to use all one wire connections. I’m hoping it will go smoothly.
On the newly configured Spark 4, how do I access the Spark Display? It seems to have disappeared from any menus.
The Display Settings should still be accessible from the Spark service page. You can also use the context menu in other blocks to add them to the display.
Now the Spark 4 is released, and nothing unexpectedly blew up, we’ll be evaluating various hardware / software features to sketch out a roadmap.
Hardware features include PT-100 support, pressure sensors, and chemical sensors. For software, we’re considering controller-to-controller synchronization, improved remote access, a Setpoint Profile that waits until the target temperature is reached, and a handful other features.
The Spark 4 Display: Is it possible to “point” one of the display segments (1 of the 6), to an ON/OFF state, where say when the fridge compressor driver is ON, the segment would light up with a specific color? Or to be used as an alarm function?
I was starting to explore this, but it seems that what you can do with the display segments is somewhat limited.
It’s arguably not the relevant topic, but the forums are quiet enough to not be overly fussy about it.
Not right now, no. We’re currently rewriting the display code to make use of the new features available for the Spark 4 display. Once that’s done, we’ll probably add basic input (editing setpoints), and take a look at conditional formatting in the segments.