Unpacked and tested today. Installed docker and Portainer. Connected to USB 3.0 port.
Portainer says script not running.
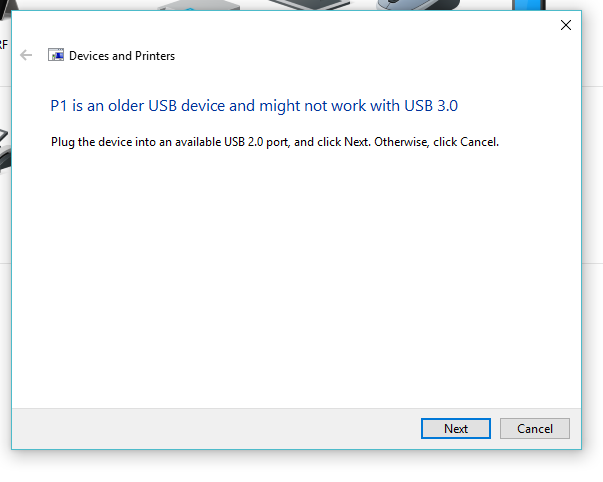
Tried troubleshoot on USB and got "P1 is an older USB device and may not work on USB 3.0.
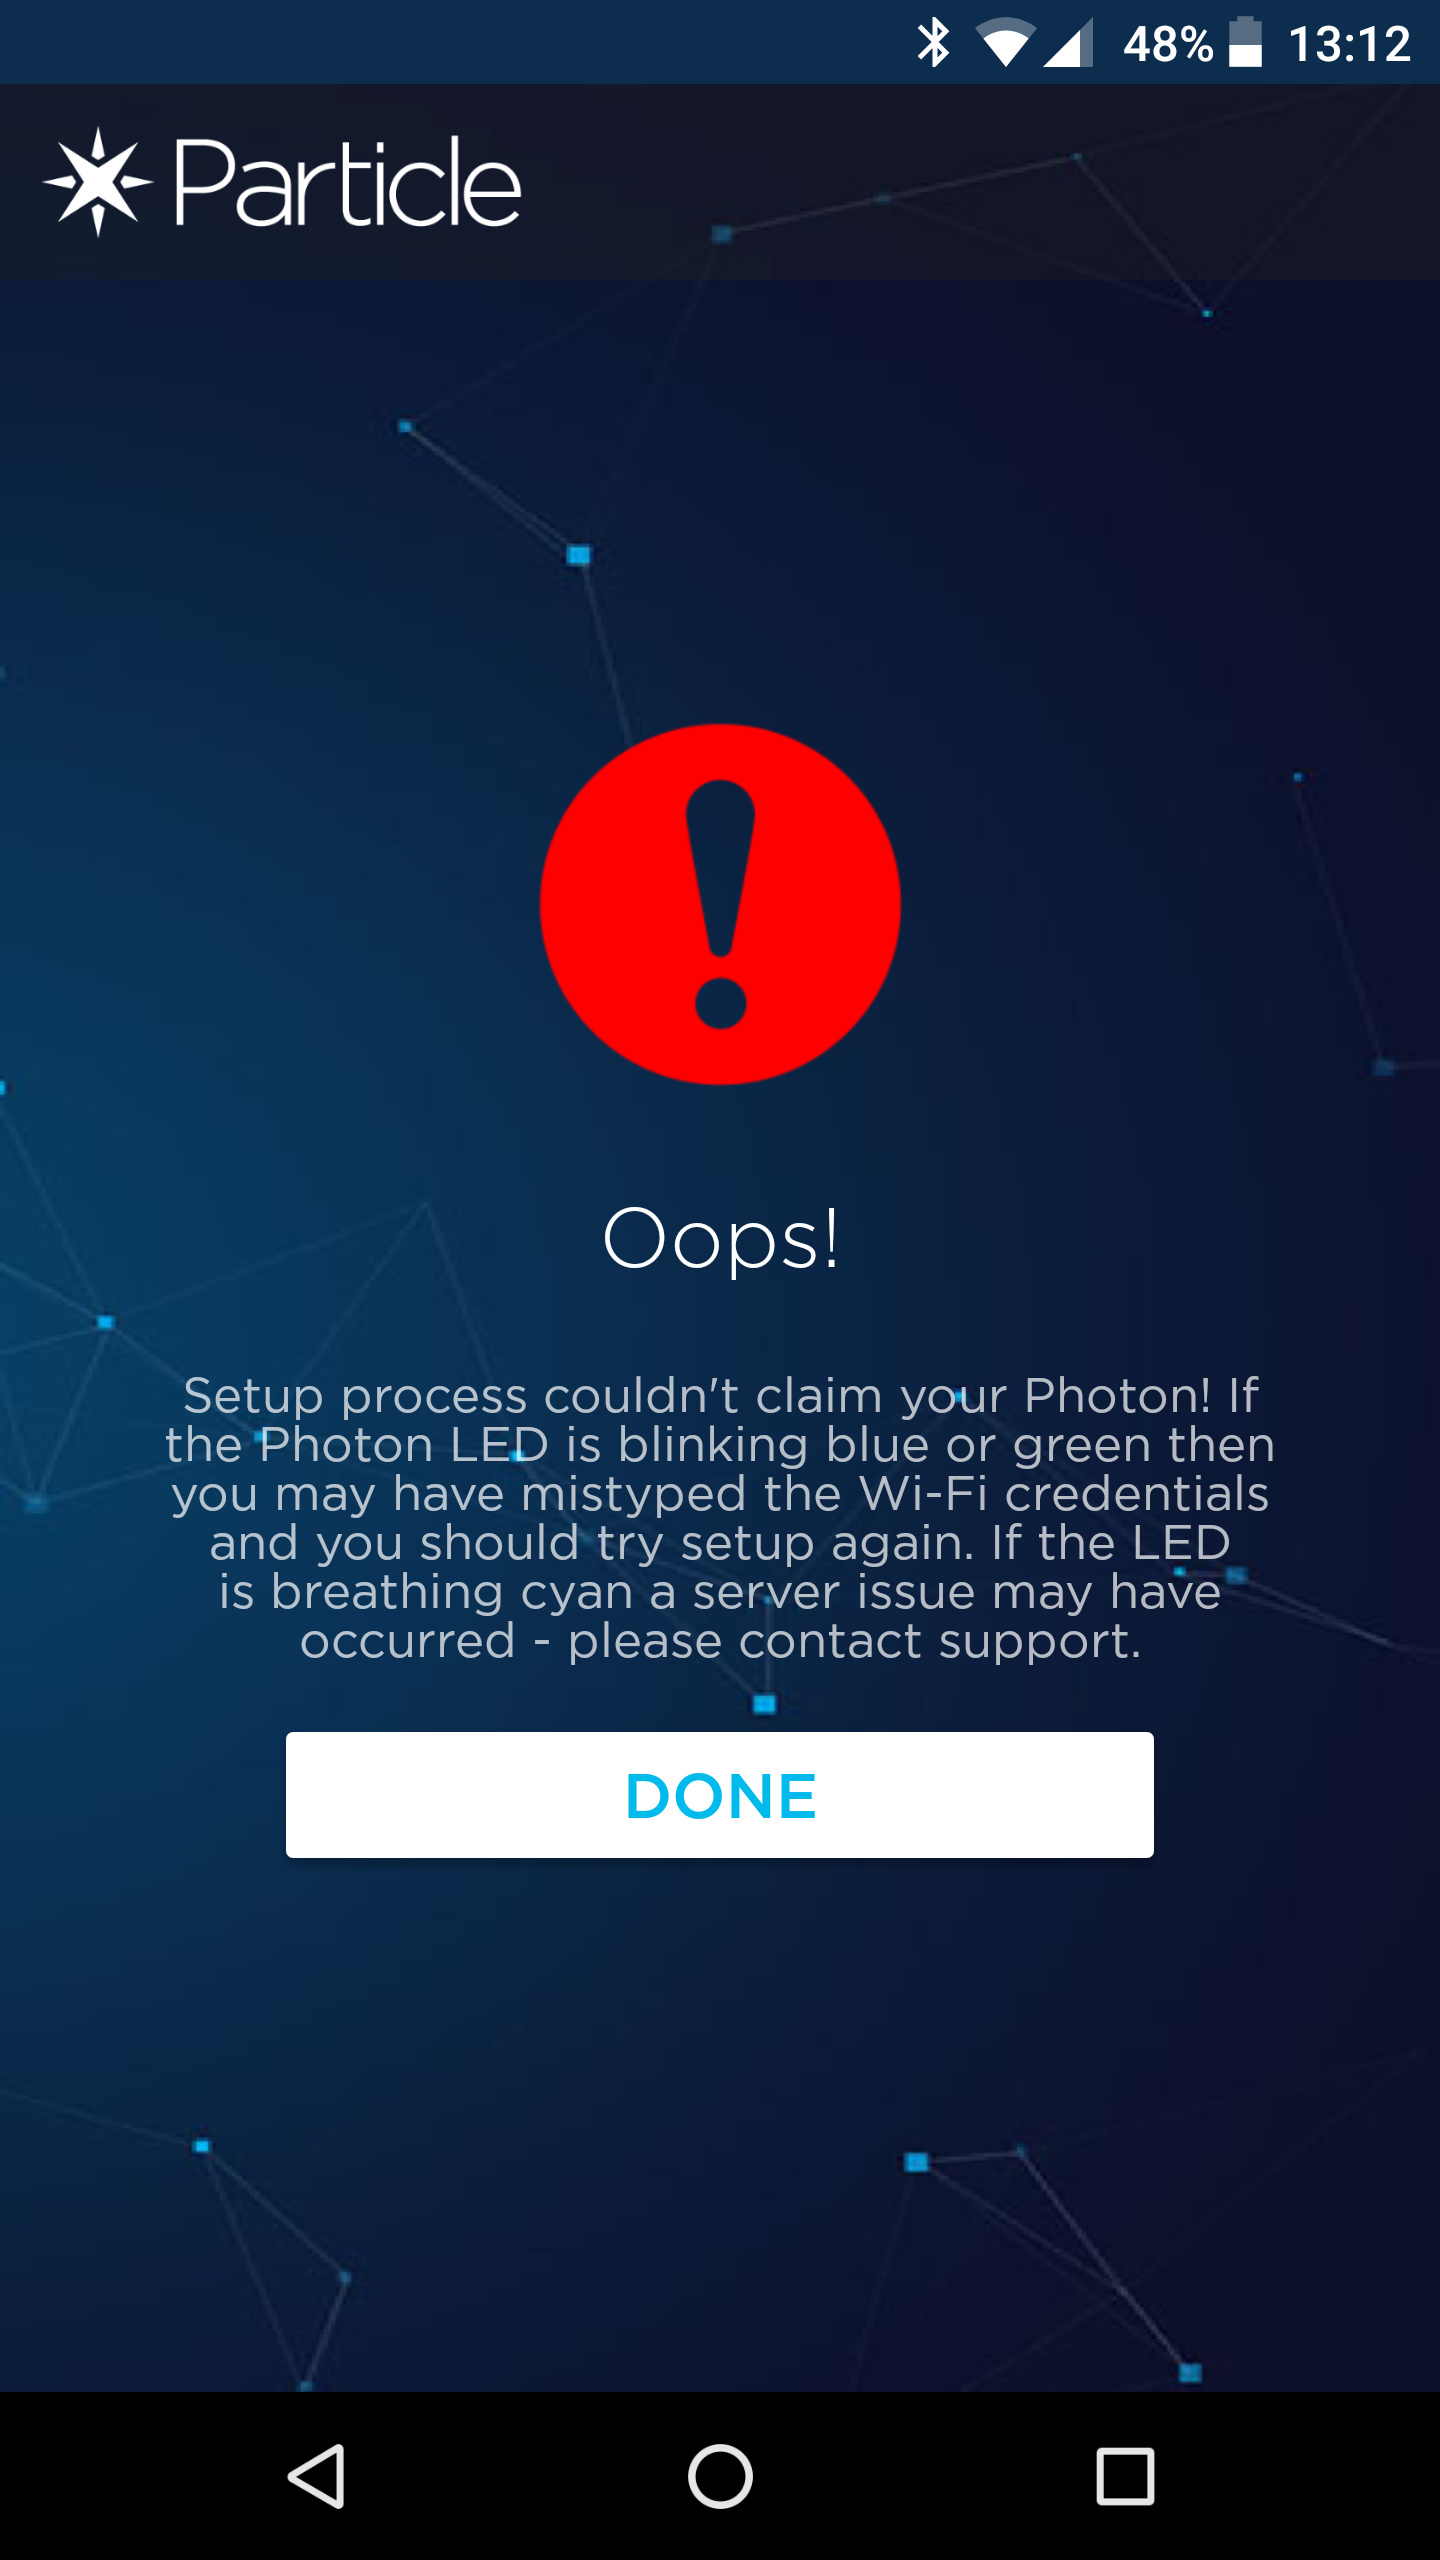
Installed Particle on my Nexus 6P, entered WiFi password, but it did not work.
Installed Particle CLI on my PC. Communication seems to work, but where are data displayed?
Let me ask one question at the time.
When I plug the BrewPi into my computer USB 3.0 or 2.0 plug it comes up as COM 3. It does not work. When I troubleshoot, it tells me “P1 is an older device and might not work with USB 3.0” “Plug the device into an available USB 2.0 port, and click Next. Otherwise, click Cancel.”
On which operating system are you running docker?
From your mention of COM3, I am assuming it is windows.
Those seem to be 2 separate problems: WiFi
"WiFi doesn’t work." That’s a bit vague. In the Particle app, after you have entered your WiFi password, it will send this to the Spark. The Spark will connect and will start breathing green. It’s normal for the last step (registering your device) to fail because we are not using their cloud. If your LED is breathing green and an IP address is shown on the display, you have a set up WiFi correctly.
If you followed our instructions for Windows (https://wiki.brewpi.com/getting-started/windows-docker-install), then you have mapped the files in the docker container to your windows user directory, in my case C:\Users\Elco\brewpi-data and that’s where you’ll find settings\config.cfg. If it doesn’t exist, create a new file or copy settings.cfg.default in the same directory.
This is a bit of a PITA on Windows with docker, because Docker runs in a linux VM.
Start VirtualBox, find the VM called ‘default’ and click Settings->USB. Enable USB and check the box for the Particle device. Also put the Spark in DFU mode so you can tick the DFU device too.
Once you have done that, the USB device shows up on the host (docker-machine) and then you can also forward it to the container.
Now that you have given the docker machine access to USB, you still have to forward them to the container when you create it.
-v ~/brewpi-data:/data
This part is the volume mapping. ~ maps to c:/users/john probably.
In the docker quickstart terminal, run docker-machine stop. This stops the VM. You can now edit the USB settings.
You can leave it at USB 1.1, this is enough.
I am still stuck! Having problems with particle setup. Am trying “Setting WiFi credentials through the Particle CLI”. I think my first problem is with the USB. .
The Photon does not respond to the procedure performed by the Arduino Particle app. It has been attempted on two different WiFi networks.
The Photon does not find a suitable USB driver on Windows 10.
I see these as two independent malfunctions of the Photon inside my BrewPi. However, nothing would please me more than to have my BrewPi working as intended.
I am still struggling. Been through som particle runs, light is now breathing green.
In the instructions I read
Configure the script to use WiFi to connect to the controller
By default, the BrewPi script looks for compatible Serial devices. To connect over WiFi, you will have to do 2 things:
Figure out the IP address of the controller. The IP address is shown on the display when you are not in test mode.
Modify settings/config.cfg to use the TCP socket instead of a serial port. Edit the file /home/brewpi/settings/config.cfg and add the following line (assuming the IP address found in step 1 was 192.168.1.96):
port = socket://192.168.1.96:6666
When you want your BrewPi Spark to always get the same IP address so that the script can find it, you should configure a static DHCP lease in your router. To do this, you will have to find the MAC address of the Spark. I recommend the app Fing (Android / iOS).
This app can scan your local network for devices. Look for a device called Universal Global Scientific Industrial. The IP address should match the IP address on the Spark’s display. Make a note of the MAC address. Then in your router, find the static DHCP page and add the MAC and IP address.
Where do I read the IP address on the controller? My BrewPi says “BrewPi Hardware Test”. BrewPi has never left test mode for me.
Sorry for responding late, we recently moved so I have had many little DIY jobs to complete and didn’t spend much time at work lately. I’m glad you got it working!
We’re still waiting for a bug fix from Particle that can cause a disconnected state when the WiFi channel switches. most routers have WiFi channel set to automatic so it is possible that it jumps to another channel to avoid interference with neighbors sometimes. For maximum stability, it is recommended to set your router to a fixed WiFi channel for now.
The instructions on the wiki should work for the most part–although they may seem a little bare-bones and require some clarification. To paraphrase some guidance I posted in another thread, the brewpi installation/configuration process (which is covered in the wiki) can be summarized by the following list:
install an OS of some sort on the Pi (ie. rasbian, hypriot, etc.)
make note of the ip address of the Pi (and spark 3 if you want it to connect to the pi via wifi), edit your router settings so these ip addresses are both reserved for these devices.
connect to the pi vi ssh OR connect the pi to a monitor and keyboard and open a terminal
install docker on the pi if not already installed
use docker to pull a brewpi image, I use the raspian one because it is customized for pi hardwarve (you can also pull a portrainer image as well for visual UI for controlling docker)
choose whether to use USB or wifi for the pi to connect to the spark, edit docker command and config file accordingly (for USB you need to add a parameter to the docker deploy command, for wifi you need to edit a line in the brewpi config file).
From your normal computer enter the ip address of the pi (from step 2) into your web browser, the brewpi UI should pop up, and if step 6 was successful, it should say “script running.”
If you use the wiki instructions to work through the steps detailed above and run into problems, just reply here with which step you are having problems with and details about what you have done and what isn’t working as you expected and I’m sure someone will be happy to help.
As Elco hinted at, there will soon be a new release of the spark firmware that fixes some wifi connectivity problems. If you want to wait a little while before setting up brewpi, you could avoid having to update in the next week or two. However, if you want to get going right away the spark does work in its current form, it will just periodically drop wifi. It shouldn’t be a problem to update in the future once Elco has finished testing the hotfix and posted updating instructions.
I apologize for my (total) lack of experience here! I need a little help from my friends…
Is Hypriot an independent OS? Does installing Hypriot mean excluding Raspbian or can they run together?
I am running Raspbian. Downloaded Hypriot and Etcher (Linux 32 bit version) to Raspberry Pi. Extracted Etcher. Etcher will not run.
So, if Raspbian and Hypriot are two independent OS’s, perhaps I should get a new SD card, plug it into my windows 10 PC, format it, download Hypriot and Etcher to my PC and flash (install?) Hypriot to this new SD card?
 .
.