Under my ferm fridge, I have a 3 drawer freezer. Why not just put a glycol reservoir in there? What’s so special about glycol chillers? The freezer has its own compressor, so I can even control the glycol temp.
Why not let the glycol warm up deliberately? Give it less capacity on purpose? It will be cooled down again by the freezer, but this will take time. Or set the glycol temp to just 5 degrees under the beer, so you won’t cool so damn quickly.
I tried that route before making the separate setup and my reasoning was if I have a single vessel chiller at a constant temp it gives me better range of fermentation possibilities (ALEs on one branch and lagers on another). The thought is to be able to chill beyond lager temps in the glycol vessel cause once the PID setup is there I can heat to control the ale and still maintain the lager temps with one chiller. I also found that keeping the glycol mixture at a constant that would allow this was damn near impossible without greater BTU and there comes the AC unit. Make more sense now @Elco?
Yes it does. It depends on the isolation around the fermenter too I guess. Basically the glycol is just a way to transport heat. If the freezer is capable of cooling the beer, it is also cable of cooling it through glycol, isn’t it? The only difference would be more losses to the environment if the fermenter is badly insulated.
Yeah I honestly didn’t have a dedicated freezer either so I was dependant on my keezer which I can only cool to 39˚ F else I hurt my precious beer. And at the end of the day I was really bored and wanted to see if I could build a system HA HA!
I have the same setup (BME conical, Brewtech Glycol chiller the FTSS controller is replaced by the BrewPi Sparkv2 now)… how did you ahve the temp probes run? I had the “fridge” probe in the 30F glycol…but not sure that is the best route?
DISREGARD…
I found out that the best implementation is to place the temp probe for (fridge) under the neoprene jacket and against the conical…if I placed it in the glycol the pump wouldn’t kick on because the PID was telling it not too (because it thought the fridge was so cold already)…
If you don’t have a fridge sensor set up, The heater and cooler PID will act on the beer sensor.
I run on only a beer sensor, with the room temp sensor monitoring the glycol temp.
Without a fridge sensor, the fridge PIDs will take the input from the beer sensor as fallback.
My settings are
Beer-to-Fridge: Kp=0, Td=0, Ti= 0. This will make the fridge setpoint the same as the beer setpoint.
Heater1: 4s period, Kp= 60, Ti=3600, Td=120
Cooler (pump): PWM period of 120s, 10s min ON time. Kp=10, Ti=3600, Td=120
Outstanding. I have an Arduino version built that’s currently running my conical in a modified upright freezer, but the freezer I fear is on it’s last legs. Considering the cost of replacing the freezer and adding a second setup, it’s going to be cheaper for me to sell the conical I have now, purchase two new SS Tech Brewmaster Conicals, and a glycol chiller, and run them with the BrewPi Spark.
Is the Spark at a point where it can run two chambers yet? And I also assume that the Spark wouldn’t require the purchase of SS Tech’s controller setup? (Would just need two small pumps for each conical that the Spark would control, as well as two heating pads, and that’s about it?)
Oh, that’s beautiful. Really looking forward to switching to this setup now, especially as my new house will have warmer ambient temps, so the chilling power of the glycol will be a massive benefit. Am sure you’re sick of being asked, Elco, but any idea when multi fermenter control will be ready? (I initially thought “Just build another Arduino brewpi” but think I’d really need PWM ability for this)
So did you just snip the ends of your heater/pump and hook it up to a DC SSR to make this happen? I should probably just get some DC female pigtails and be good to go.
Just to keep the info consolidated, I’m going to be doing this soon with my new brewpi v3.
Would I be able to use the power supply from the FTSs? The output is 12v an 8a, is that acceptable for the brewpi?
I also got the pigtails I linked above so that I can have quick disconnects on the heater/pump as I move the chronical to a different location to fill it/clean it/etc.
I’ll try to get a photoblog up, although I always get caught up in the action and forget it!
That power supply could power the BrewPi spark, the heater and pump.
You’ll let the Spark switch 2 DC-DC SSRs to switch the heater and pump on and off.
Excellent, thanks to your prompt service, it went from ordering on Sunday night, to in my hands tomorrow by 10:30am. The Rpi is ready via docker (no issues it seems so far), and I’ll have it running by noon.
OK, so I’m in action with the advanced settings in, temp sensors in, and SSRs wired up. However the SSRs are not actually powering on/off the pump, I can’t verify the heater right now as I have cold crash going on.
Just positive to negative on all ends, using the brewpi legend on the back for the +/- ports. I get a light on the SSR but no pump action.
Actually I just took a closer look and put the system in test mode. It turns on, yet then turns off shortly after that.
You should connect:
12V + --> pump --> DC SSR positve terminal DC SSR negative terminal --> GND
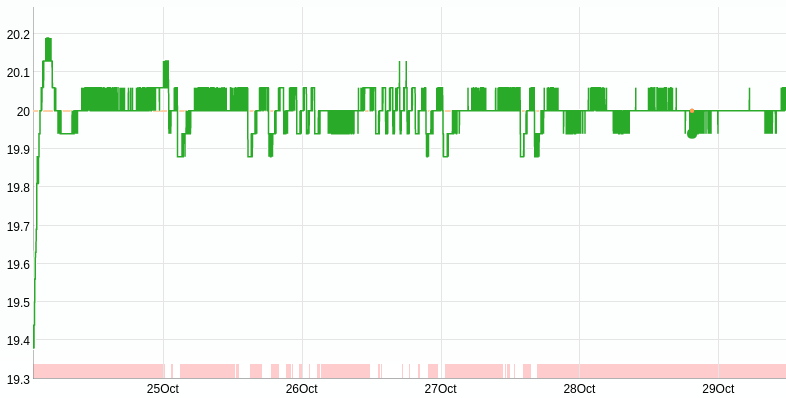
The pump is driven with PWM, so it is normal that it turns on and off. I run mine with a 10 minute period and it only has to turn on for a few seconds every ten minutes.