nice has anyone reviewed that unit yet?
not that I know… they only added it to the store a few days ago I believe… waiting for the 220 volt version… also waiting for the Brite tanks and will combine them in 1 go…
but the concept of it being powerfull enough to forgo a CFC and directly cooldown in the chiller… I’m thinking of doing that since I believe the Gamko has enough power for it… but will be interesting.
not sure what the customization of this unit is but this is the glycol unit. Probably can just buy direct and save $100
http://rapidswholesale.com/3-gal-glycol-unit-1-3-hp-120v.html?gclid=CL6LpMqS-MwCFZNgfgod1AQDdg
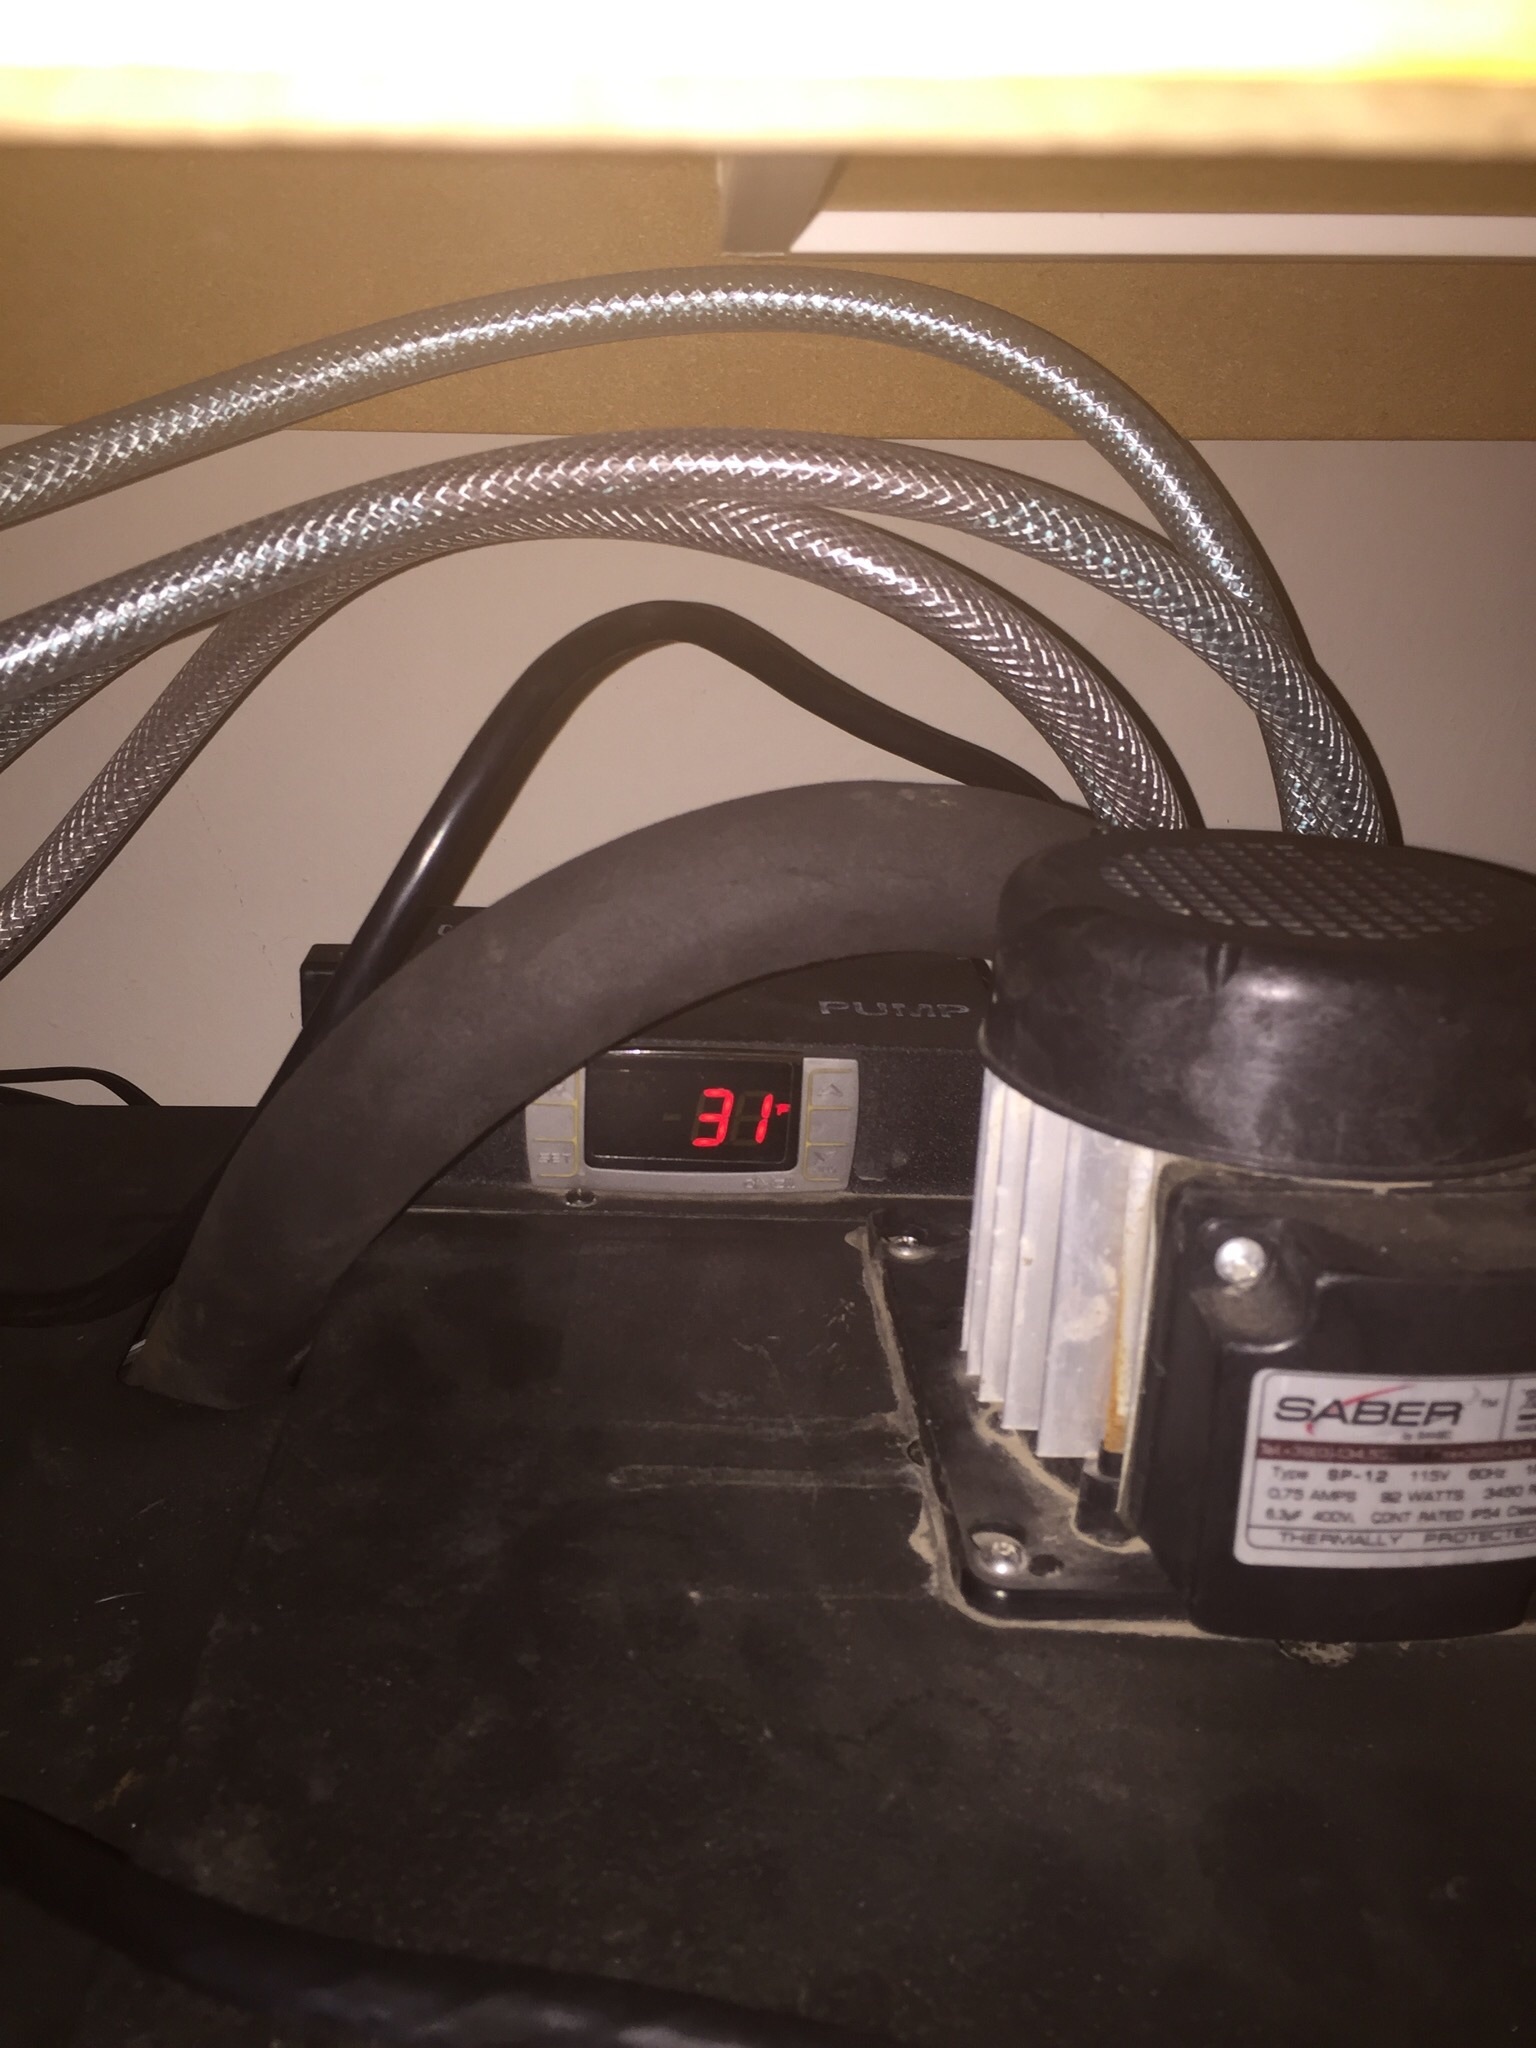
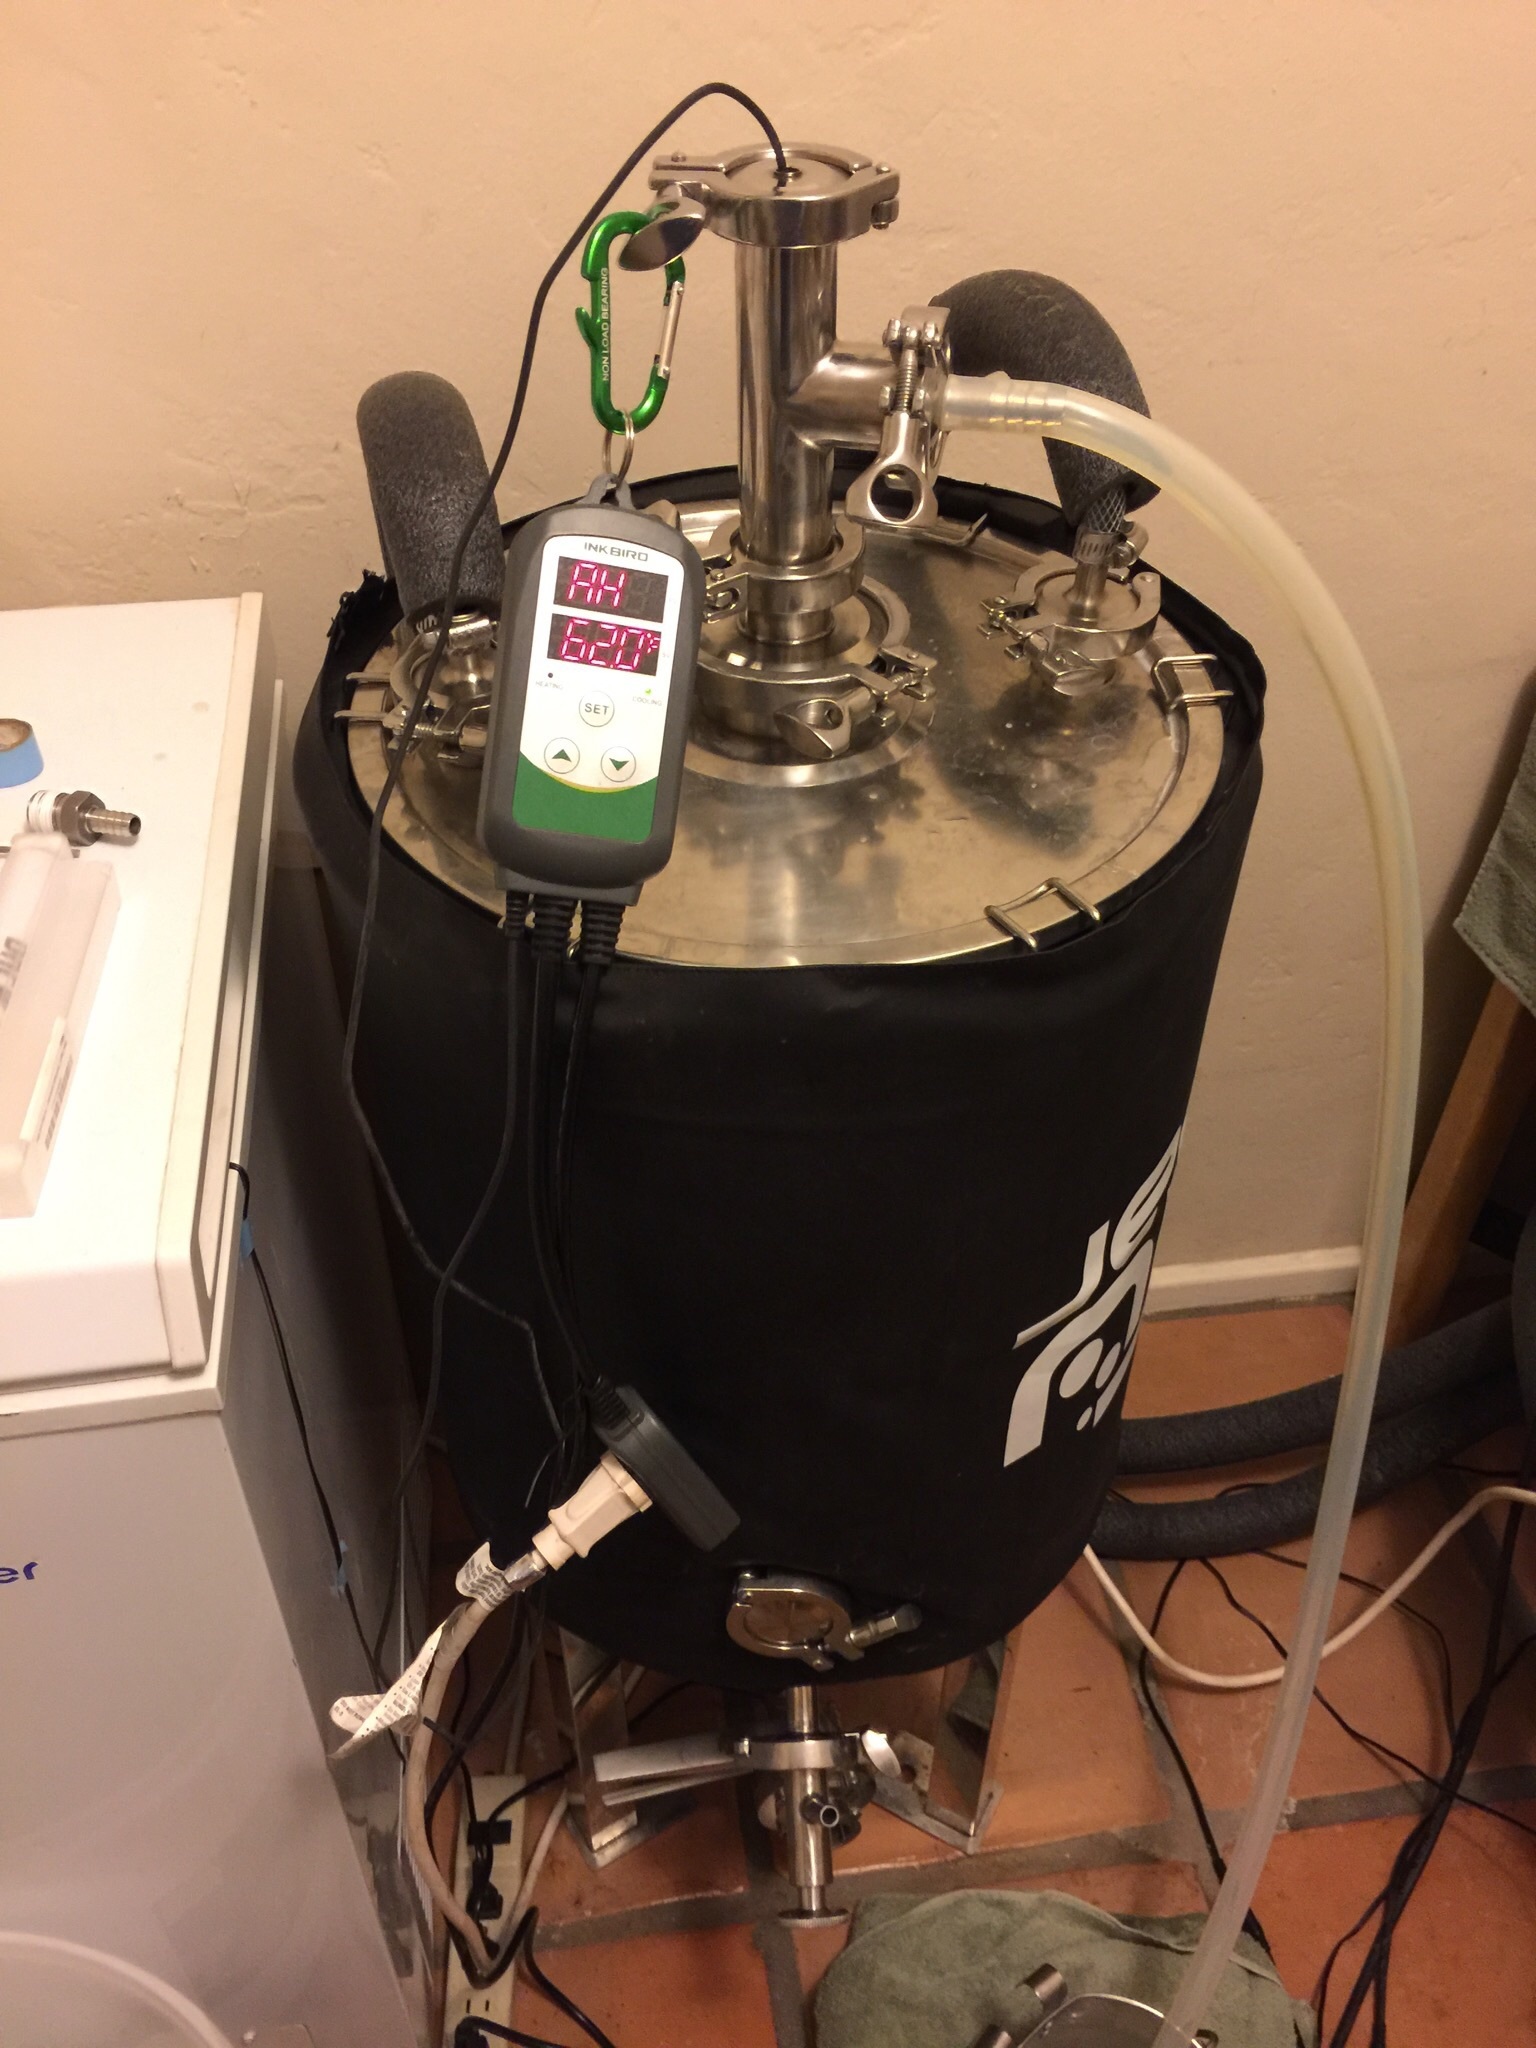
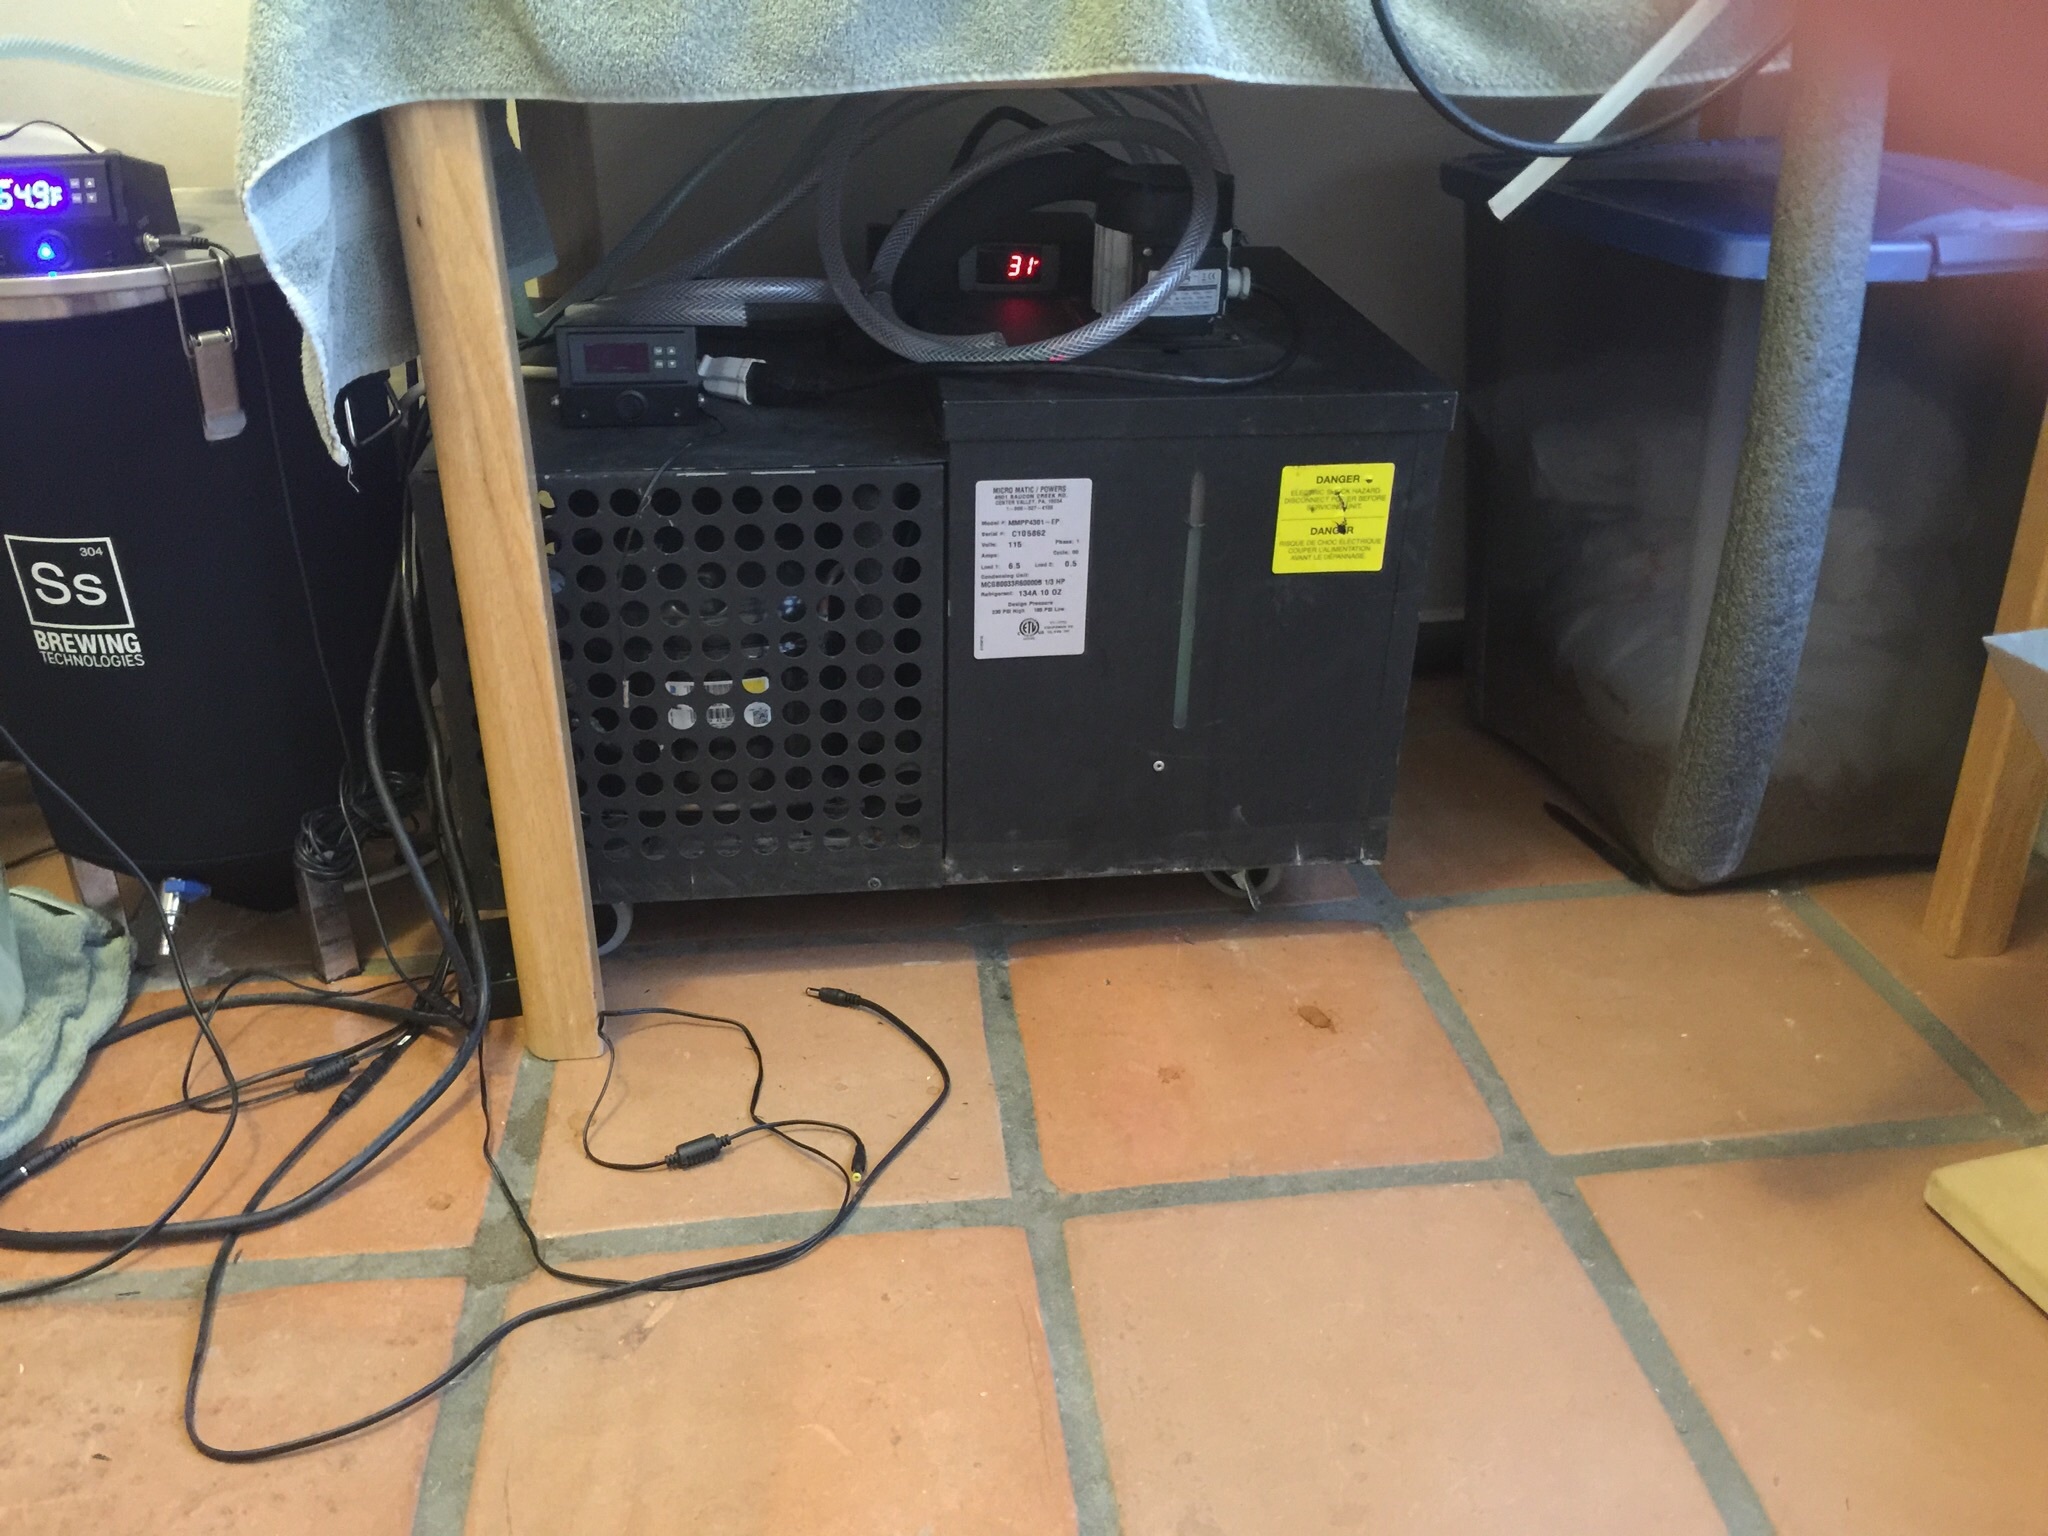
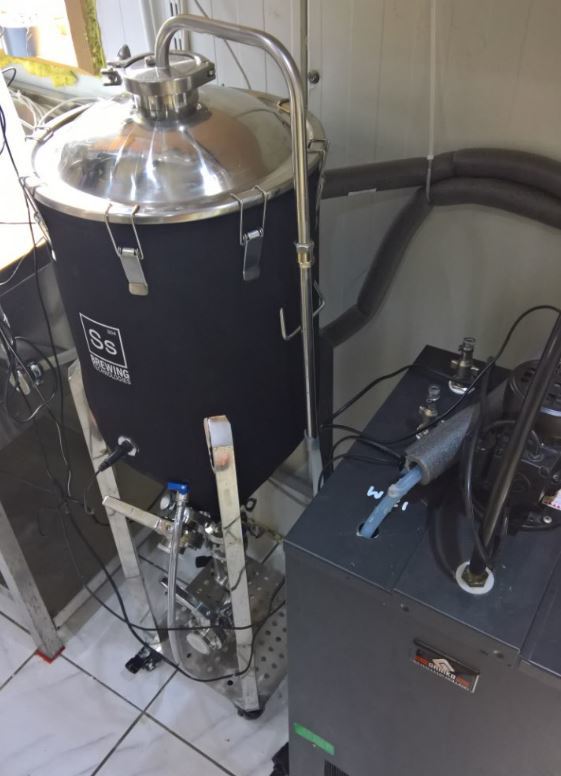
I am patiently awaiting the fix for glycol control to purchase the brew pi. I’m running 2 SS Brewtech brew buckets with FTSS and a Bru gear 14 gal conical with cooling coil lid. Pumps are controlled with the temp controllers to switch on pumps to circulate 29F glycol (in the picture it had heated up to 31F) when temp raises beyond set point. It’s a micromatic 1/3 HP glycol unit with 5 gal glycol reservoir. Would love to control all this with the brewpi.

Any update on the Glycol control? I’m considering to buy a BrewPi and would like to know the current status controlling the Glycol temp with the BrewPi as well.
there should not be a problem there…
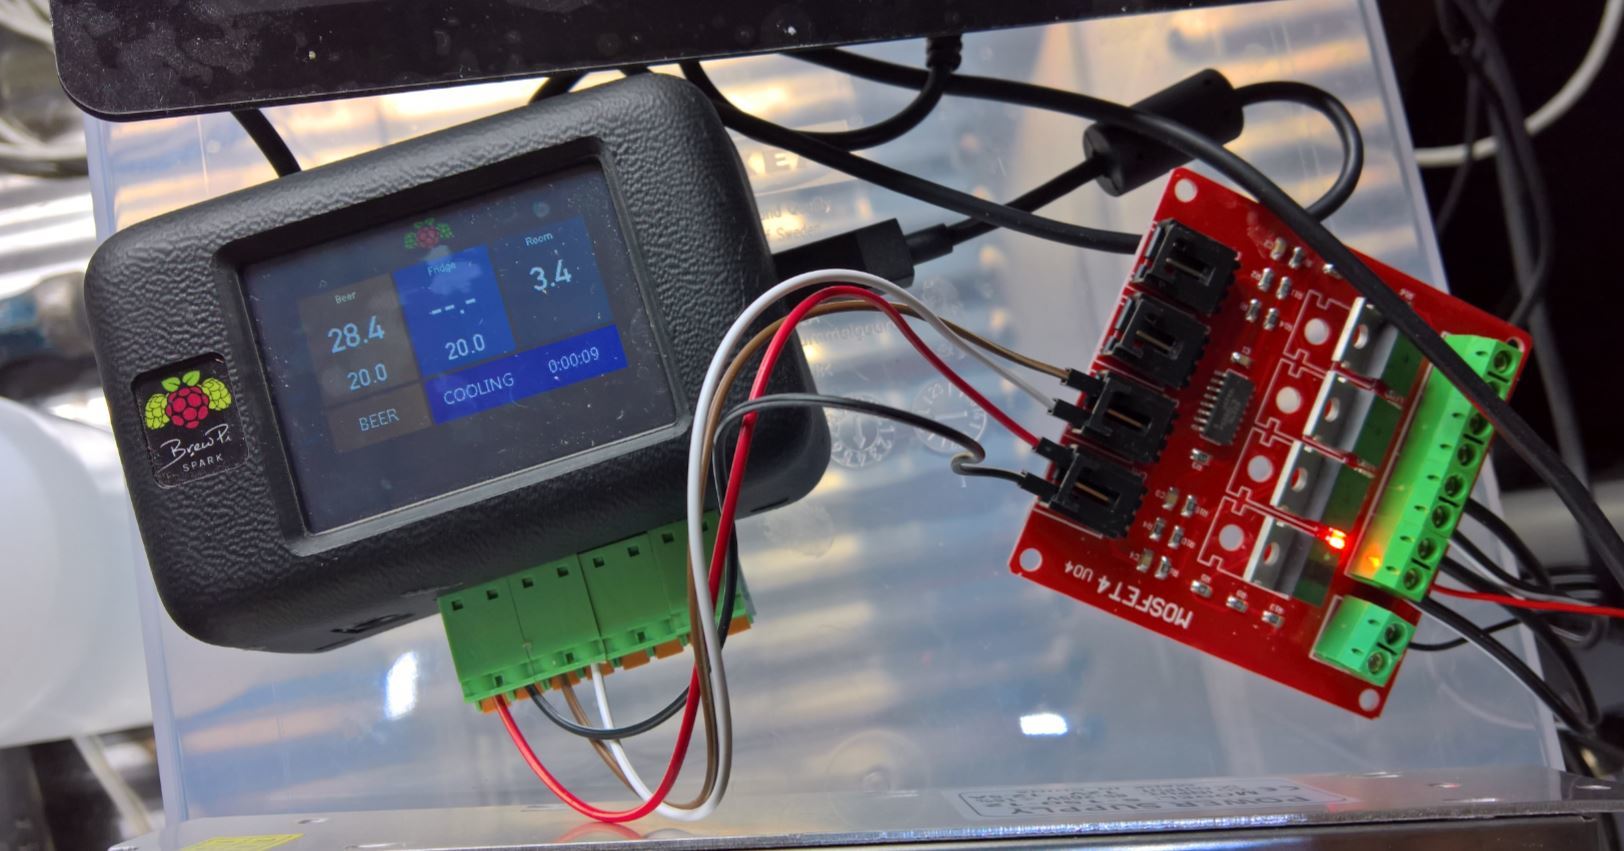
what I’ve done is I’ve placed a temp probe in my glycol tank and called this “fridge temp” and I added a thermowell temp sensor inside my fermenter.( I use a couple of SS Brewtech Chronicals btw…) .
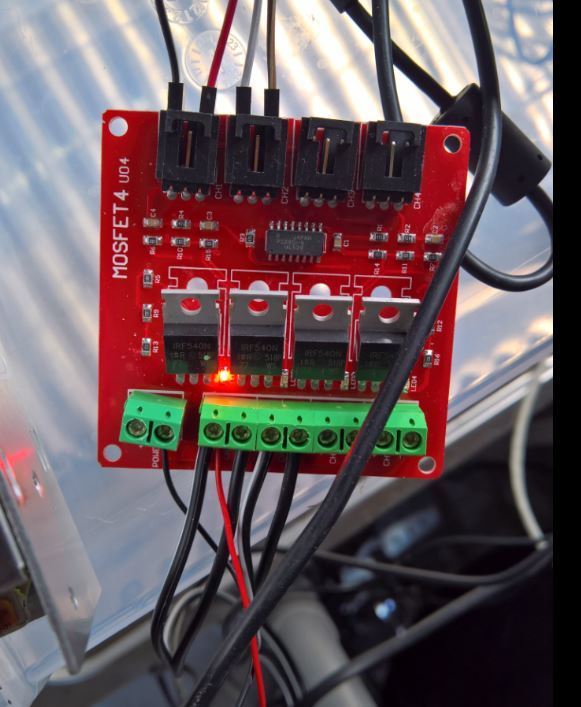
i then just reused the SS Brewtech Chiller coil with pump, and the SS Brewtech heater pad and attached that via a MOSFET Board (i used this one http://nl.aliexpress.com/item/4-Channel-4-Route-MOSFET-Button-IRF540-V2-0-MOSFET-Switch-Module/32445180883.html?spm=2114.13010608.0.67.ra3wtF ) to switch them on and off via digital 1 and 2.
then I added everything to Brewpi, set it to beer constant mode, so that the glycol temp is a nice to see, and then you have to change the KP values… but @elco can give you a better advise there…
for me, this works perfectly. brewpi runs the pump when i needed cooling, and runs the heater pad when I need heat…
That sounds great, thanks. Forgive my ignorance though, as I’m new to this type of hardware. But are you using the MOSFET Board in stead of the SSR’s?
correct!
the SSR is for AC, the pump uses DC. if you have a glycol pump that uses AC you could use a SSR. what kind of glycol pump are you trying to control?
Cool! My pumps are indeed DC 12V pumps. I would love to get rid of the power supply in between. As mentioned, this is new territory to me. Would you have some pictures of your build or maybe a link to a guide?
let me find some pics… you will still need a power supply though, I’m using a LED 12 volt power supply…
Thanks! Ok, but one 12V shared (?) power supply is better than one for each pump.
agreed  I’ve used 1 LED power supply for all…
Powering the BrewPi?
apologies, no! i actually have a seperate USB power supply for the brewpi…
Ok - no worries. Quite excited to get this build done
I just ordered the MOSFET from AliExpress. I guess I then need to buy:
1 x BrewPi
3 x Temperature Sensors
1 x Raspberry PI (for server)
What else do I need? Cables between the BrewPi and MOSFET?
why are you getting 3 temp sensors?
what you would need
1X 12 volt power supply, make sure it has enough amps to power the heating pad!
1X MOSFET board
2X (but can also be 4 if you want to be prepared for the future) mosfet heatsink (those suckers can get hot)
some cable (i desoldered the plugs from the board and soldered the wires directly on it, the connectors are very, let’s say, chinese.)
1 Thermowell temp sensor for in your fermenter
additional temp sensors to measure glycol if you want to, but not needed
1X brewpi
1X raspberry pi
1X raspberry pi power supply
1X usb cable between raspberry pi and brewpi.
you might want some additional stuff, for instance, i also bought some of the female plugs for the SS Brewtech pump and heater pad so I could just plug them in and out, but that’s up to you.
Thanks a bunch for the pics and parts list!
Three sensors because I would wan’t one for each of my two fermenters (make use of the existing thermowell) and one for the Glycol bath.
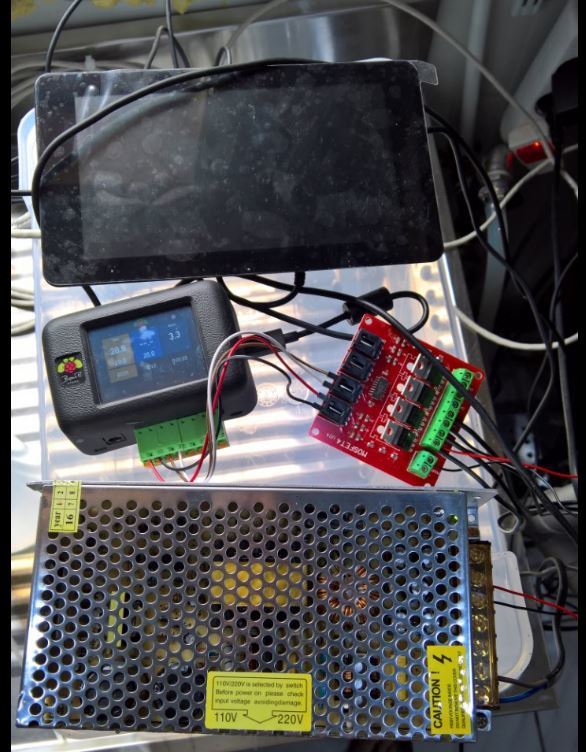
Your pictures and parts list raises some questions. The MOSFET heatsink, is that mounted in your picture?
The cables between the BrewPi and MOSFET looks like they are special cables that click into the MOSFET connector. Is that correct?
It looks like you have 6 cables going out of the MOSFET.
From Left to right on the second image:
- Thin black : Power supply?
- Thick black: ?
- Thin red: ?
4: Thin white: ?
5: Thick black: ?
6: Thick black: ?
Btw, I would not be using a heating pad. How would that change my setup?
Thanks in advance
sorry, this was all pre-cleanup and using some breadboard wires
please note that brewpi only does 1 fermentation chamber per brewpi this time… so you can only use this for 1 setup! I know Elco is on working on it though…
anyway, for the rest, no this was a test setup, no MOSFET heat sink is installed here yet. I have cleaned this up and build this into an environment, and this now has the heat sinks.
as far as the cables, this was a test setup so i used some breadboard cable. in my final build I just soldered the connectors off and soldered the cables in directly.
anyway, you only need the outer 2 connectors on the MOSFET side, not the middle one. they both go to the digital out of the brewpi.
on the outs, the first 2 are the + and - of the power supply. unfortunately the screw was broken for me, so I had to place this in the second input. the thick black is the + out for channel one, the second black is the - out for channel 1. then channel 2 etc. the thin red wire was a fix from me since the screw was broken, but should have gone in the very first input (that’s empty in my picture.
ok, so no heating pad. what do you use for heating?