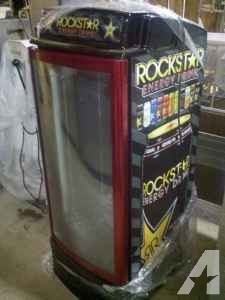
So I just got this brand new RockStar cooler “never used” that I will be using as my ferment chamber. I will be sticking my Ss 7 Gal fermenter in. I will be using the older BrewPi RevC to control it. I will be picking the cooler up on Monday and will take some more pics and post my progress. I have to figure out how I am going to run my wire for sensors and etc. My goal is not have to drill holes if possible. I have an idea how I will but have to take some parts off to be sure. I’ll keep you all posted. I want to get the new BrewPi but I am waiting on it to be complete for HERMS control and fermentation together. I have both the spark core and photon.
@Jesse I found it on craigslist. I went and looked at it, it was still in the box that had dust all over it. I am picking it up tomorrow and will take more pics of it once I get it in place. This will help so much due to my DIY ferm chamber was in my garage that stays around 90 in there. So controlling the temp was rough on the mini frig that I have. This one will be going into my storage room that I just cleaned out. The room already stays in the mid 70’s but I want to make sure that my temp holds perfectly and will not have to run the frig much due to the room temp being almost the same.
@JoeJr Got to love Craigslist, if you don’t get murdered… Haha. I found my Pepsi cooler on Craigslist from an out of business Asian Buffet (which I don’t recommend) but it was cheap and works great. I can’t wait to see your build.
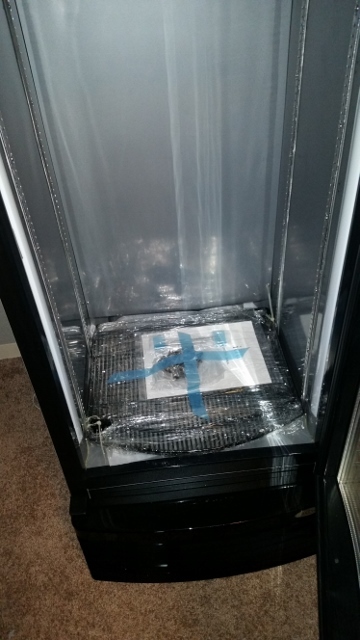
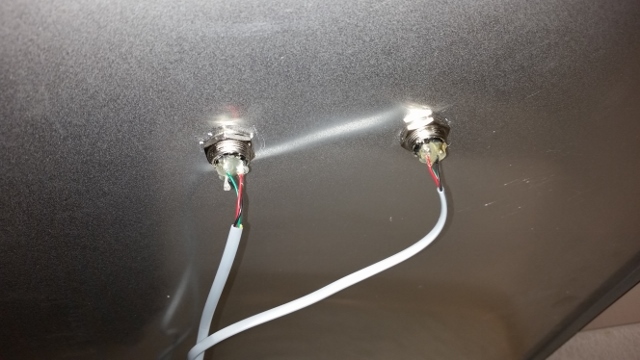
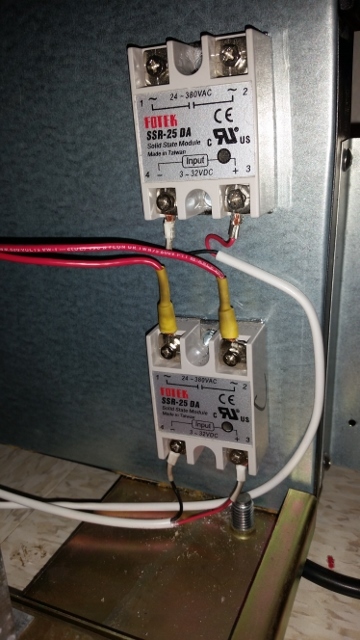
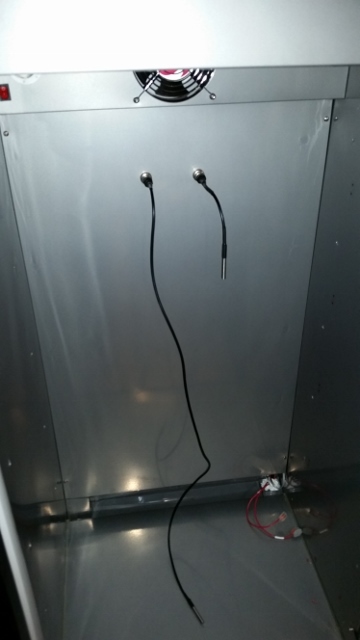
So I got the cooler in the house today. I took the rapping off of it and cleaned the dust off it. I cant believe that I got this brand new. As you can see in one of the pictures the parts are still in the rapper. Also in one of the pictures you can see how my sensor box is wired. the two that is coming out of the top will be in a wire mesh gland that will add a clean look to it. I am going to wrap the top crack with the reptile heater wire for the heat source. The wire will not be seen due to it being black as well. I am going to take it apart soon to run the wires. I will add pictures that show the break down of how I did it. my goal is not to cut holes in this thing. I am also not going to wire the SSRs directly to the compressor. So no need to cut the wire. The reason why I am doing this is that when I’m not brewing I can put drinks and stuff in it. let the build begin!!!
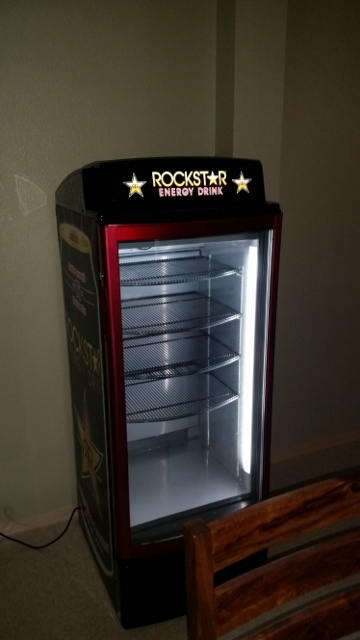
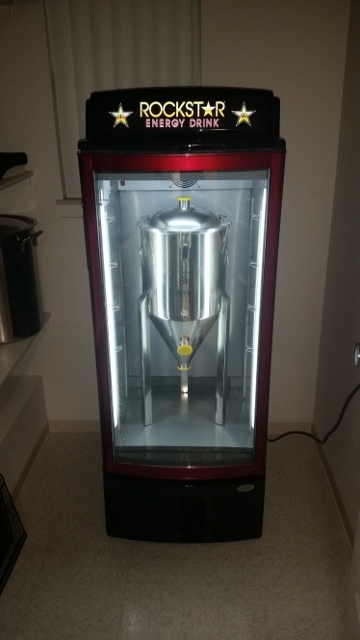
Here it is with the Ss Fermenter inside. I have the 7gal Ss brew tech and it fits nicely. I don’t think I can fit the 14 Gal if I got one. I will have to do some measuring. After looking at the wiring on this thing it looks sooo simple much easier than my dorm size fridge. I soon as my wire comes in I will post pictures of the install.
That’s nice! When you get a chance could you post the interior dimensions and the model name/# of the fridge? Curious if this would fit the 14 gallon Ss as well.
Hey @DIPA Yes it is a IDW brand and the model is G8. This model is not being made anymore by IDW. it has been replace with GCG-10 and 12. The company can’t sale the ones with the brand logo on them. I have a contact for the company. Also I know another website that has them refurbished and come with a 30 day warranty if you live in the U.S. shipping is not bad and the prices are good. I will get the mesur. soon and will repost.
@DIPA, after looking at the mesur. of the 14Gal I can tell you that you will have no problem. For the top, use the 90 degree tri clamp hose barb and you should be good.
For DWI: www.idw-usa.com contact name: John email jcote@idw-usa.com
For a brand new one the GCG 10 or 12 which is slightly larger than mine was going to cost me 850 but keep in mind that shipping to HI is very very high. If you live in the states it will be much cheaper.
If its me and I lived back in the main states I would go brand new due to warranty and know that its brand new nothing has been in it. so it makes my brew setup look that much better. I just lucked out and got the one I have now. I can tell that it is going to make a large difference.
O I forgot to add. The referb website also carries the one like I have. I asked and they have some in stock. just ask for the IDW G8 rockstar or monster
It’s a good price for new, but when you find one on CL for cheaper then your chest freezer. It needed a lot of cleaning but it works well and I think I could fit 2 7 Gallon Ss Conicals in it.
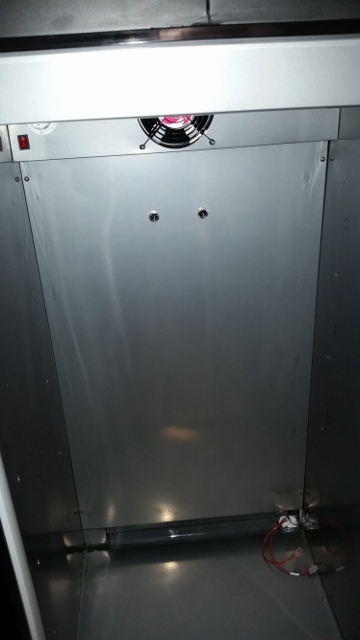
I have started the build. After putting a lot of thought and looking at the wiring of this cooler I decided to let the SSR and brewPi fully control the cooler. I disconnected the thermostat but left it in place so that I can reverse it at any time I want. The routing of wire in this thing is so easy and didn’t have to make new holes. Here is a few pictures of my progress. The only thing that I am waiting on is my heating pad that I ordered from Williamsbrewing.com. Once I have received it, I can put the back panel in.
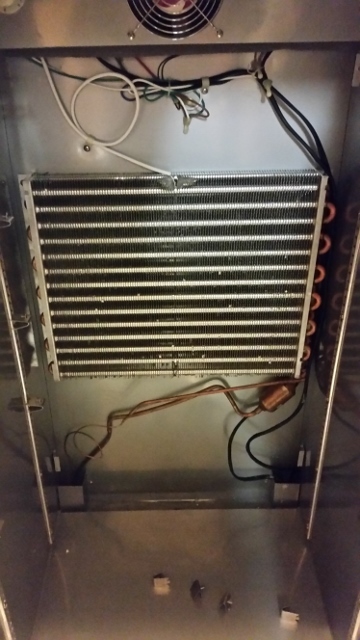
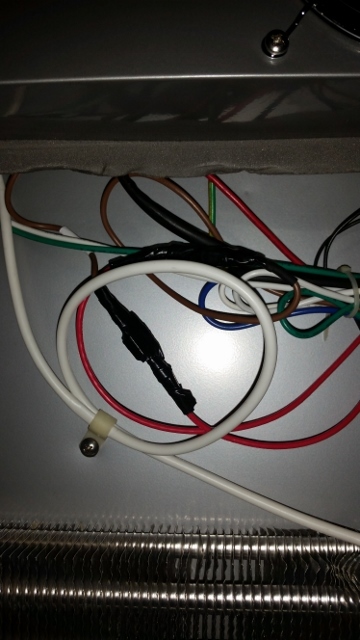
Here you can see with the back panel removed what it looks like.
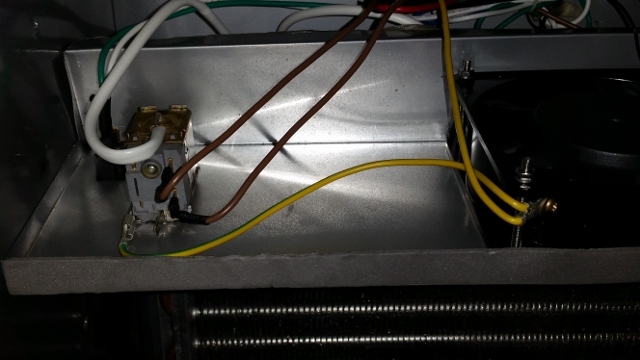
Here you can see that the two brown wires will be disconnected and controlled by the SSR. I left the grn/ylw wire due to it being a ground. I also left the thermostat in place.
I will cut the plug off so that I can run the wire down the condensation hole that’s in the back middle of cooler. When I am not brewing I can remove it and turn the cooler back into a regular drink cooler. I went with this one due to I can stick it to the wall back/right/left and will provide just the right amount of heat.
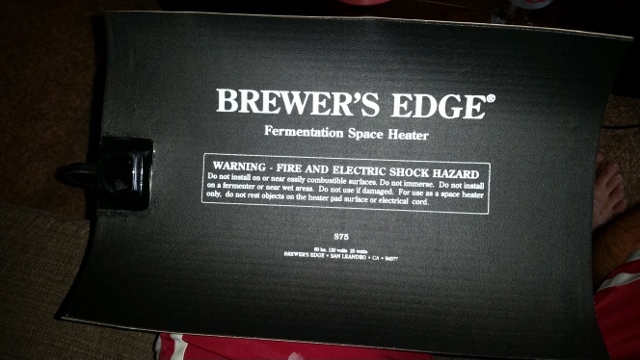
Okay so here is a few more pictures of the build progress. I received my heating source today and I have to say this thing looks sweet. I just have to figure out which wire will go to the SSR and will stay with the plug end.
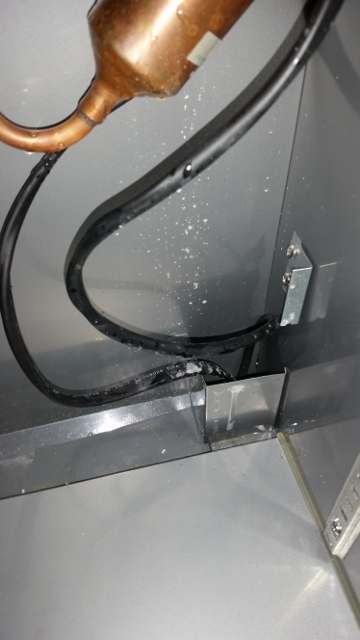
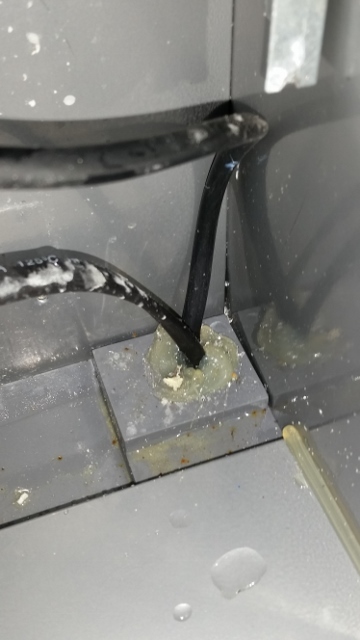
So here you can see that I sealed the wire hole back up with some silicon and the two red wires are for the heating source. I will have to cut the plug off so and use the little snap clips in its place.
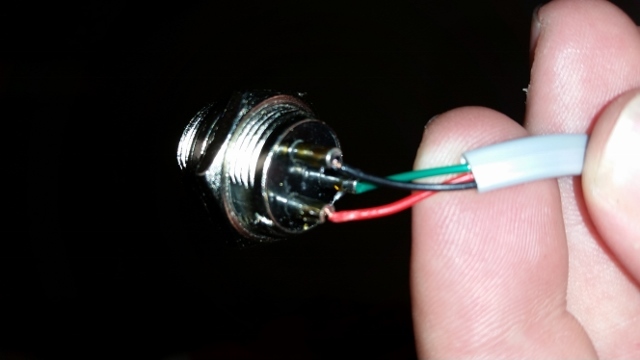
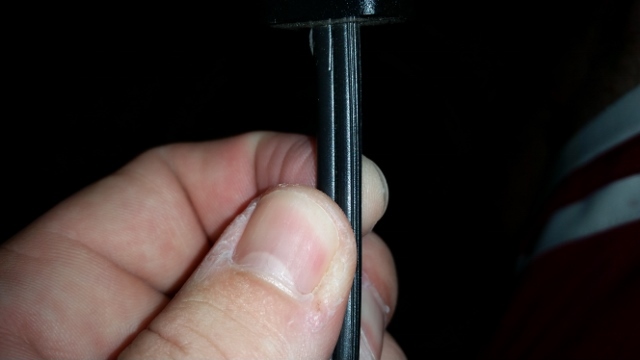
Here is the heating pad that I got. Now I have a question. On the picture below with the cable in hand, which side of the wire will run to the SSR? One side had these little groves on the side of the wire which looks like is runs to the fat flange side of the plug. I want to make sure I hook the right wire to the SSR so help is need for this.