Hi everyone,
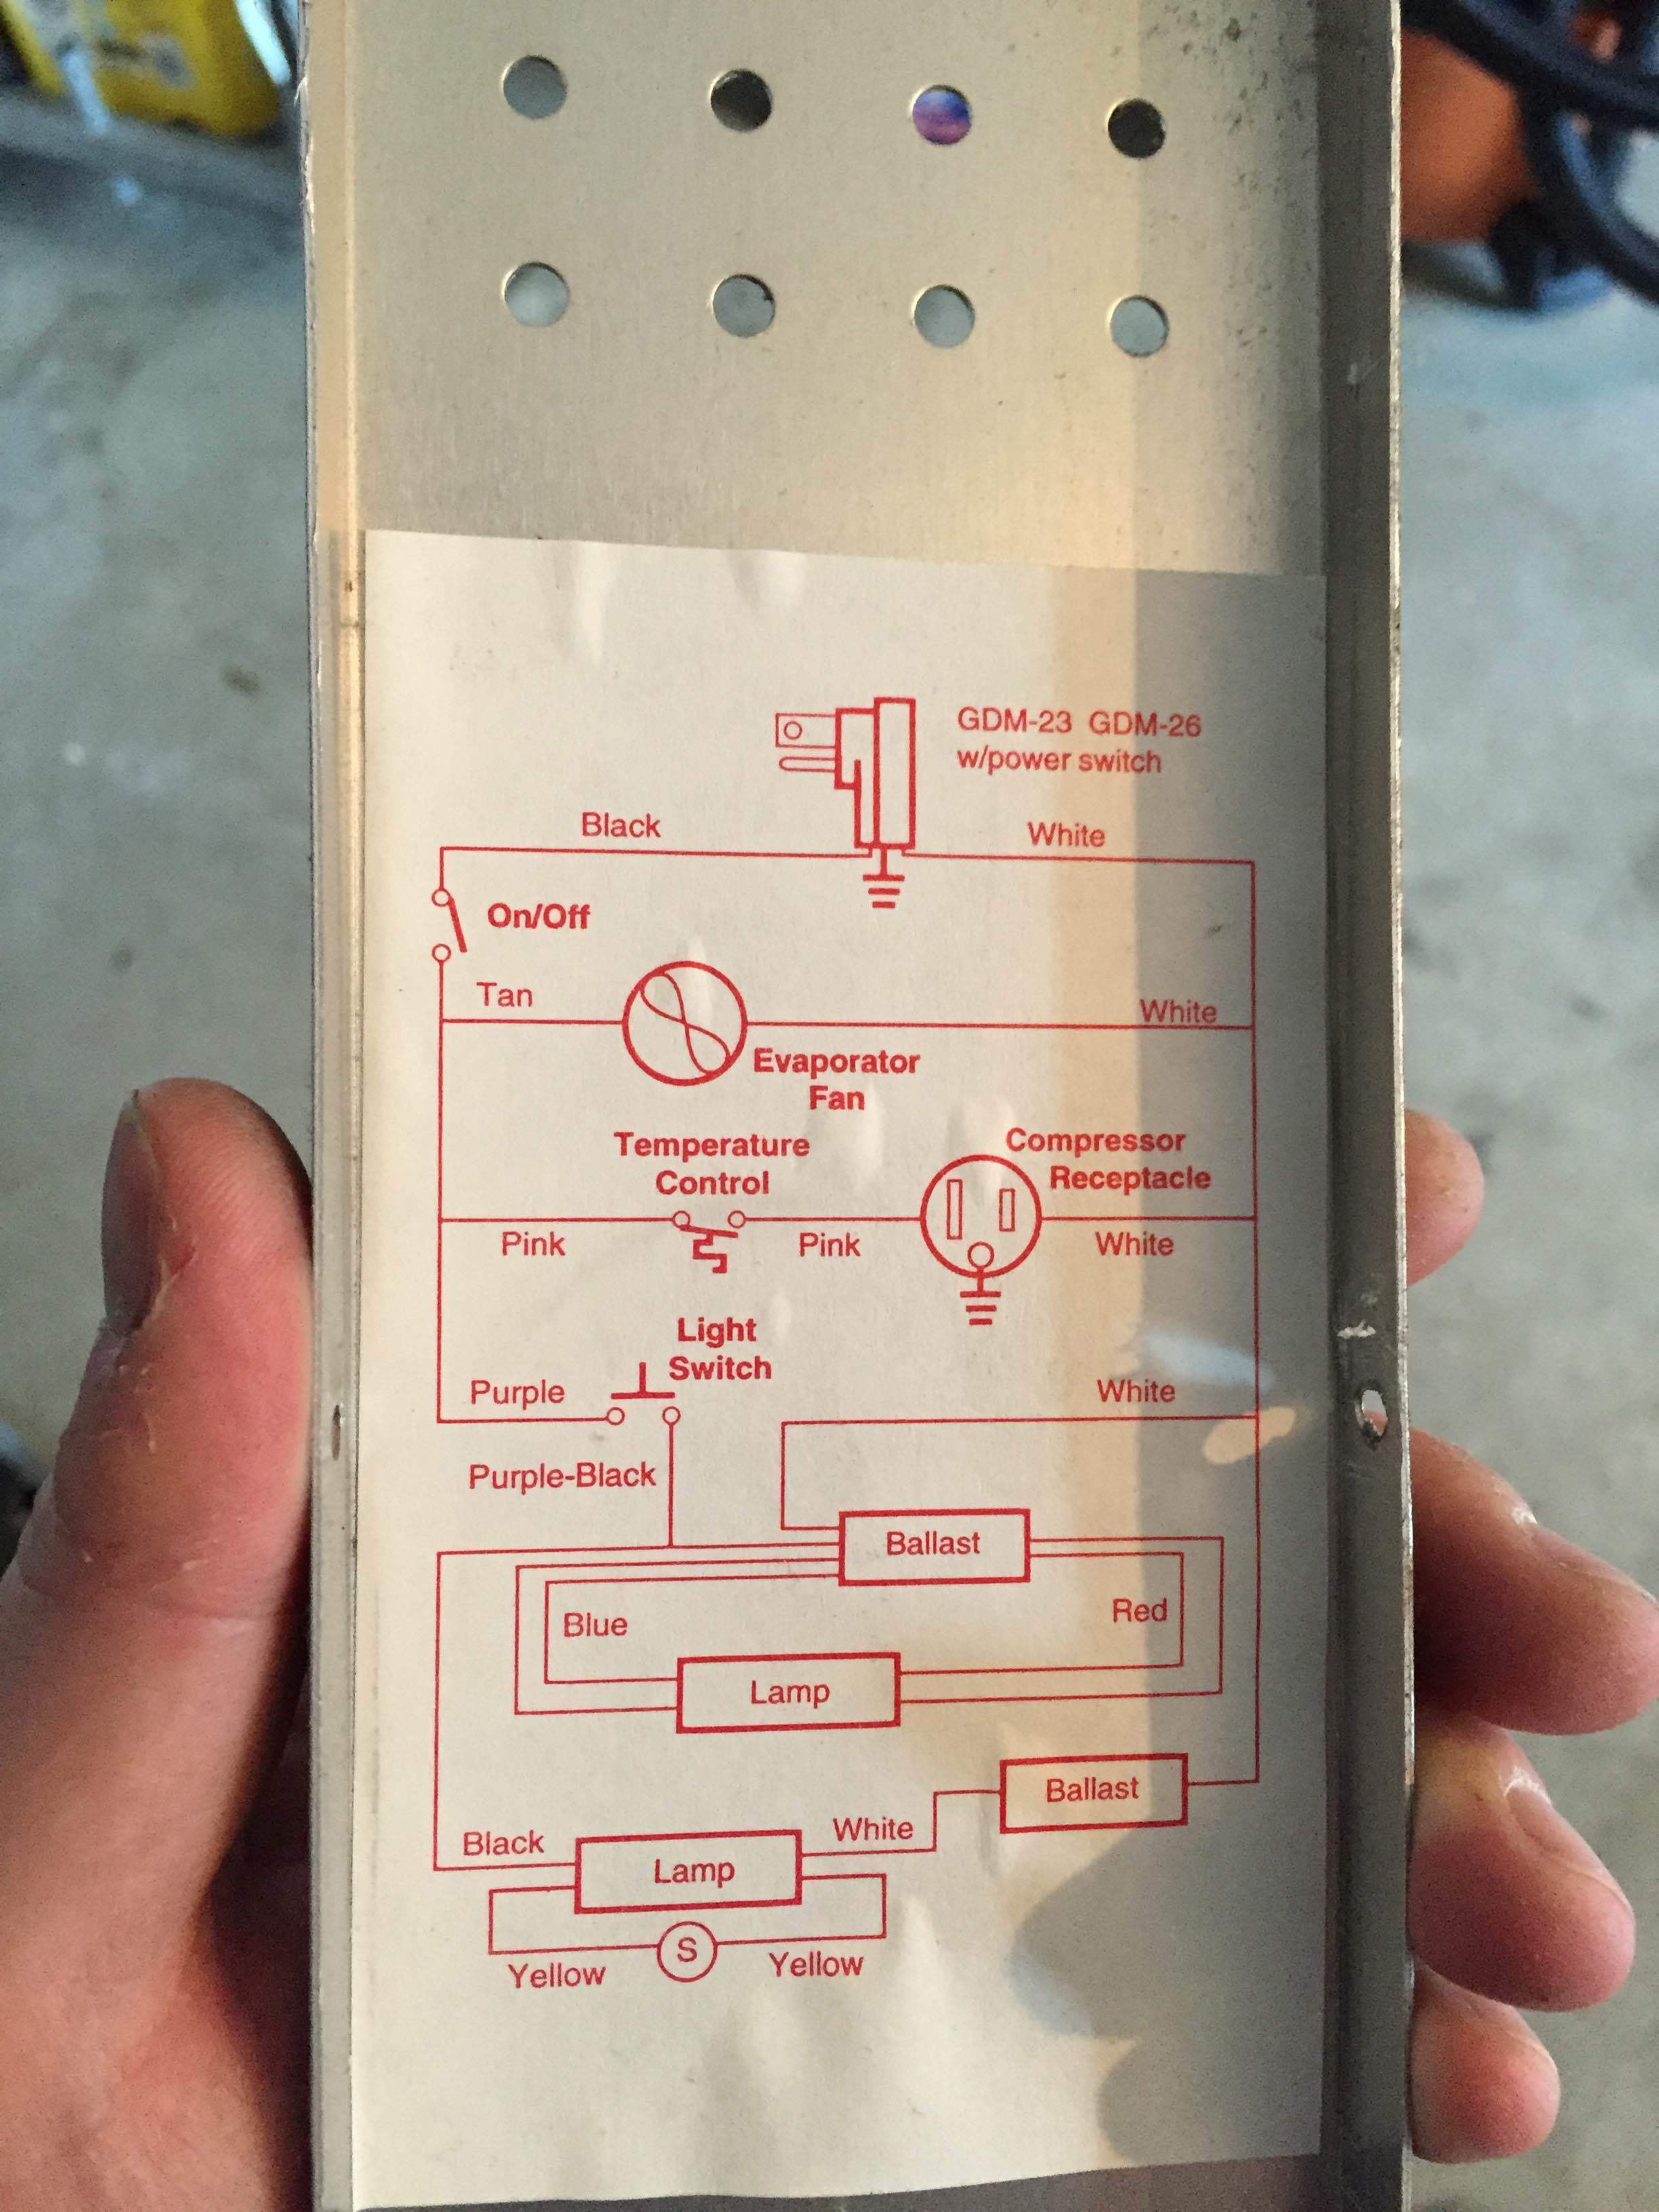
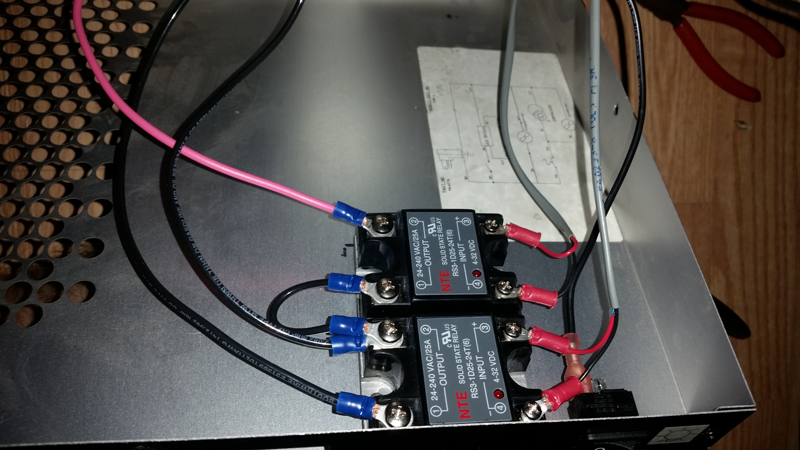
I got my hands on a True GDM-26 fridge from Craigslist and would like to know what the best route for wiring up the fridge with two SSRs (cooling & heating) and best wiring path in the fridge would be. I would like to keep the evaporator functioning and have the door light and top display light on as well. BrewPi would take over/bypass the built in thermostat. I attached some pics and the wiring schematic. Thanks again.
First off you shouldn’t have pulled on the panel like that while the thermostat was still connected. lol
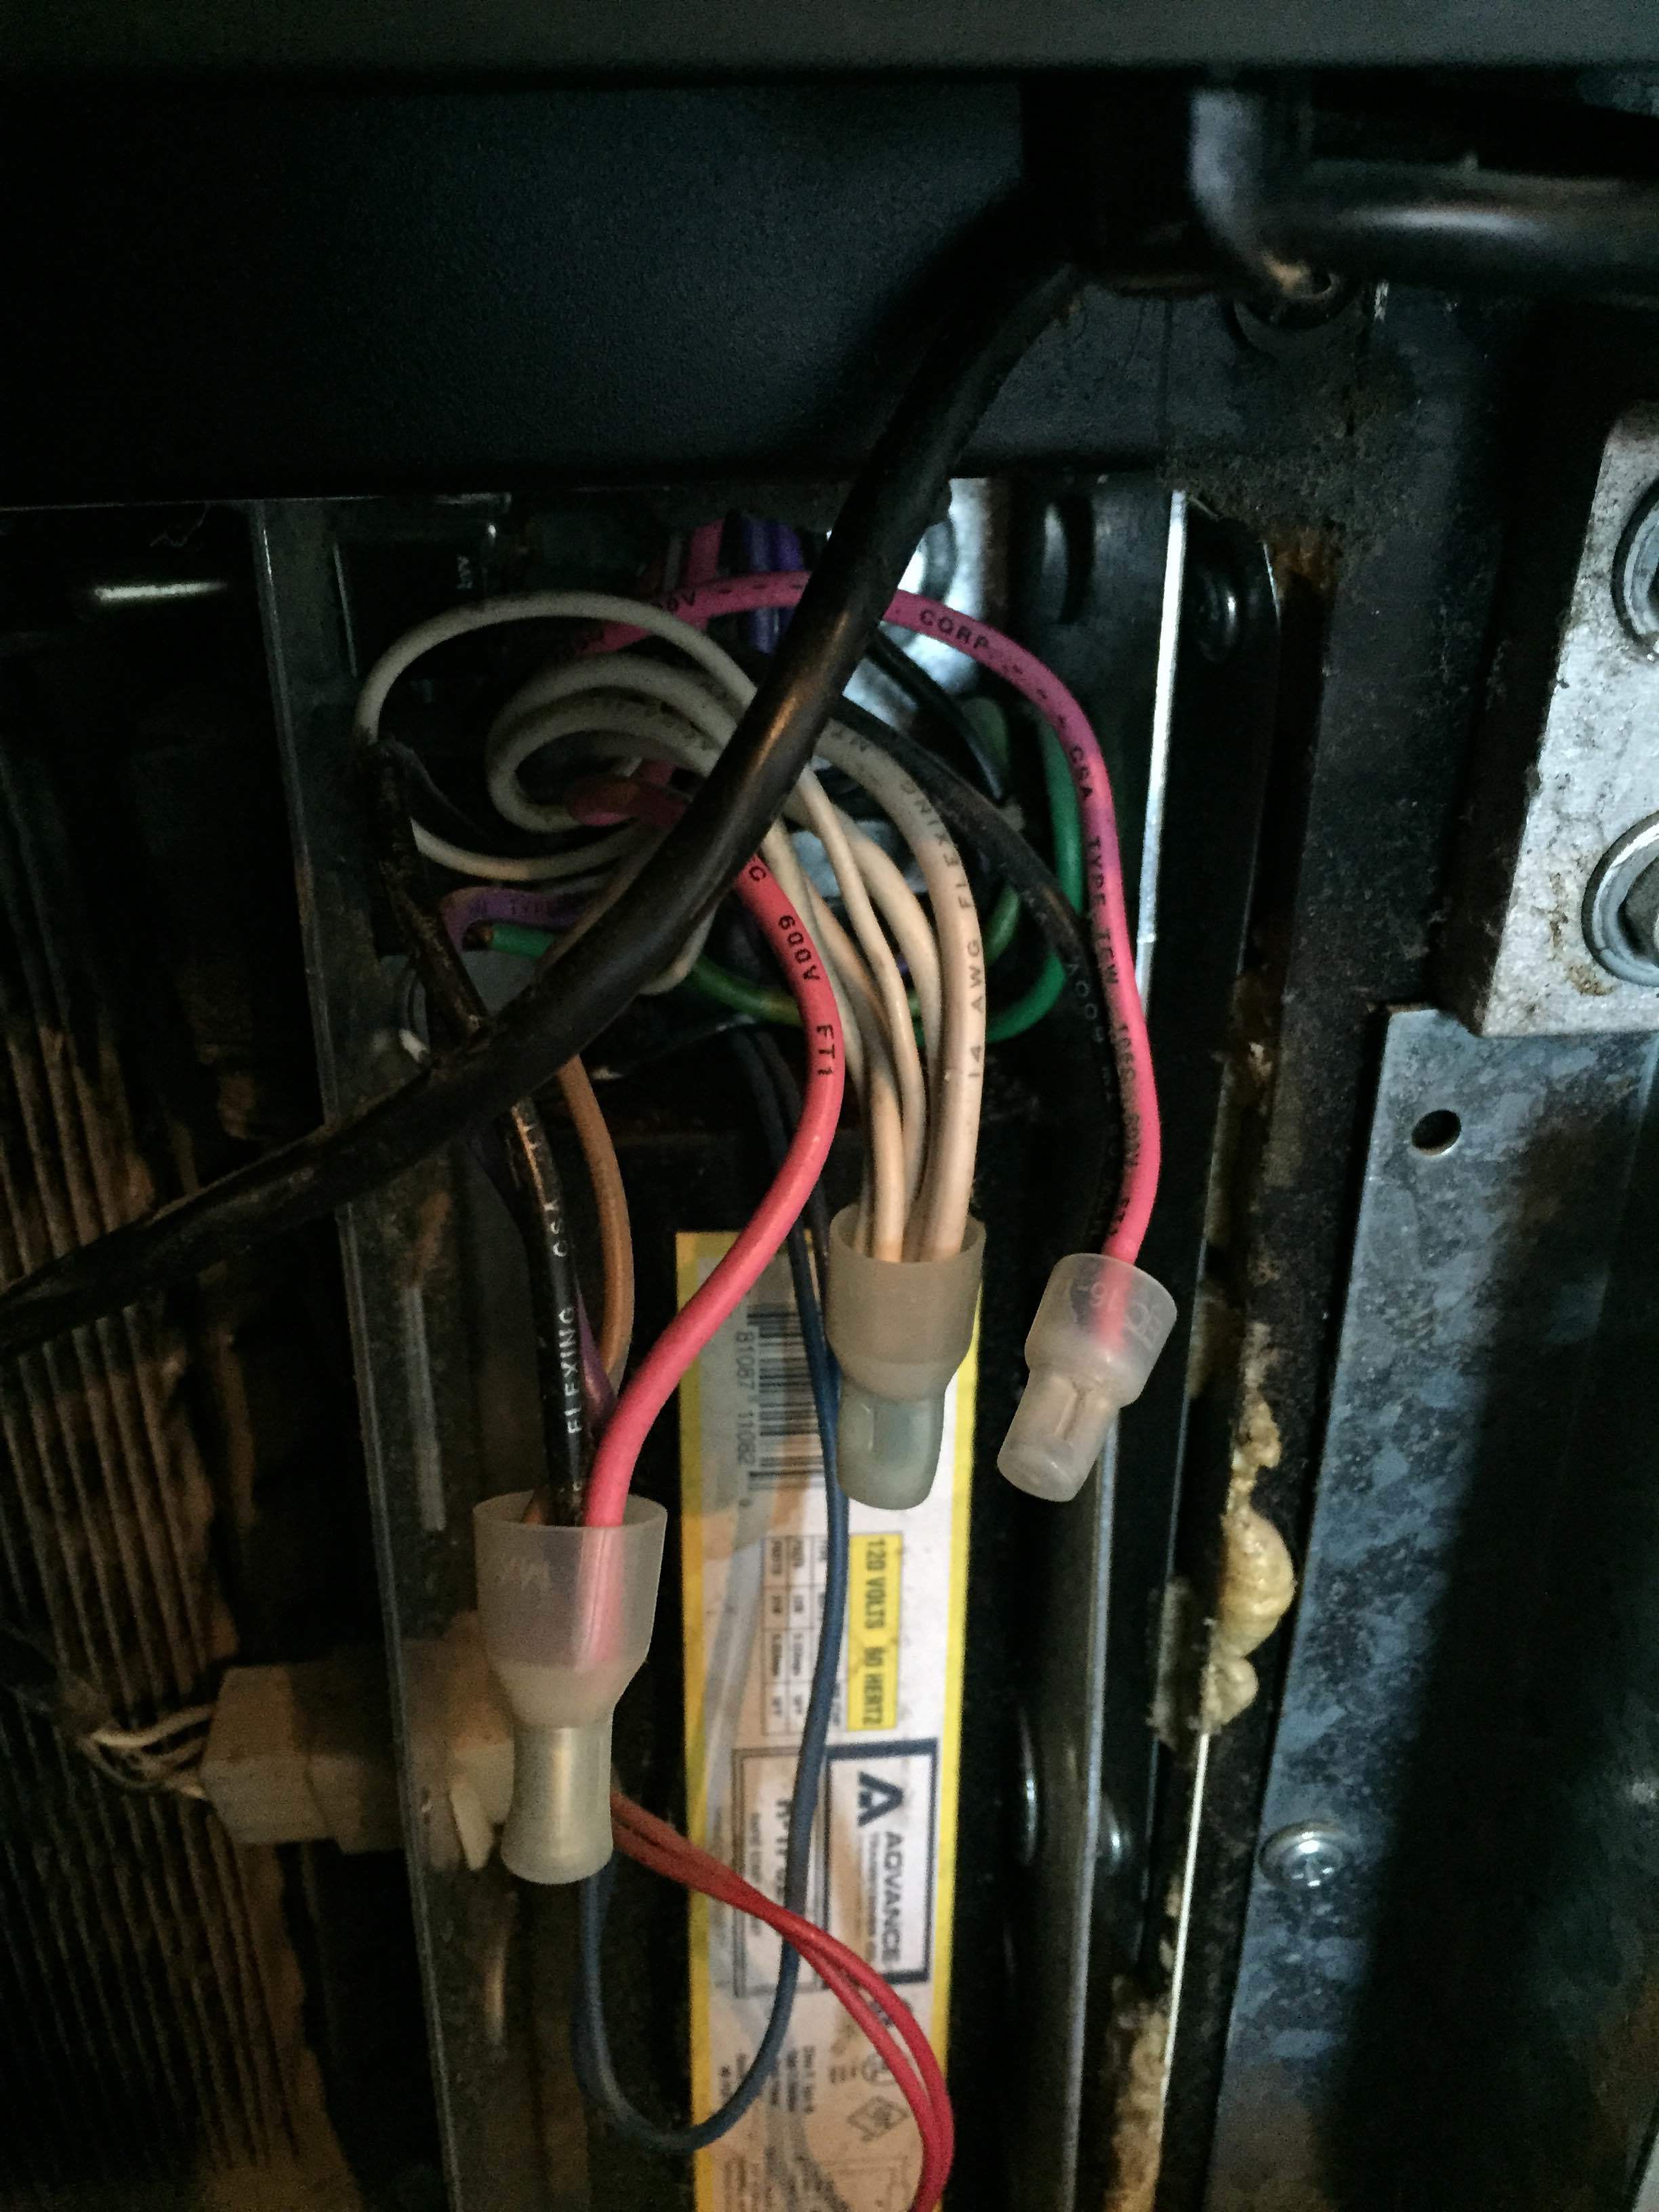
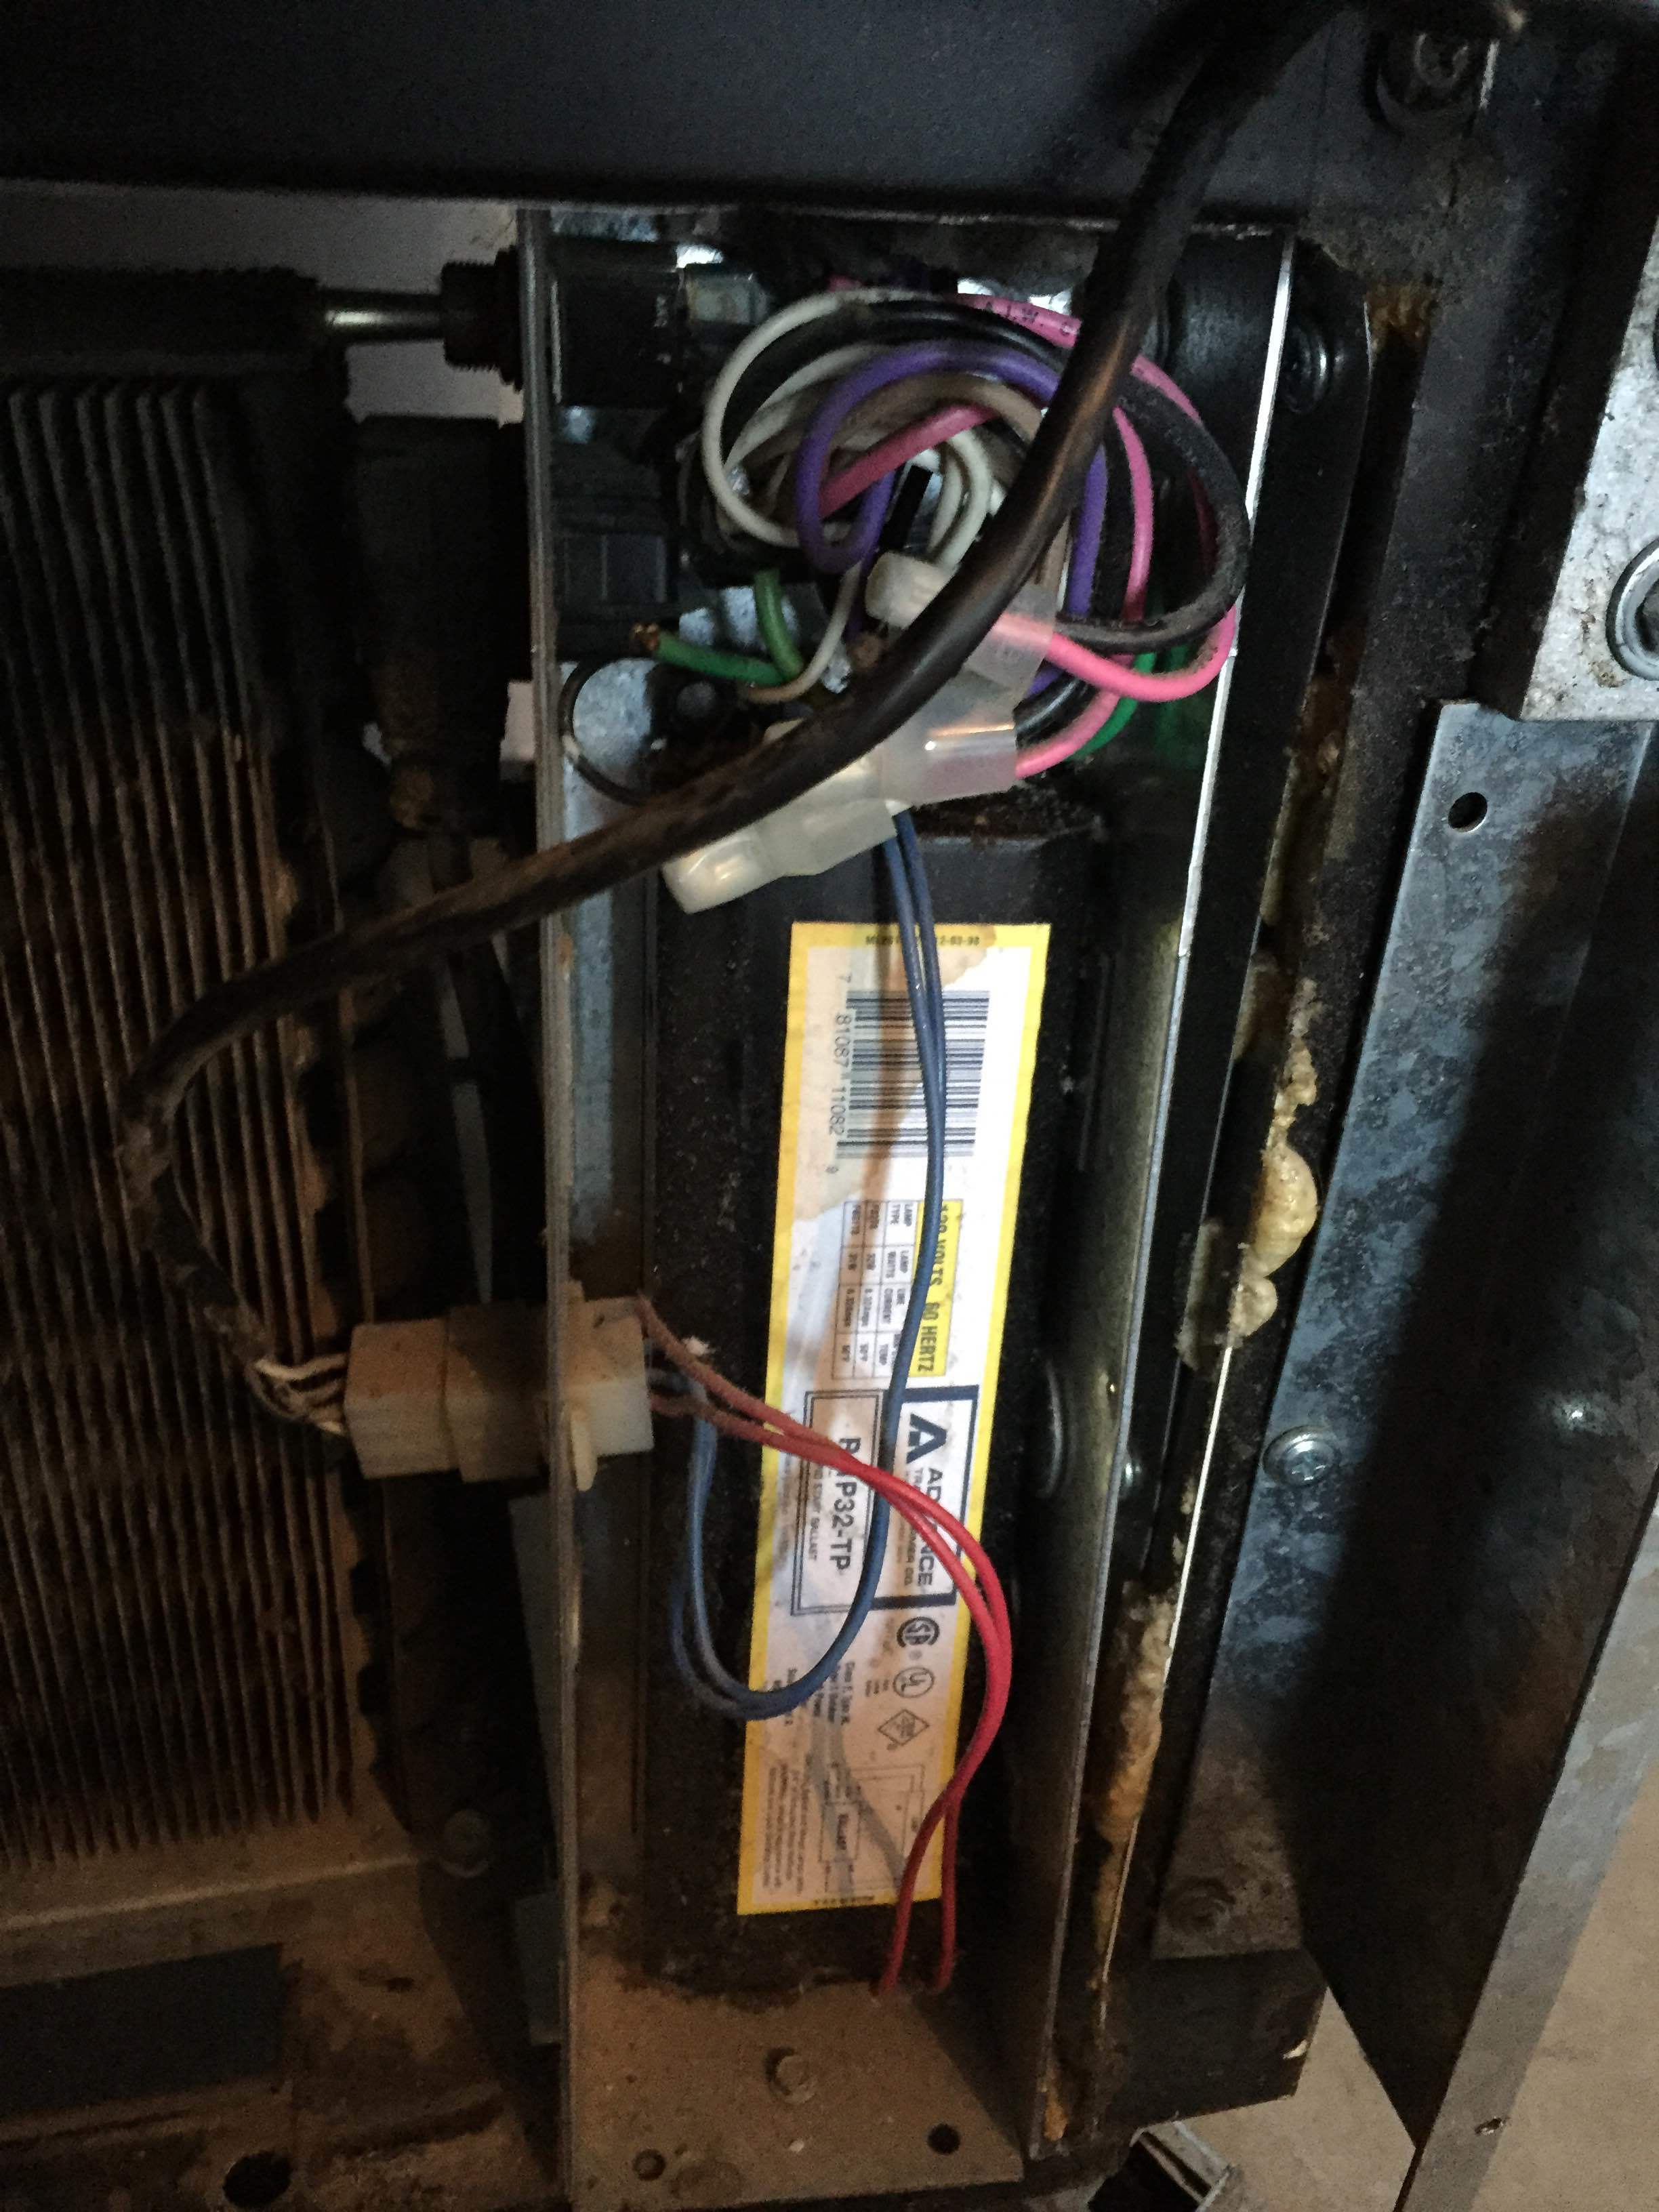
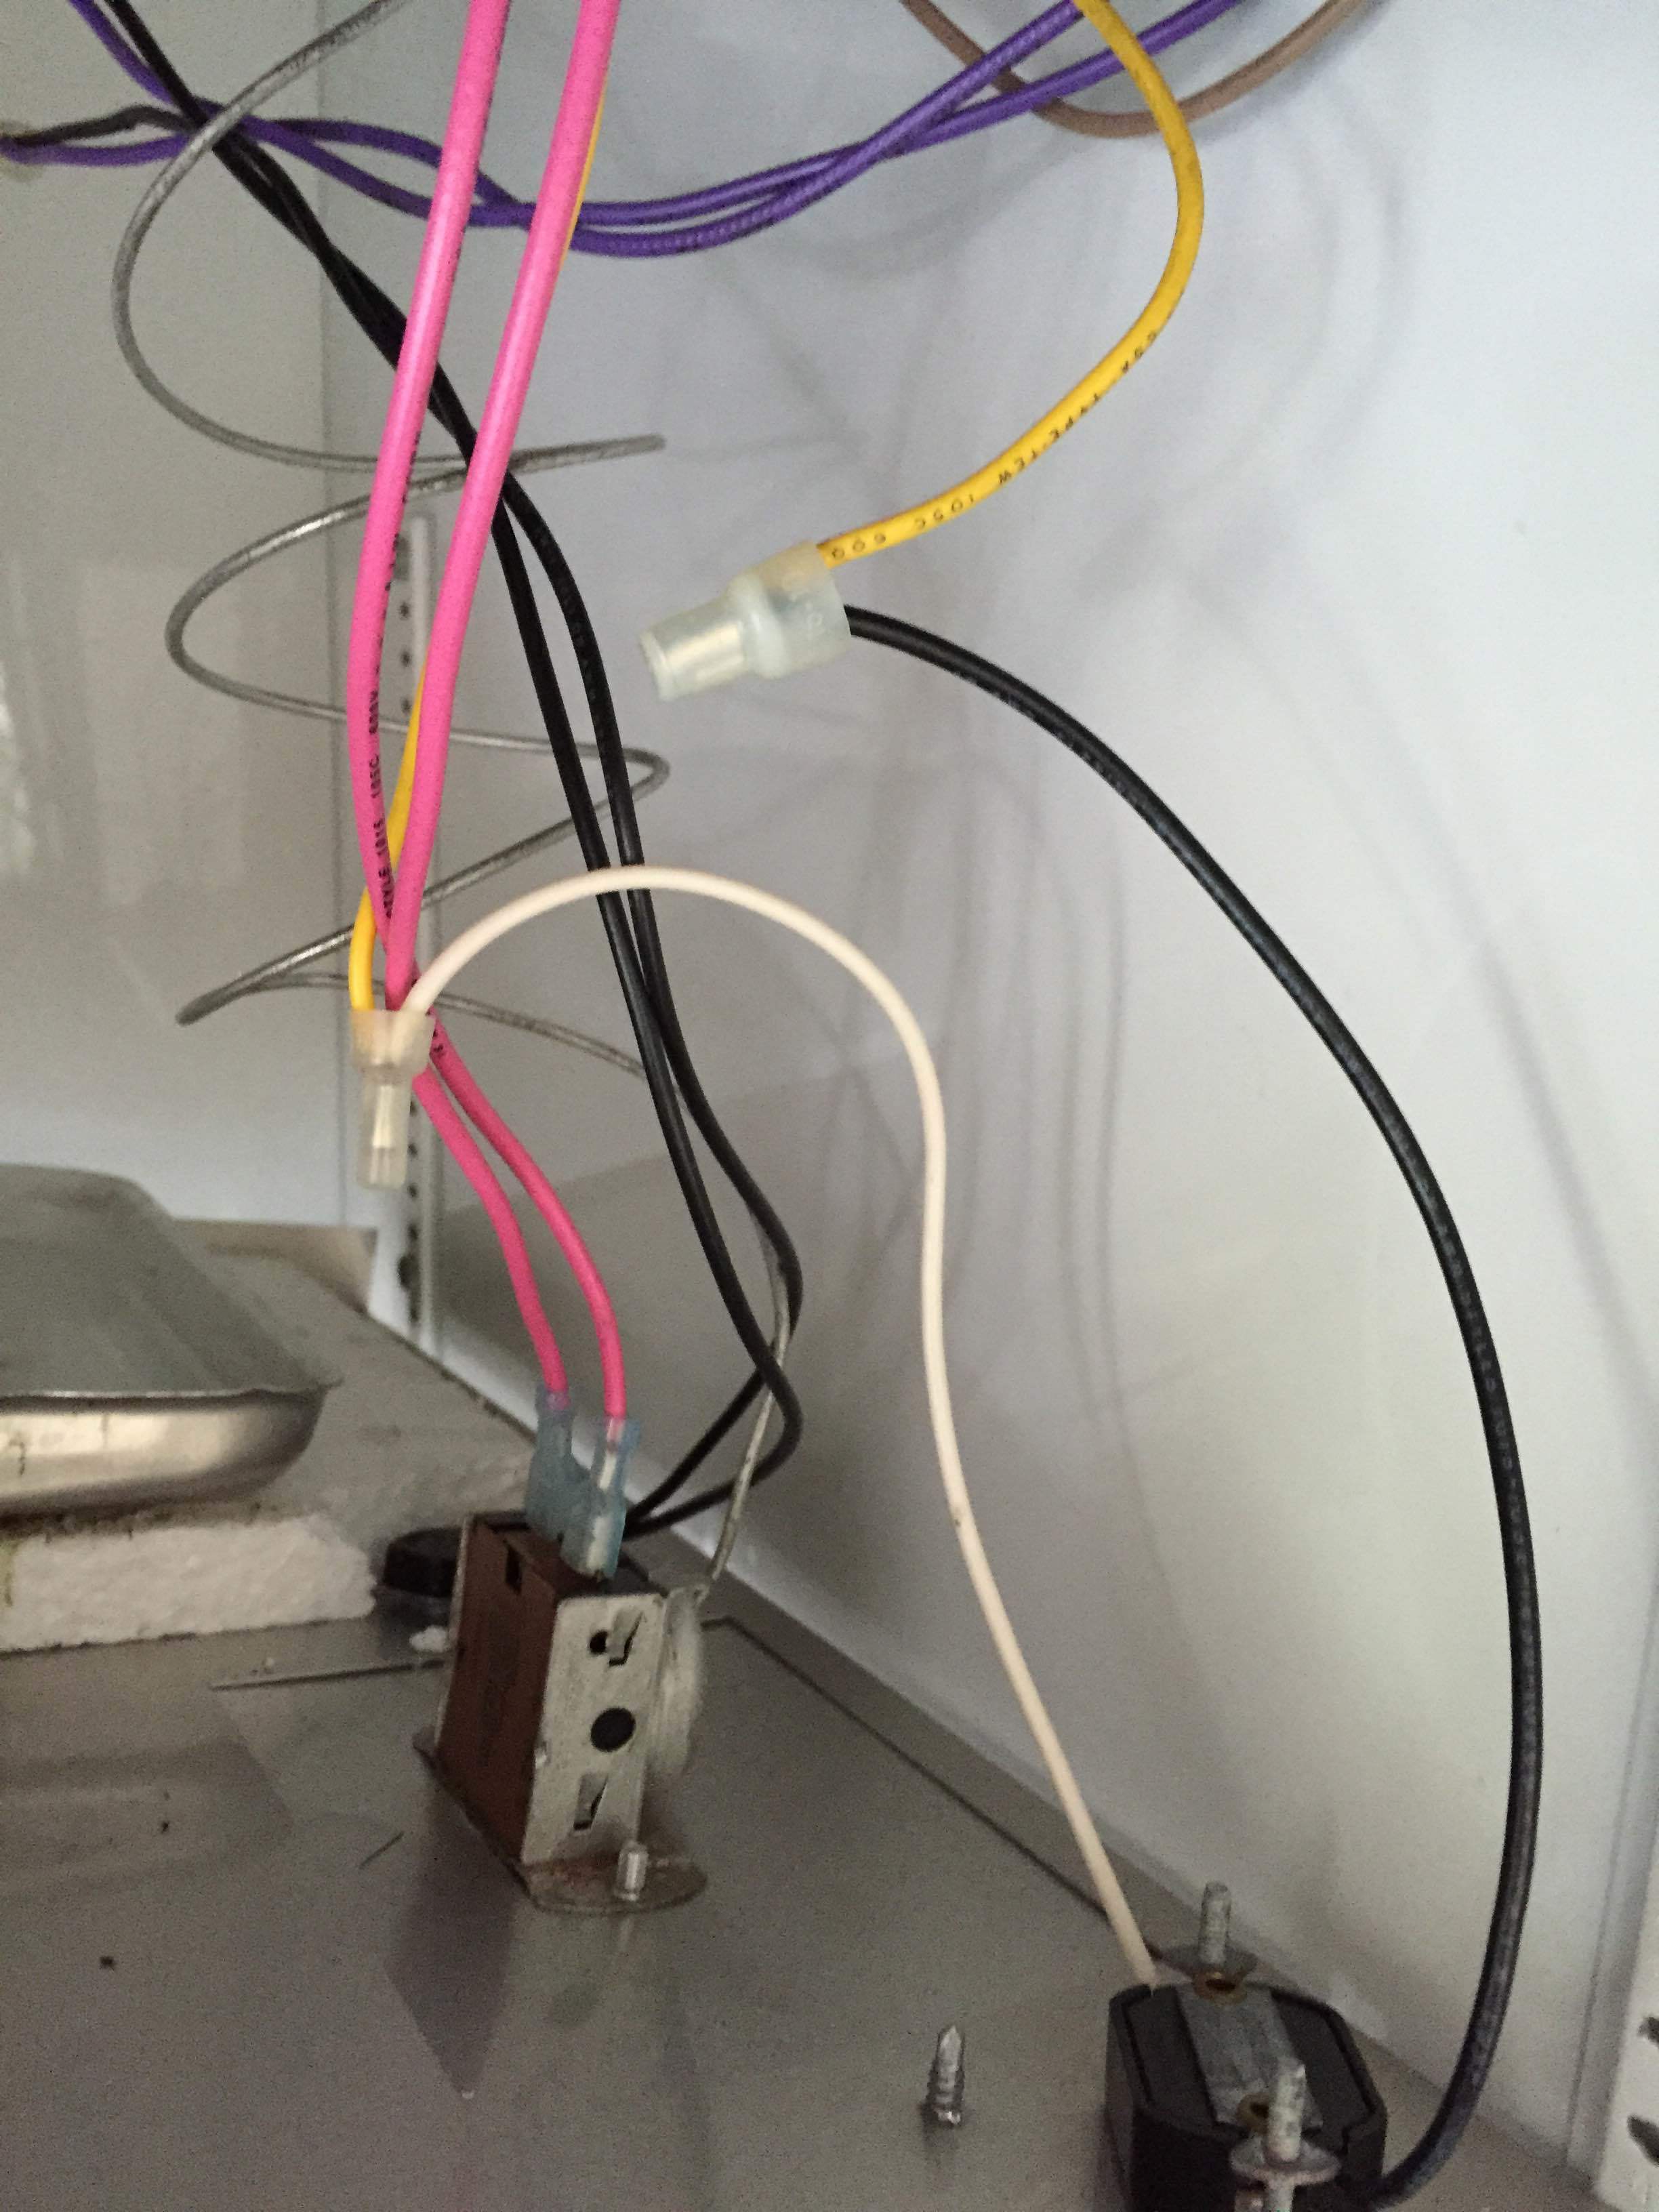
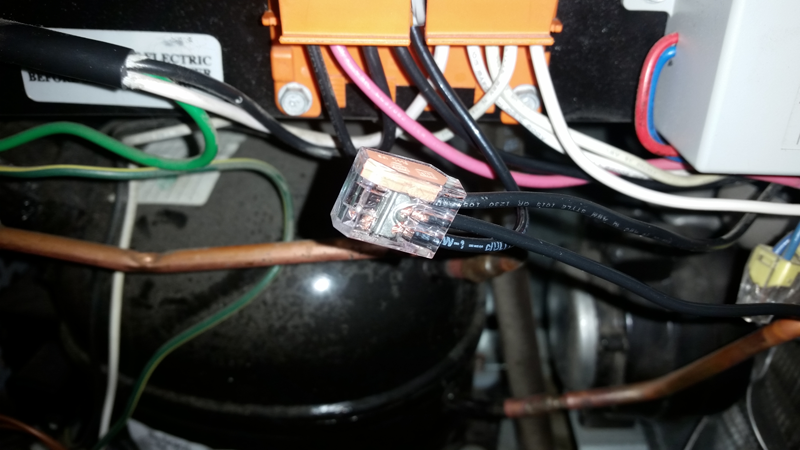
The pink wires are obviously the compressor control as they are connected to the thermostat. One of them is connected to live and the other to the live wire connected to your compressor. You can probably pull one of these down and out to the back (the one connected to the compressor). Your first picture shows where all of the neutral (white) wires have been connected. How you tap into ground and live is your prerogative as there are lots of ways to do it. Just don’t use anything smaller than 14 AWG rated for high voltage applications.
Since I’m not familiar with that particular fridge I don’t know how the wires are being routed but it should be fairly obvious.
I just did this on my True GDM-6. It’s a newer model so it doesn’t have ballasts for the florescent lights as it has an LED strip. It also has a much smaller compressor. You’ll need to check your thermostat model to see how many amps its rated for and get SSR’s that meet or exceed it.
I used an open spot in the neutral terminal block to connect neutral to my heater. I then used a 3 port push connector to splice in live to the SSR’s and jumped it across just like in the fridge hacking guide. The compressor will already be connected to neutral so all you have to switch is live to the pink wire that runs to the compressor.
Also there will probably be permagum sealing off the port where wires go from inside the fridge to outside the fridge. You should seal this back up when you’re done with some fresh permagum. You can get it at Home Depot in the electrical department as “Duct Sealing Compound.”
Thanks for the feedback @Blankly . When took the top panel off, I gently removed it and rested it on the guide rails as not to put too much stress on the thermostat.
I have some ideas about how to wire it - I’ll post a schematic later today.
Did you get your wiring figured out? I have a gdm 26 as well and was planning on doing the same.
Thanks,
Sid
Yes, I figured it out. I essentially replaced the thermostat with the cooling SSR. The most difficult part was routing the wiring from the bottom of the fridge through the “soffit” area inside of the fridge (small rectangle on the inside right of the fridge) and into the false top (where the thermostat is). Feel free to contact me if you have questions.
Thanks for the info. The installed thermocouple looks to be routed in between the fins of the evaporator coil. Where did you place your temp probe? So based on the schematic in the pic you basically connected the two pink wires to the ssr?
Thanks again,
Sid
I dont exactly recall what I did, but I either extended the pink wires (or had enough slack) and placed the cooling SSR under the fridge (close to the heating SSR).
I ran the thermocouple wires from the false top using Neutrik XLR connection (for both the fridge and fermenter thermocouples), behind the soffit type box, through the bottom of interior of the fridge, and from the bottom (where the compressor is), and behind the fridge, up to the Spark.
thanks again. What did you use for a heat source?
Sid
I wish I understood what you all were talking about. I’m assuming you’ve made it to where this thing will either heat or cool?
I just picked up this exact machine for $75 with the intention of turning it into an incubator. It doesn’t cool but the fan still works and so do the lights. I was just going to drill a hole in the side and run 12” heat tape up both sides and the bottom, plug it into a thermostat and just roll. I came upon this page bc I was looking for a diagram of the wiring bc I didn’t want to damage any existing wiring when I drilled a hole in the side. Can anyone help me with this?
Thanks, Jared