Intro
Hi all! First off, I’m really excited to get started with the BrewPi!
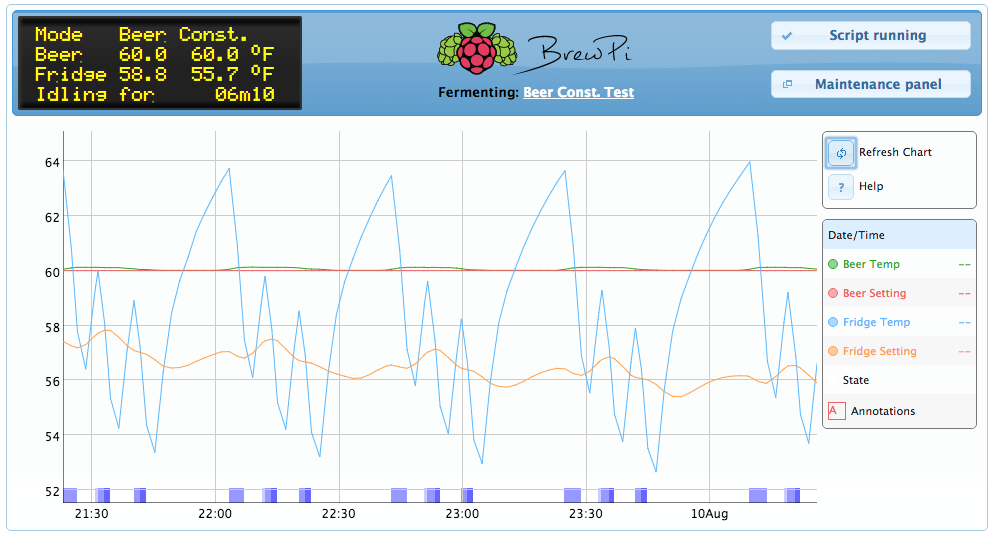
I just recently purchased a BrewPi as well as a couple of temp sensors and 10A SSRs + heatsinks to get me started. (It should be arriving soon!) I want to include a lot of details regarding this build here as I go along with the build. I find there is a serious lack of complete build information on the forum. I will be using a BrewPi Spark v2 (particle photon). This is really all I will be focusing on for the next few months so I am very dedicated to the project meaning I will have the time to be thorough and do a lot of testing. I will probably include one test fermentation once I get the finished chamber running to my satisfaction. Full disclosure, I am not a complete noob when it comes to industrial electronics and uC projects but I still have A LOT to learn. I’m not an EE. Just a curious nerd. I will try to explain everything I figure out or make happen here in this thread and in plain English. I do have access to EE’s I trust that have helped me with projects in the past at my local hackerspace.
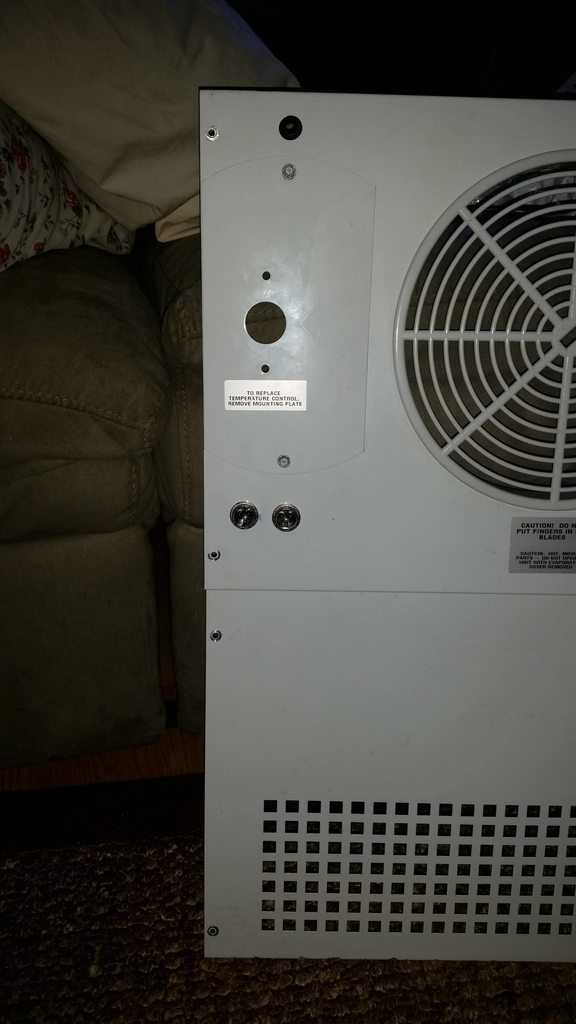
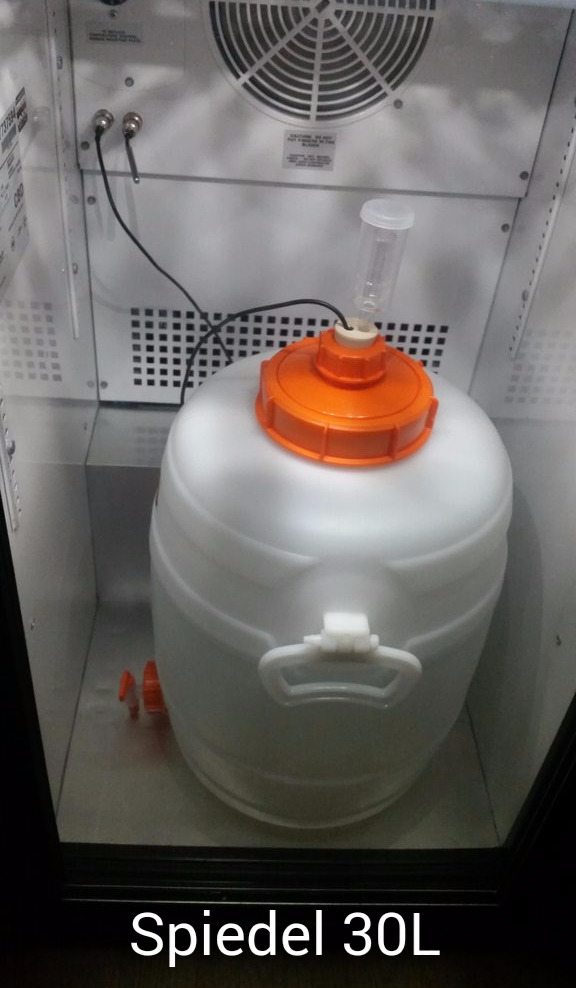
I purchased this beverage merchandiser second hand from a used restaurant supply store to use as my fermentation chamber. I have a 6.5 gal glass carboy in the refrigerator for reference. There is plenty of floor space for the carboy and a second smaller vessel for potential blowoff as well as vertical clearance for an airlock.
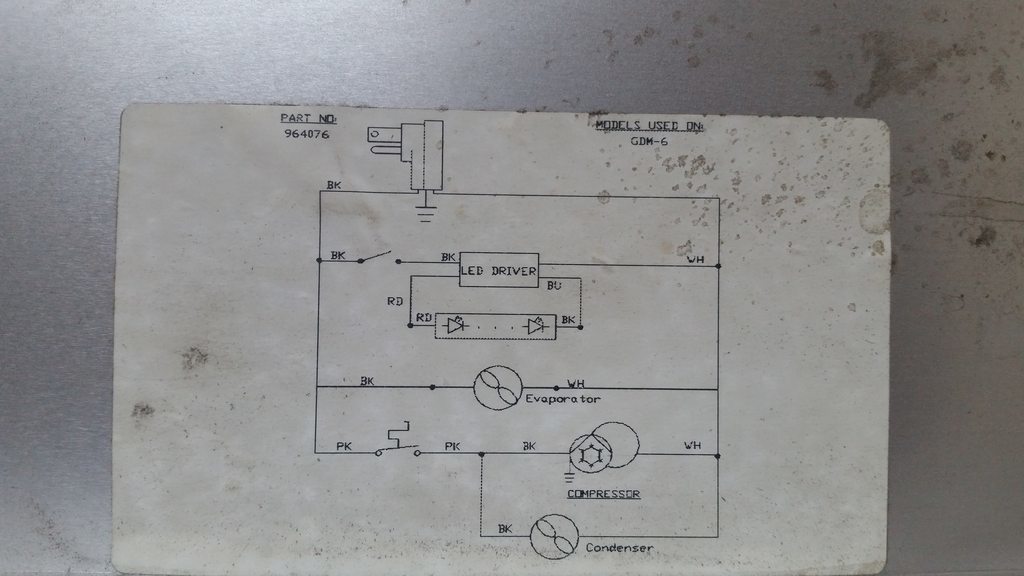
This is a True GDM-6-LD (link to spec sheet)
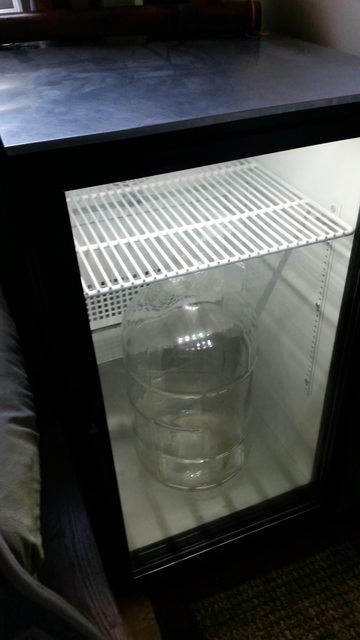
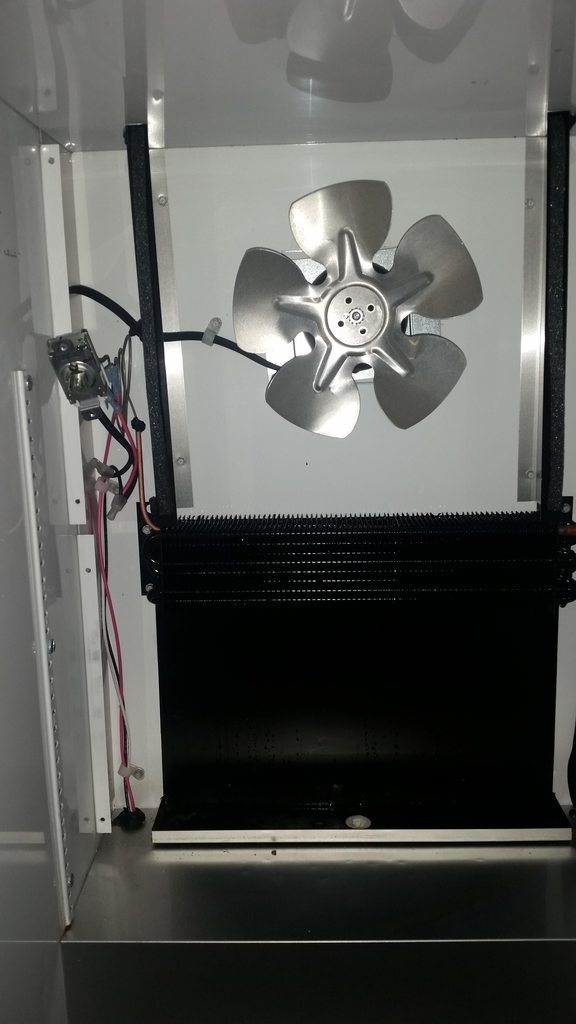
I plan to have the BrewPi directly control the compressor as well as heating element and the evaporator fan for circulation. The resistive heat cable would be woven into the top rack you see there in the picture not unlike the method in the fridge hacking guide.
A. I want to either use one of these at the top of the chamber which would sit next to the evaporator fan…
Zoo Med Reptile Heat Cable 100 Watts, 39-Feet
B. Or affix the two shelves to the sides of the chamber and use two of these, one on either side.
Zoo Med Reptile Heat Cable 50 Watts, 23-feet
I feel that 100w of reptile heat cable should be sufficient (please correct me if I’m wrong). My question is in regards to whether there would be any obvious practical benefit to either setup with respect to heat distribution. I can’t know for sure obviously without testing but it seems that the evaporator fan would be sufficient in circulating heat if I placed the heating element at the top of the chamber. Any suggestions/advice? I will probably get started with the build on Monday.
EDIT: I chose option A.
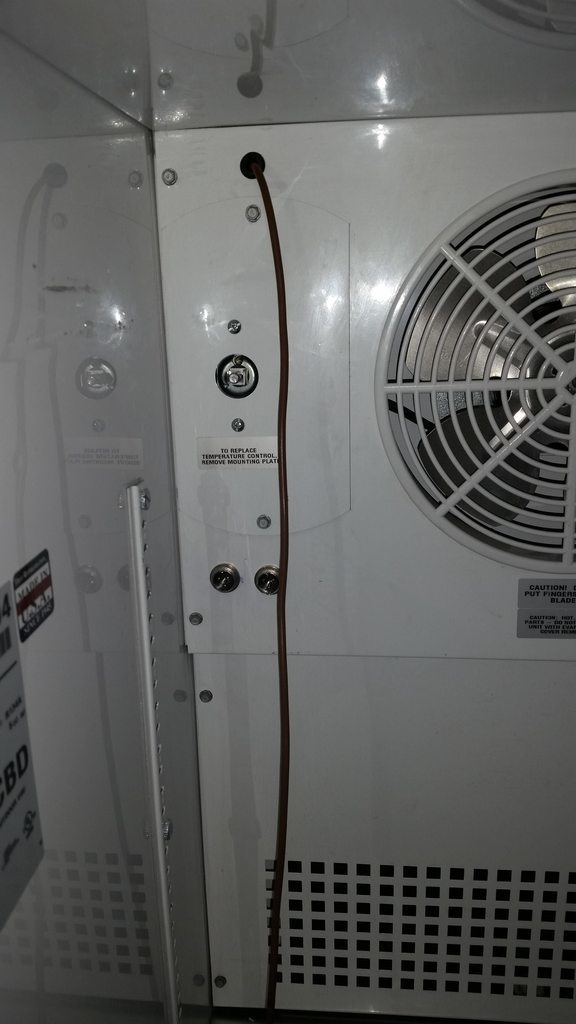
Teardown:
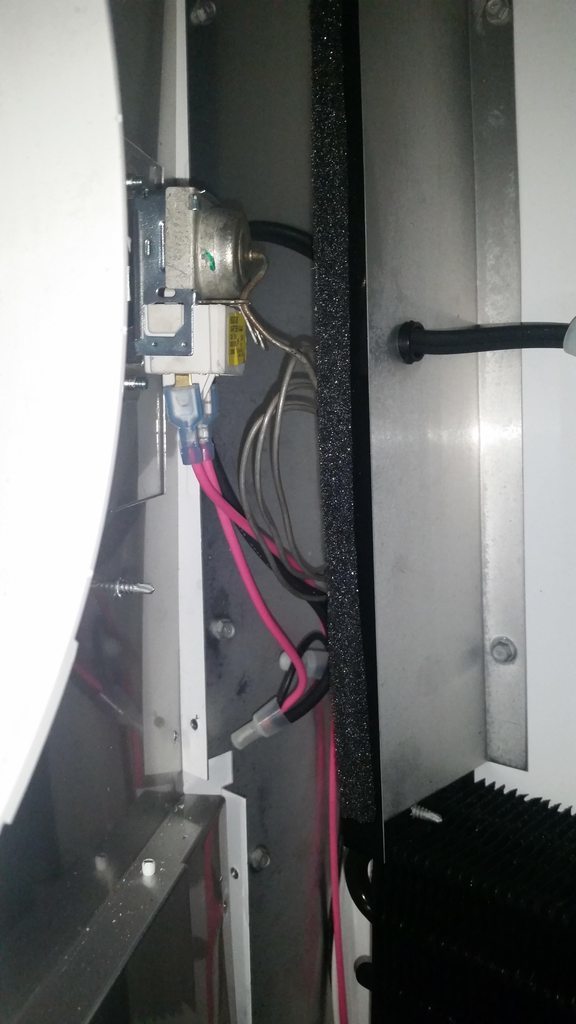
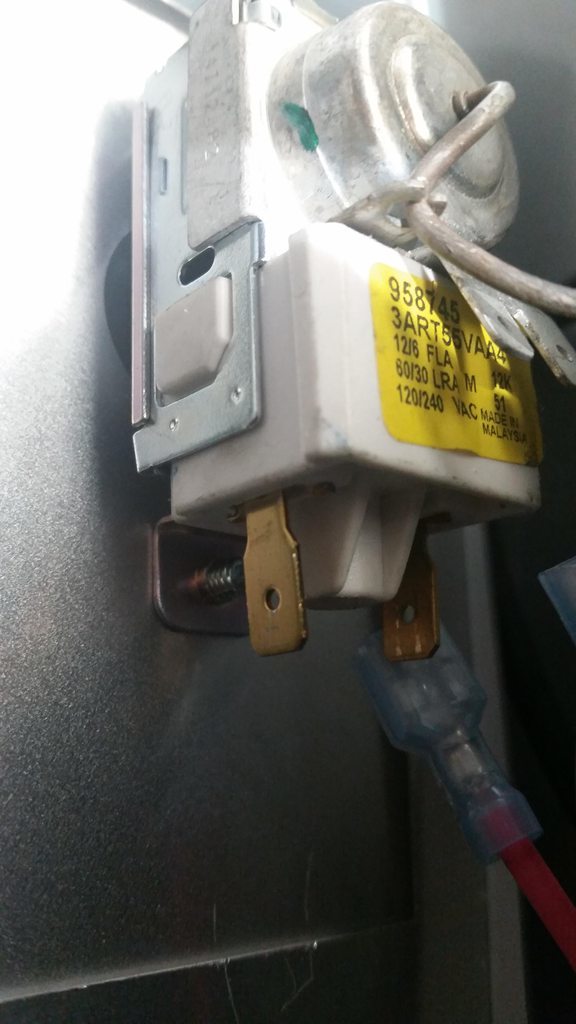
The process was extremely easy and doesn’t really warrant step by step instructions. There were maybe ten sheet metal screws in total required to remove the front/back panels and thermostat. I would just advise people to be cautious when separating the thermostat from the interior panel. Also, set the dial to zero on the thermostat before removing it so that when you put it back it corresponds to the correct setting in case you ever want to convert it back to stock.

Parts:
- 14 AWG
- 22 AWG Two Wire Cord
- 6" Right angle Micro USB to USB A
- 10’ Micro USB to USB A
- 5v 2A USB Power Supply
- 14 & 22 AWG Ring Terminals (Red and Blue)
- 3 Port Push-in Wire Connector (1)
- 2 Port Solderless Splice Connector (1)
- 1/4" Grommet
- Permagum (Duct Sealing Compound)
- 25A SSR (2)
- 3 Pole Circular Connector M & F (2)
- 1/2" Split Loom Tubing
- Cable Management Kit
- Black Spray Paint
- RJ-11 Connector
- Heat Shrink Tubing (various sizes)
- Electrical Tape
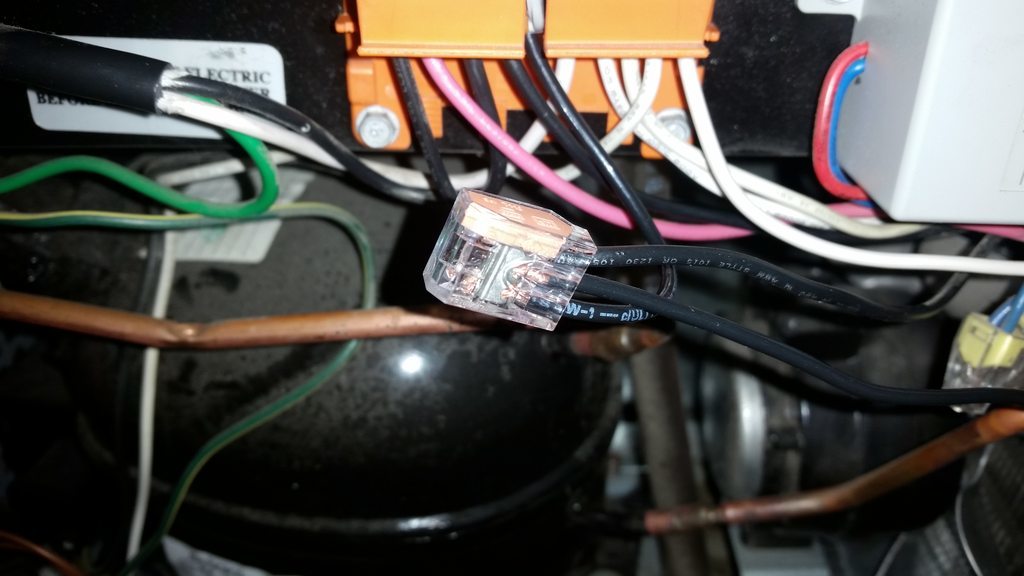
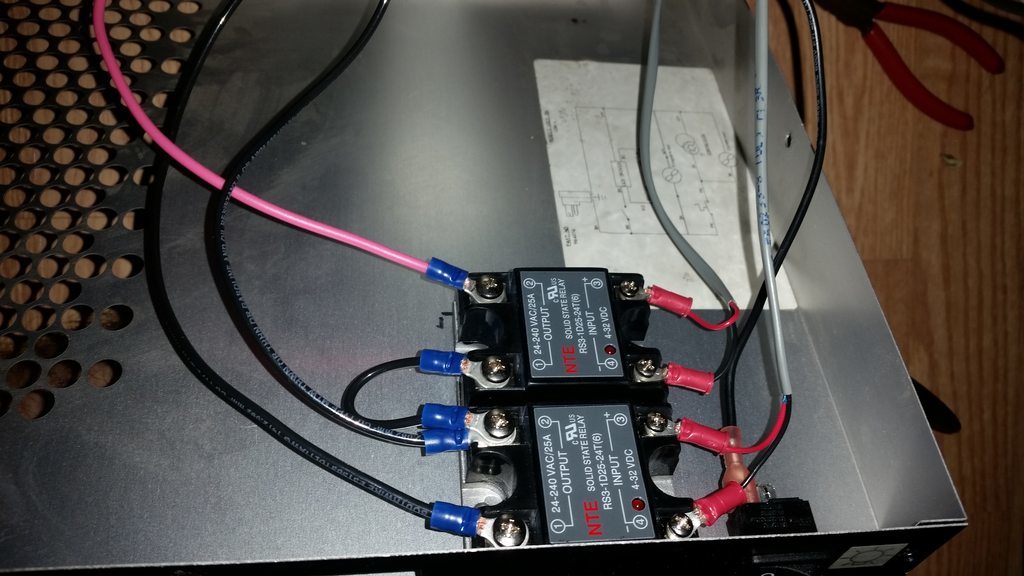
Build:
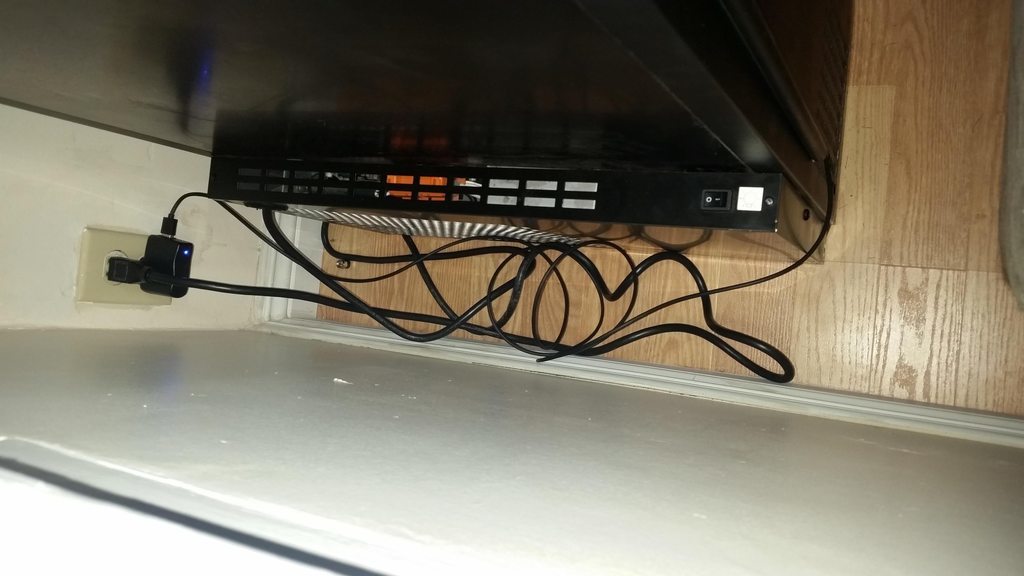
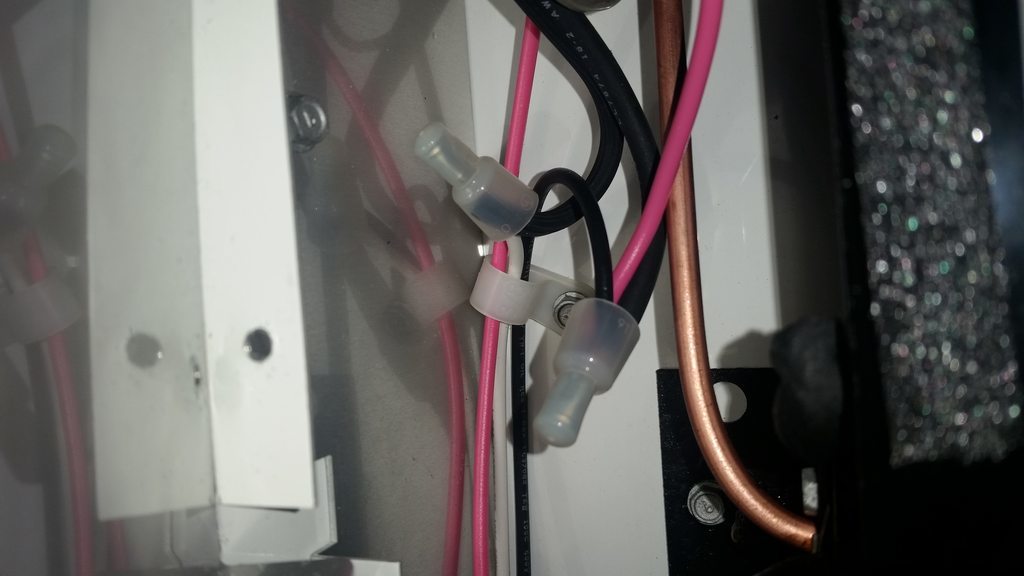
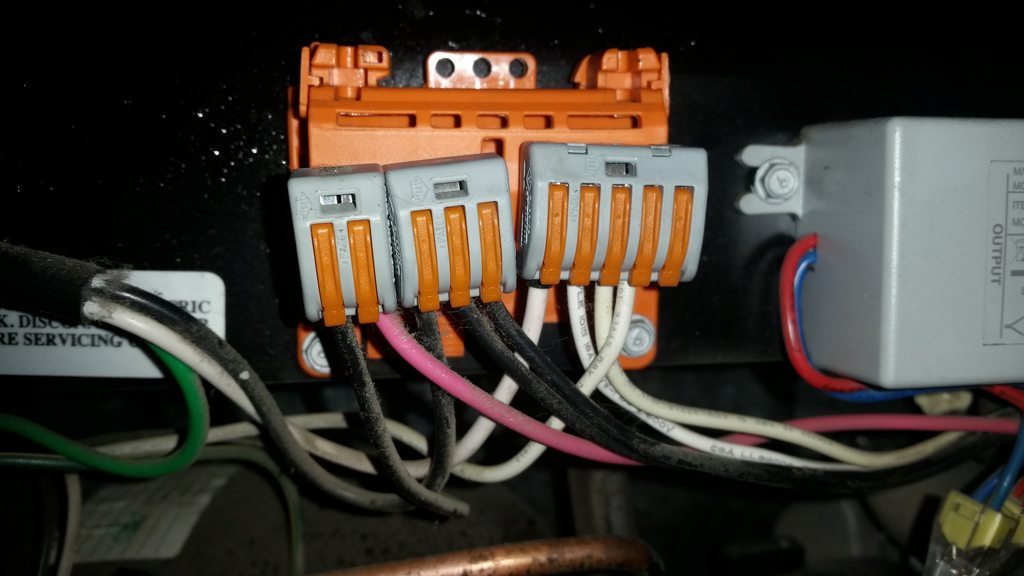
The build was fairly easy and straight forward to my surprise. I didn’t run into any problems during the build and really didn’t do anything vastly different from the fridge hacking guide for compressor control. I did get lucky in that the neutral terminal block on the fridge had one opening which I used to connect the heat cable neutral to. Also, I didn’t use heat sinks on my SSR’s because mine came with thick aluminum plate to absorb heat. I mounted them to the back panel of the fridge using thermal tape to use the whole grill as a big heat sink. So far the panel has been cool to the touch. The other thing I did was install a rubber grommet into a hole I drilled in the sheet metal interior panel for the heat cable to pass through. I did this to prevent the sharp metal from cutting the silicone covered heat cable. The permagum was used to reseal the cable port in the fridge used to pass wires through to the back panel after I was done routing the new cables. The finishing touches included routing the cables through a cable management kit I cut to size and spray painted matte black. I then just cut several short pieces of split loom tubing to organize the cables further.